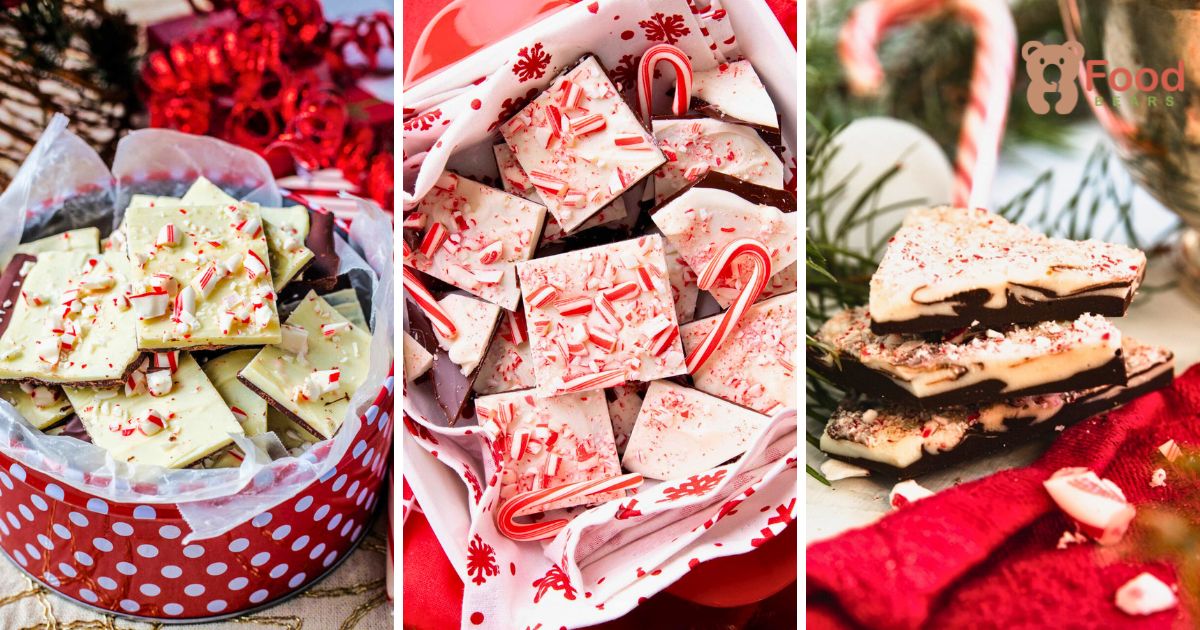
Few flavors signal the holidays as clearly as peppermint and chocolate. This bark combines a smooth semisweet base, a creamy white-chocolate layer, and crushed candy canes that sparkle across the top.
Each piece brings together rich melting chocolate and a cool, minty crunch.
Although peppermint bark looks polished, the method is wonderfully simple: melt, layer, chill, and break. There is no oven involved, which makes it useful for gifts, dessert trays, and easy seasonal snacking.
Gather the chocolate and candy canes, and you can create a homemade bark that looks as festive as it tastes.
Why Is Peppermint Bark So Good?
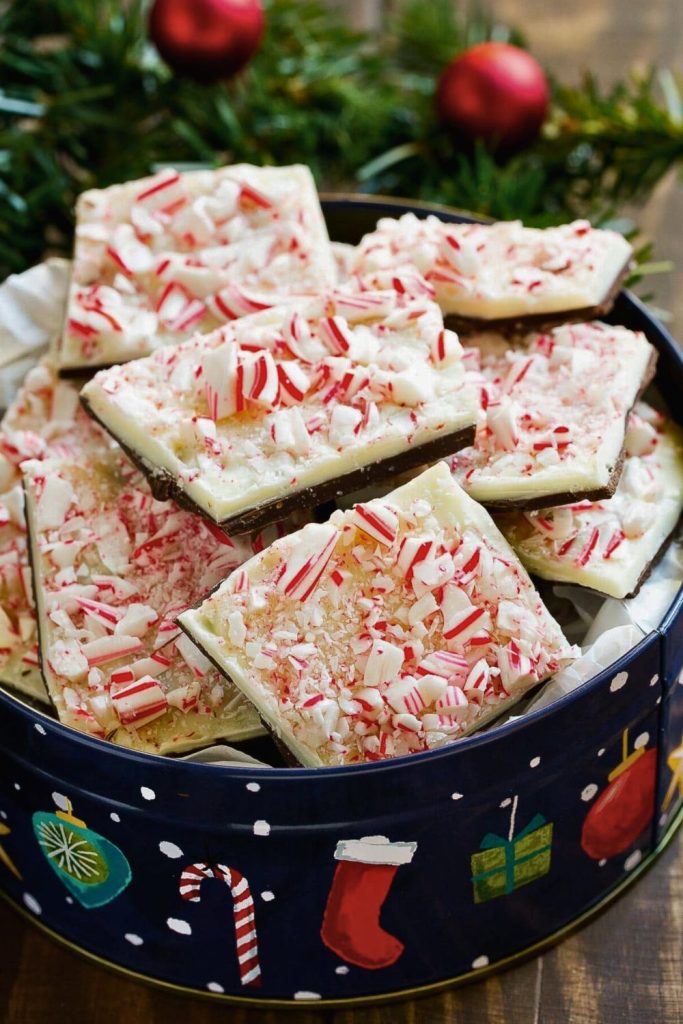
Peppermint bark succeeds because it balances flavor, texture, and familiar holiday nostalgia in every piece.
Semisweet chocolate provides a deep, smooth foundation, while white chocolate contributes a sweeter, creamier finish.
Crushed candy canes add a crisp texture and refreshing peppermint flavor. Together, the dark and pale layers feel rich and comforting without losing their bright holiday character.
Even the aroma of chocolate and mint feels festive. The candy is also easy to prepare, attractive enough to gift, and striking on a tray with its contrasting layers and red-and-white topping.
- Two smooth layers of chocolate.
- A crisp, refreshing peppermint finish.
- A festive appearance and familiar holiday aroma.
- A beginner-friendly no-bake method.
Peppermint Bark Ingredients

| Ingredient or Tool | Amount | Use |
|---|---|---|
| Semisweet chocolate | 12 ounces | Forms the smooth lower layer; bars melt especially well |
| White chocolate | 16 ounces | Creates the creamy peppermint layer |
| Candy canes | 7 regular canes (about 1 cup crushed) | Adds mint flavor, crunch, and holiday color |
| Peppermint extract | 1/2 teaspoon | Strengthens the mint flavor; measure carefully |
| Parchment paper | 1 sheet | Lines the pan for easy removal |
| Water | 1–2 inches | Needed only when using a double boiler |
| Heatproof bowls | 2 | Keeps the dark and white chocolate separate |
Making of Peppermint Bark: Step-by-Step Guide
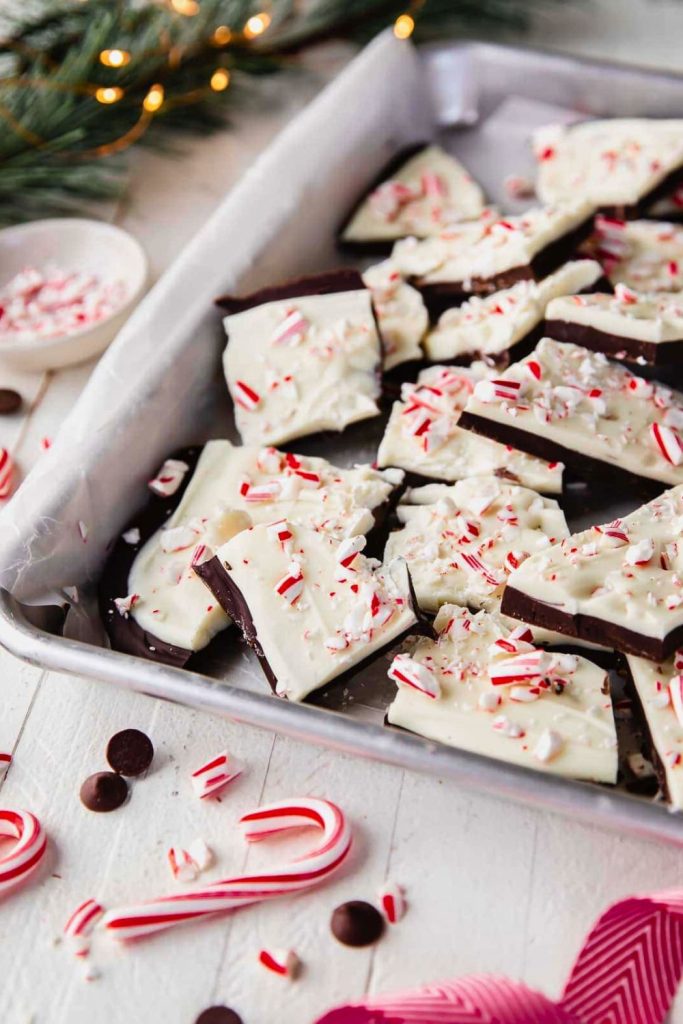
Peppermint bark may look like a specialty candy, but it is manageable at home when the chocolate is melted gently and the layers are timed correctly.
The instructions below cover the entire process so the bark sets cleanly, stays layered, and has plenty of peppermint crunch.
Step 1: Chop the Chocolate
Begin with 12 ounces semisweet chocolate. Chips will work, but a good chocolate bar generally melts more smoothly and has a fuller flavor.
Using a sharp knife and dry cutting board, chop the chocolate into small pieces of similar size.
Uniform pieces melt at roughly the same rate, reducing the risk that part of the chocolate overheats while larger chunks remain solid.
Large pieces can force you to keep heating the bowl after most of the chocolate is ready, which is when scorching becomes more likely.
Take the extra minute to chop evenly; it produces a noticeably smoother melted layer.
Step 2: Prepare a Double Boiler (or Microwave)
You can melt the chocolate over a double boiler or in a microwave.
Double-boiler method
- Add 1 to 2 inches of water to a medium saucepan.
- Bring the water to a gentle simmer rather than a vigorous boil.
- Set a heatproof bowl over the pan, making sure the base of the bowl does not touch the water.
- Place the chopped chocolate in the bowl and stir occasionally as the steam warms it.
Indirect steam is especially useful for white chocolate, which can scorch or seize more easily than semisweet chocolate.
Microwave method
- Put the chopped chocolate in a microwave-safe bowl.
- Heat at 50 percent power in 30-second bursts, stirring thoroughly after each one.
- Stop microwaving when only a few small unmelted pieces remain.
- Continue stirring and allow the bowl’s residual heat to melt those final pieces.
Whichever method you use, keep the heat gentle. Overheated chocolate can become scorched or grainy and is difficult to recover.
Step 3: Prepare Your Pan
Prepare the pan while the first chocolate layer melts.
An 8-by-8-inch or 9-by-9-inch pan works well. Bark made in the smaller pan will simply be a little thicker.
If a square pan is unavailable, place a large sheet of parchment on a rimmed baking tray.
Line the pan neatly with parchment and leave enough overhang on two sides to lift the finished bark.
The liner prevents sticking and makes removal much easier after chilling.
Step 4: Pour and Spread the First Layer
Pour the smooth melted semisweet chocolate into the lined pan. Spread it from edge to edge with an offset spatula or the back of a spoon.
An even thickness matters more than a perfectly flat surface; a few gentle swirls are fine.
Let the first layer partially set before adding white chocolate. If it remains very soft, the colors will blend; if it becomes completely hard, the layers may separate when cut.
Refrigerate the pan for 10 to 20 minutes. The surface should lose its wet shine and feel slightly tacky rather than hard.
Step 5: Chop and Melt the White Chocolate
The white-chocolate layer supplies the bark’s creamy sweetness and bold color contrast.
Finely chop 16 ounces white chocolate. Bars are preferable when possible because many white chips contain stabilizers that resist smooth melting.
Melt it with the same double-boiler or microwave method. Use a clean bowl and utensils so dark-chocolate streaks do not discolor the pale layer.
Heat slowly and stir often until the chocolate is silky and free of lumps.
Step 6: Add Peppermint Extract and Candy Canes
Stir 1/2 teaspoon peppermint extract into the melted white chocolate. Measure carefully because too much extract can taste harsh or medicinal.
Fold in 1/3 cup crushed candy canes. Crush them inside a sealed bag with a rolling pin or mallet to contain the pieces and create a mixture of fine crumbs and small chunks.
Stir only until the candy is distributed throughout the white chocolate.
Step 7: Check Your Chocolate Base
Examine the semisweet layer before adding the next one.
A light touch should feel firm but not rock-hard. Chill longer if the surface is still glossy and wet; if it has hardened completely, leave it at room temperature for a few minutes.
This in-between texture helps the layers bond. Chocolate poured onto a wet base will mix into it, while chocolate poured onto a fully hardened base may peel away later.
Step 8: Layer the White Chocolate
Pour the peppermint white chocolate over the partially set semisweet layer and spread it gently with a spoon or offset spatula.
Work efficiently and avoid pressing hard, since the warm topping will begin softening the base.
Smooth the mixture into the corners with as few strokes as possible to keep the layers clearly defined.
Step 9: Add the Final Touch: Crushed Candy Canes
Finish the bark while the white chocolate is still soft.
Sprinkle the remaining 2/3 cup crushed candy canes evenly across the surface so they adhere as the chocolate sets.
The topping adds extra crunch and creates the red-and-white speckled appearance associated with classic peppermint bark.
Step 10: Chill and Set
Refrigerate the filled pan for at least 1 hour, until both chocolate layers are completely firm.
A full chill gives the bark a clean snap. For an overnight rest, cover the pan loosely so the chocolate does not absorb refrigerator odors.
Step 11: Cut and Serve
Lift the set bark from the pan using the parchment overhang and place it on a cutting board.
Cut it with a sharp knife or break it by hand into irregular pieces. Uneven shards give homemade bark its traditional look.
If it is too hard to cut safely, let it stand at room temperature for about 5 minutes. Use controlled pressure because a thick sheet can snap suddenly.
The finished pieces should show distinct semisweet and white layers, scattered peppermint flecks, and a crisp break.
5 Tips for Peppermint Bark Success

Peppermint bark is easy to assemble, but attention to a few details improves the shine, texture, and bond between the layers.
Use these five practical reminders whenever you make a batch.
1. Choose chocolate you enjoy eating
Because chocolate supplies most of the flavor, quality matters. Bars generally melt more fluidly than chips and create a smoother bite.
2. Keep the pieces even
Finely chopped pieces melt at the same pace and are less likely to scorch. Give both chocolates a consistent chop before heating.
3. Control the heat
Melt slowly over barely simmering water or at reduced microwave power. Excess heat can make chocolate seize or turn grainy.
4. Add the second layer at the right moment
Wait until the base looks matte and feels tacky, but do not let it become fully hard. That timing helps the two chocolates adhere.
5. Use different sizes of crushed candy
Fold some peppermint crumbs into the white layer for flavor, then reserve larger pieces for color and crunch on top.
Creative Variations
| Variation | How It Changes the Bark | Main Additions |
|---|---|---|
| Extra-Dark | Creates a less-sweet base with a stronger cocoa flavor | 70% dark chocolate and candy canes |
| Chocolate Swirl | Produces a marbled rather than clearly layered appearance | Dark and white chocolate swirled together |
| Nutty | Adds toasted crunch and richness | Almonds, pistachios, or pecans |
| Cookies and Cream | Combines cookie crumbs with the peppermint topping | Chocolate sandwich cookies and candy canes |
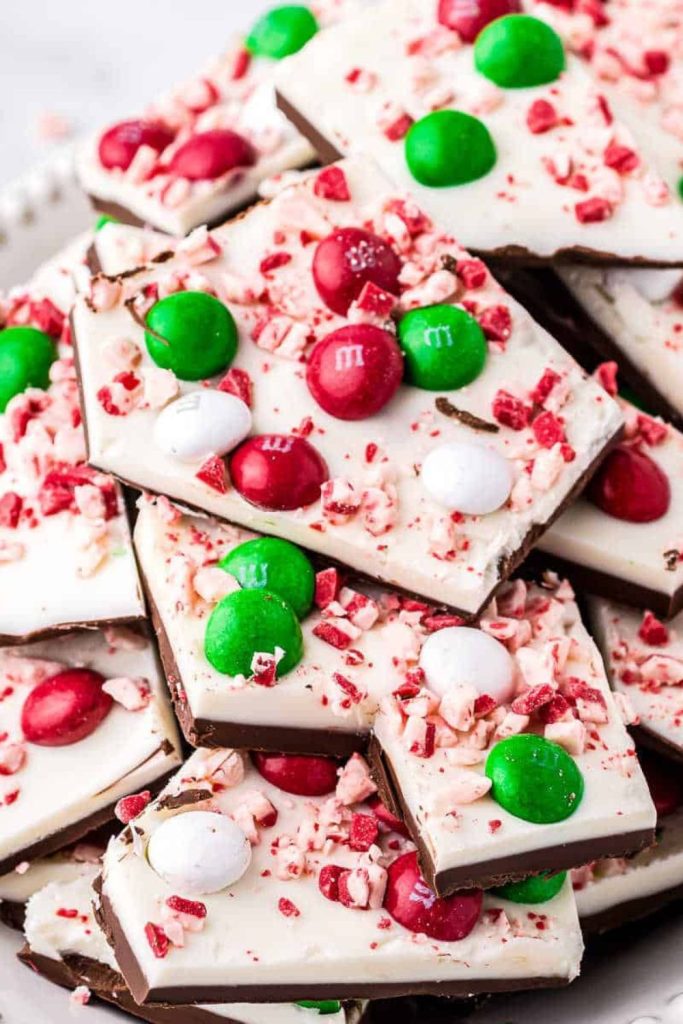
| Festive Sprinkle | Adds more color for a party tray | Holiday sprinkles, edible glitter, or mini marshmallows |
| Salted | Balances the sweetness with a savory finish | Flaky sea salt over the top |
| Dairy-Free | Uses plant-based chocolates for a vegan-style bark | Dairy-free dark and white chocolate plus suitable candy canes |
Serving Suggestions
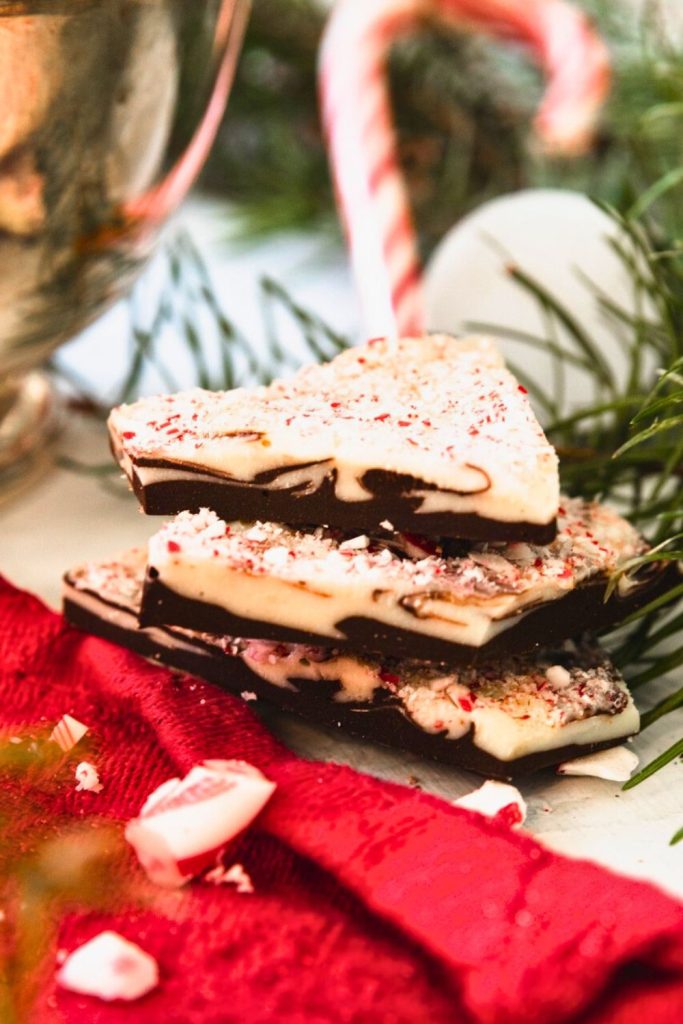
Peppermint bark can be served in several ways beyond placing the shards in a candy bowl.
- Pair it with warm drinks: Offer small pieces with hot chocolate, coffee, or a peppermint latte.
- Add it to other desserts: Scatter crushed bark over ice cream, cheesecake, or cupcakes for chocolate flavor and crunch.
- Use it as a garnish: Press small pieces into whipped cream or decorate the rim of a milkshake.
- Bake with it: Chop the bark and fold it into cookie dough or brownie batter to create pockets of chocolate and peppermint.
- Build a dessert board: Arrange it with sugar cookies, fudge, truffles, and other holiday sweets.
Whether it is served casually or added to a formal dessert display, the bright peppermint topping gives the table an unmistakably festive detail.
How to Package Peppermint Bark for Gifts

Homemade peppermint bark is well suited to edible gifts because it keeps its shape, looks polished, and is easy to divide into portions.
Turn a chilled batch into a thoughtful present with these steps:
- Break or cut the bark into bite-size pieces of roughly similar size.
- Separate layers with parchment or wax paper so the chocolate does not stick together.
- Choose a package:
- Clear cellophane bags: Tie them with ribbon for a simple package that shows off the candy.
- Lined holiday tins: Parchment inside a decorative tin creates a classic presentation.
- Mason jars: Add a handwritten label for a rustic gift.
- Include a short personal note or ingredient label to make the package feel considered.
- For a larger gift, bundle the bark with a mug, cocoa mix, or a cinnamon stick.
The result is an affordable handmade gift that still feels generous and festive.
Final Thoughts
Peppermint bark shows how a short method can produce an impressive holiday candy. It is colorful, customizable, and equally useful on a dessert tray or in a gift box.
Instead of buying a finished package, melt your preferred chocolates, crush the candy canes, and make a batch at home. The fresh peppermint flavor and crisp snap are worth the small effort.
Share the pieces, wrap them for friends, or keep a container for holiday snacking.
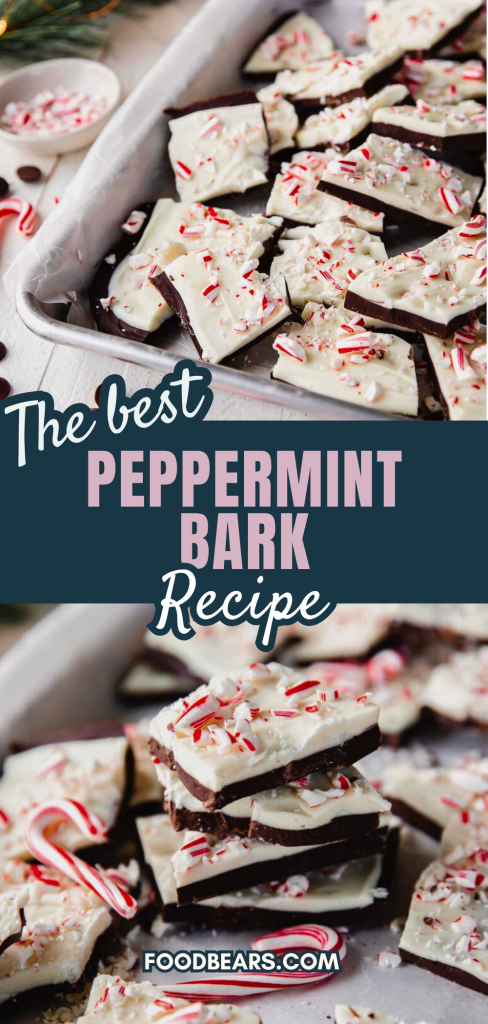
Peppermint Bark
You’ll Also Enjoy
If you enjoyed this peppermint bark, these recipes can help complete a festive dessert menu:
- 🍮 Easy Sticky Toffee Pudding in Just 35 Minutes – a rich British-style dessert served with warm toffee sauce.
- 🍫 3-Ingredient Oreo Balls Recipe You’ll Crave – creamy no-bake truffles coated in chocolate for gifting or snacking.
- 🥛 Quick 15-Min Eggnog Recipe for Busy Hosts – a smooth holiday drink that pairs naturally with peppermint chocolate.
Together, these recipes create a varied seasonal spread with warm pudding, chocolate candy, and a creamy drink.

Dana Brooks is a home-cooking writer at Feastbears, where she shares easy family recipes, cozy dinners, quick desserts, and beginner-friendly kitchen tips. Her goal is to make everyday cooking feel simple, warm, and enjoyable for busy home cooks.


