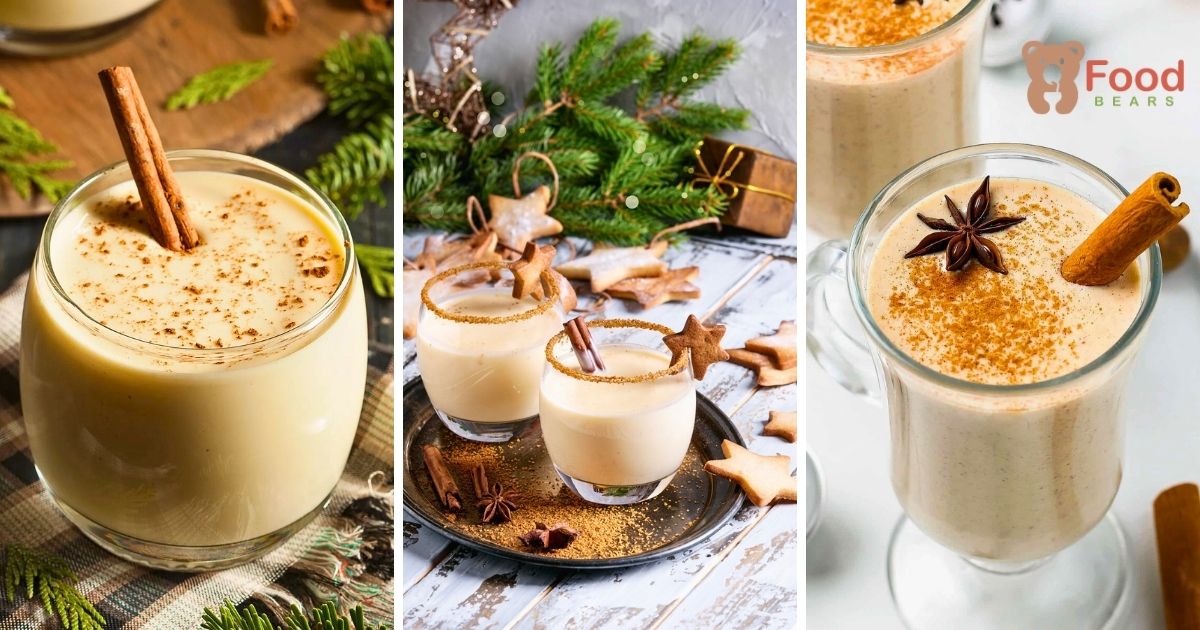
A good homemade eggnog should be creamy, rich, and gently warmed with spice. Each chilled sip feels smooth, cozy, and pleasantly sweet.
It is the kind of seasonal drink that makes a winter evening or holiday gathering feel more celebratory.
This version delivers the familiar qualities of classic eggnog: a custard-like texture, fresh nutmeg, and a fragrant vanilla finish.
Leave it alcohol-free for everyone to enjoy, or add bourbon, dark rum, or brandy for an adult batch.
Eggnog from scratch is more approachable than it appears. A few careful steps produce a fresh, comforting drink with a flavor that is difficult to match from a carton.
Set out a whisk and saucepan, and begin the homemade custard base.
Eggnog Ingredients You’ll Need
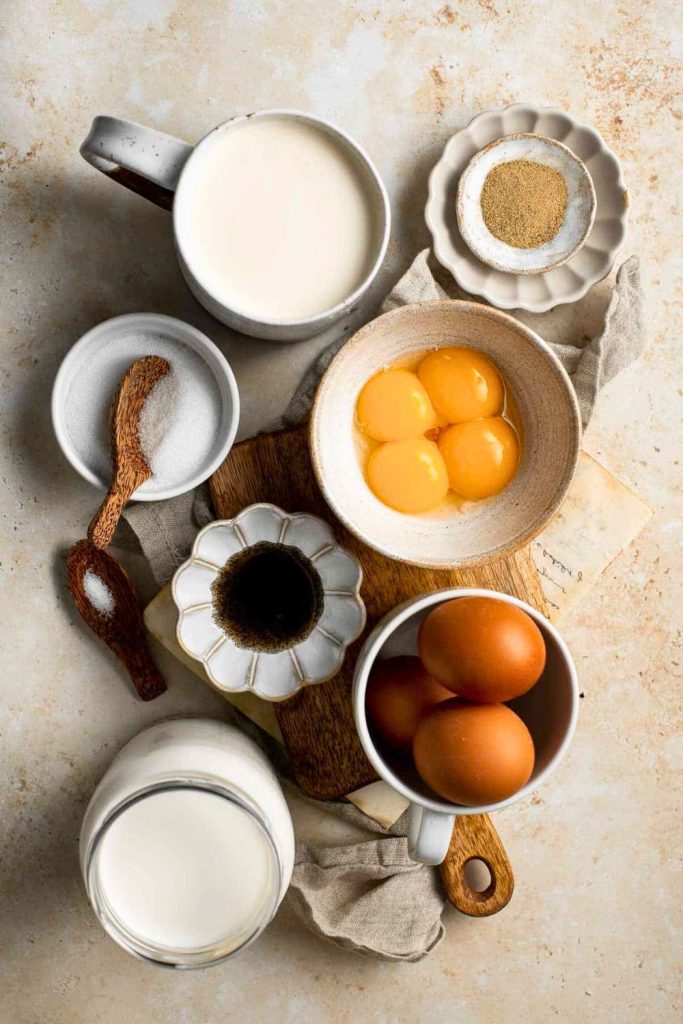
| Category | Ingredient | Role |
|---|---|---|
| Egg Base | 6 large eggs, separated | Yolks thicken the cooked custard; pasteurized whites may be whipped as an optional finish |
| Sweetener | 1 cup (200g) granulated sugar | Sweetens and thickens the yolk mixture |
| Dairy | 1 cup heavy cream | Provides richness |
| 1–2 cups whole milk | Adjusts the finished consistency | |
| Flavor | 1/4 teaspoon freshly grated nutmeg | Adds warm holiday aroma |
| 1 tablespoon vanilla extract | Rounds out the custard flavor | |
| Optional Spirit | Up to 1 cup bourbon, rum, or brandy | Adds warmth to an adult batch; reduce or omit as desired |
| Optional Finish | Whipped cream or pasteurized whipped whites | Adds a lighter texture immediately before serving |
| Garnish | Nutmeg or cinnamon | Sprinkle lightly over each glass |
Step-by-Step Guide: How to Make the Creamiest Homemade Eggnog
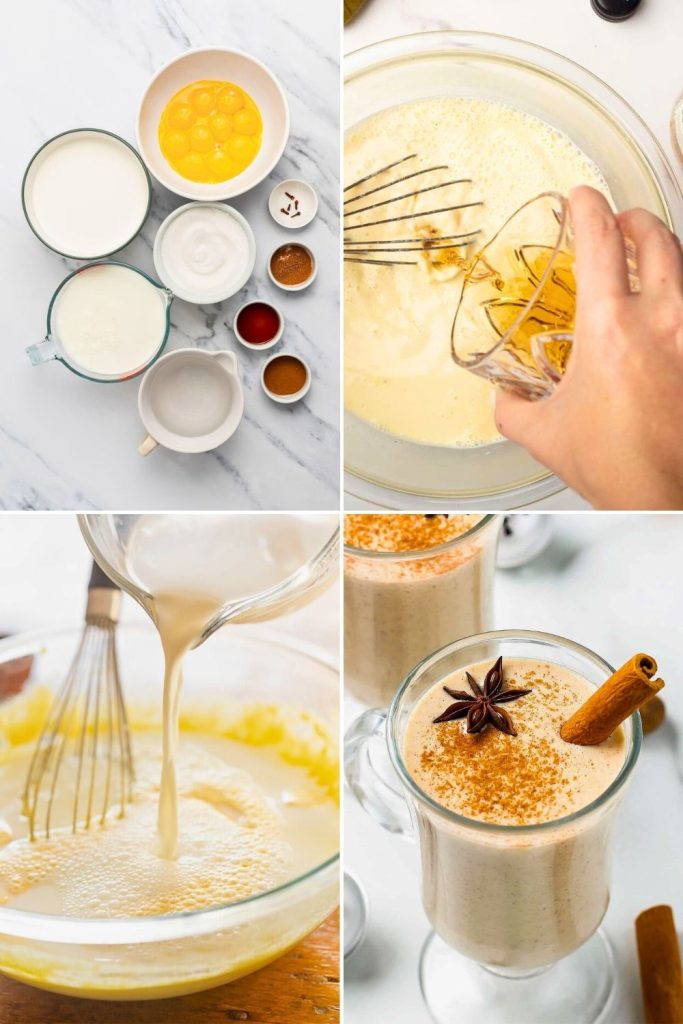
Traditional eggnog is straightforward when the process is divided into clear stages, and the result is especially rewarding.
The guide below moves from separating the eggs through cooking, chilling, and garnishing the finished drink.
Step 1: Separate the Eggs
Separate the 6 large eggs that will form the custard base. The yolks are essential; the whites are optional for a lighter finish.
Place the yolks in a large mixing bowl. If you plan to use the whites later, put them in a second clean, completely dry bowl.
Pro tip: If the whites will be whipped, keep every trace of yolk and grease out of their bowl. For food safety, use pasteurized egg whites or choose whipped cream instead.
Step 2: Whisk the Yolks and Sugar
Add 1 cup (200g) granulated sugar to the yolks to begin the rich custard mixture.
Whisk until the mixture becomes:
- Pale yellow.
- Thick and airy.
- Ribbony enough to leave a trail when the whisk is lifted.
You can whisk by hand, but an electric mixer makes the work faster. Begin at medium speed and increase to high once the sugar is incorporated.
Visual cue: The beaters should leave visible paths through the mixture, indicating that the yolks are properly aerated and thickened.
Step 3: Heat the Milk and Cream
In a medium saucepan, combine the dairy and spice:
- 1 cup heavy cream.
- 1 to 2 cups whole milk, depending on the texture you prefer.
- 1/4 teaspoon freshly grated nutmeg.
Adjust the milk according to the desired consistency:
- Use 1 cup for a very thick eggnog.
- Use 2 cups for a more traditional pourable drink.
- Start with 1 1/2 cups if you want a balanced middle ground and adjust after chilling.
Warm the saucepan over medium heat, whisking occasionally. Do not boil; remove it from direct heat once steam begins to rise.
Equipment tip: A heavy-bottomed saucepan distributes heat more evenly and reduces the chance of scorching the dairy.
Step 4: Temper the Eggs
Tempering warms the yolks gradually so they thicken instead of scrambling.
Follow this sequence:
- While whisking continuously, drizzle about 1/2 cup hot dairy mixture into the sweetened yolks.
- The slow addition raises the yolk temperature without shocking the proteins.
- Pour the warmed yolk mixture back into the saucepan in a thin stream, whisking it into the remaining milk and cream.
Do not skip tempering: Adding cold yolks directly to hot dairy is likely to create cooked egg pieces instead of smooth eggnog.
Step 5: Cook Until Thickened
Return the saucepan to medium-low heat and stir constantly. A narrow French whisk is useful for reaching the curved edges of the pan.
Continue cooking until the mixture:
- Thickens gradually.
- Reaches 160°F (71°C) on an instant-read thermometer.
At the correct temperature, the custard should coat the back of a spoon while remaining pourable.
Spoon test: Draw a finger through the coating on the spoon. A clean path that stays separate indicates sufficient thickening.
Bringing the custard to 160°F also cooks the yolks before the drink is chilled and served.
Caution: Keep the heat moderate and stir continuously. High heat can curdle the eggs before the custard thickens evenly.
Step 6: Strain for Smoothness
Remove the thickened custard from the heat and pour it through a fine-mesh sieve into a heatproof bowl or pitcher.
Straining removes:
- Any tiny pieces of cooked egg.
- Coarse fragments of nutmeg.
- Other small lumps or uneven bits.
The strained base should be silky, creamy, and ready for its final flavorings.
Step 7: Add the Flavor Magic
Finish the warm base with vanilla and, if desired, a spirit.
Whisk in:
- 1 tablespoon vanilla extract.
- Up to 1 cup bourbon, dark rum, brandy, or a combination, for an adult version.
The spirits contribute different flavors:
- Bourbon brings warmth and mild sweetness.
- Dark rum supplies spice and depth.
- Brandy gives the drink a smooth, traditional character.
Begin with less alcohol and adjust to taste; a full cup produces a pronounced adult drink. For an alcohol-free batch, simply omit it.
At this point, the aroma should resemble vanilla custard with fresh nutmeg and warm holiday spice.
Step 8: Chill Before Serving
Cover the pitcher or bowl and refrigerate the eggnog for at least 3 hours; an overnight chill develops the flavor even more.
Chilling allows the drink to:
- Thicken further.
- Blend and mellow its flavors.
- Reach the cold, refreshing temperature expected of classic eggnog.
Store the cooked eggnog refrigerated in a sealed container and use it within about 3 days.
Make-ahead tip: Prepare it a day before a holiday event so the texture and spices have time to settle.
Step 9 (Optional): Whip the Egg Whites
For a lighter, foamy texture, whip the reserved pasteurized egg whites to soft peaks with an electric mixer.
Use this visual guide:
- Beat until the whites look glossy and aerated.
- Stop at soft peaks, when the tip bends gently instead of standing straight.
Fold the whipped whites into the thoroughly chilled eggnog immediately before serving.
They give the drink a lighter, airier consistency than the plain custard base.
Alternative: Fold in softly whipped cream instead, or use both for a richer presentation.
Add any whipped component only to cold eggnog and shortly before serving so it retains its volume.
Step 10: Serve and Garnish
Once the eggnog is fully chilled, it is ready for glasses and garnishes.
To serve:
- Pour or ladle the eggnog into small glasses or mugs.
- Grate a little fresh nutmeg or sprinkle cinnamon over each serving.
- Add whipped cream or a cinnamon stick if you want a more decorative finish.
Presentation tip: Punch glasses, Irish-coffee mugs, and chilled coupes each create a different holiday look.
The finished drink should be:
- Creamy and smooth.
- Warmly but gently spiced.
- Sweet without losing the flavor of eggs and dairy.
- Mildly warming if a spirit was included.
Serve immediately after garnishing and enjoy the familiar comfort of homemade holiday eggnog.
5 Tips for the Perfect Homemade Eggnog

The basic technique is not difficult, but a few details separate a smooth custard from an uneven one.
Keep these five guidelines in mind for consistently creamy, balanced eggnog.
1. Temper the yolks carefully
Whisk hot dairy into the yolks in a slow stream instead of combining everything at once. Gradual heating prevents curdling and creates the custard base.
2. Cook gently
Use medium-low heat and stir constantly. High heat can scramble the yolks before the liquid thickens, while patient cooking produces a silkier texture.
3. Grate the nutmeg fresh
Fresh nutmeg has a warmer, more complex aroma than most pre-ground jars and gives the drink its recognizable holiday character.
4. Allow a complete chill
At least 3 hours in the refrigerator improves both consistency and flavor. Overnight chilling is even better when the schedule allows.
5. Match the spirit to the flavor you want
Bourbon tastes warm and slightly sweet, rum is spicier, and brandy is smooth and traditional. A blend can combine those qualities.
Following these principles helps the eggnog remain smooth, fragrant, and well balanced.
Eggnog Variations to Try

| Variation | Adjustment | Result |
|---|---|---|
| Classic Spiked | Add bourbon, dark rum, brandy, or a blend | A warming adult holiday drink |
| Alcohol-Free | Omit the spirit; add rum extract only if desired | A family-friendly custard drink |
| Whipped Cream | Fold in softly whipped cream | A thicker, dessert-like texture |
| Frozen | Blend thoroughly chilled eggnog with ice | A frosty milkshake-style serving |
| Dairy-Free Inspired | Use a tested plant-milk adaptation | A lighter version; the consistency will differ from dairy custard |
| Coffee | Add a shot of cooled espresso | A brunch-friendly coffee finish |
| Chocolate | Whisk in 2 tablespoons cocoa powder | A richer cocoa variation |
Serving Ideas for Holiday Gatherings
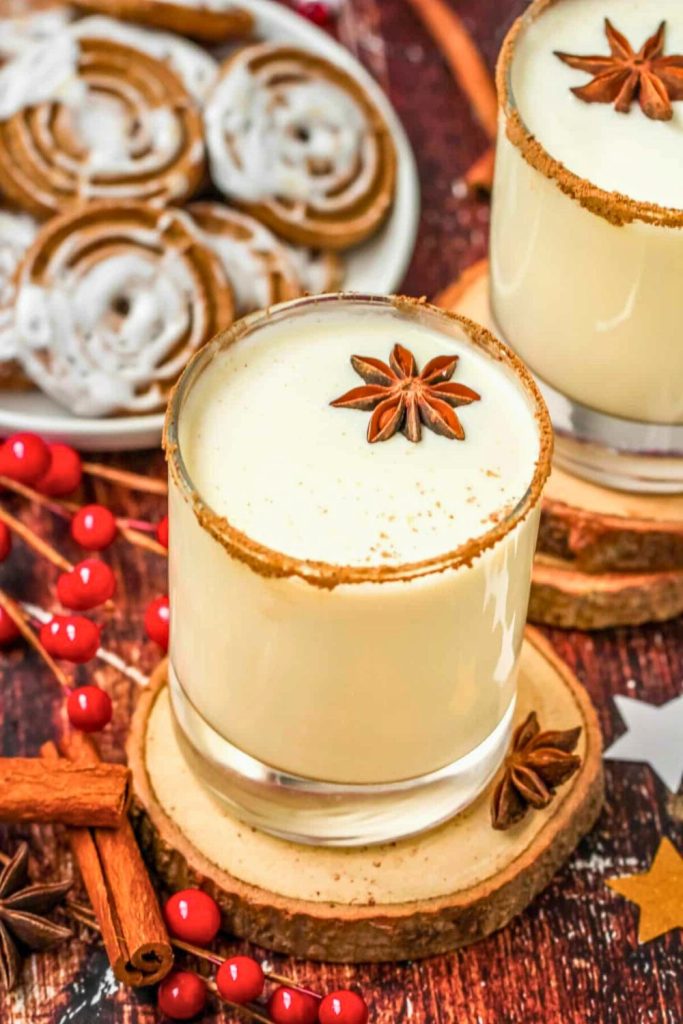
Eggnog can be more than a pitcher on the table. Use these presentation ideas to make it part of the holiday spread:
- Use small punch glasses: Portion it for parties and finish each glass with nutmeg and a cinnamon stick.
- Set up an eggnog bar: Offer whipped cream, chocolate shavings, and caramel so guests can customize their servings.
- Pair it with dessert: Gingerbread, fruitcake, biscotti, and apple pie all complement the creamy spice.
- Serve a warm version: Reheat the cooked base gently in mugs for a cold evening, omitting whipped egg whites.
- Vary the garnish: Try whipped-cream peaks, star anise, cinnamon, or crushed candy canes.
Serve it cold for the classic texture or gently warmed without the whipped whites. Either way, use small portions because the drink is rich.
Why Homemade Eggnog Beats Store-Bought

A homemade batch lets you control the elements that packaged eggnog often exaggerates, including sweetness, thickness, and artificial flavor.
You can choose exactly how much cream, spice, sugar, and alcohol goes into the pitcher.
Real cooked yolks and dairy create a fresher, more natural richness than many ready-made versions.
Freshly grated nutmeg and vanilla also fill the kitchen with a holiday aroma as the custard cooks.
| Feature | Homemade Eggnog | Packaged Eggnog |
|---|---|---|
| Flavor | Fresh and adjustable | Consistent and ready to drink |
| Texture | Can be made thick or pourable | Varies by brand |
| Ingredients | Uses the eggs, dairy, and spices you select | May include stabilizers or added flavoring |
| Customization | Easy to change the spice, sweetness, and spirit | Limited to additions made after opening |
| Convenience | Requires cooking and chilling | Available immediately |
Conclusion: Sip, Smile, and Celebrate
A chilled glass of homemade eggnog is a traditional way to begin a holiday celebration. Its custard texture and warm spice bring comfort without requiring an elaborate recipe.
Serve the alcohol-free version to a mixed group, or prepare a clearly labeled adult batch with bourbon, rum, or brandy.
Pour the glasses, add a final grate of nutmeg, and toast the season.
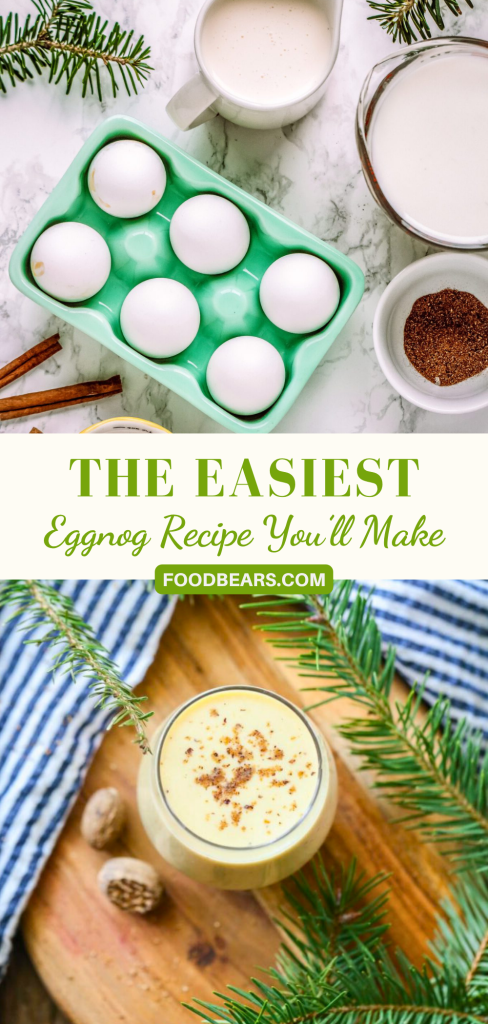
Creamy Homemade Eggnog
You’ll Also Love These Cozy Holiday Recipes
If this eggnog put you in a holiday mood, these recipes offer more cozy flavors for the dessert table:
- 🥖 Step-by-Step 80-Min Biscotti Recipe for Beginners: crisp almond cookies made for dipping in coffee or eggnog.
- 🍮 Easy Sticky Toffee Pudding in Just 35 Minutes: a date-filled British dessert served with rich toffee sauce.
- 🍫 3-Ingredient Oreo Balls Recipe You’ll Crave: simple no-bake treats made with cookies, cream cheese, and chocolate coating.
All three are straightforward seasonal recipes that add a different texture to a holiday menu.

Dana Brooks is a home-cooking writer at Feastbears, where she shares easy family recipes, cozy dinners, quick desserts, and beginner-friendly kitchen tips. Her goal is to make everyday cooking feel simple, warm, and enjoyable for busy home cooks.


