
Stuffed mushrooms are the kind of appetizer that can disappear from a party tray almost as soon as it reaches the table.
This version fills small mushroom caps with a savory mixture of sautéed stems, onion, garlic, cream cheese, Parmesan, herbs, and pecans.
They bake until the caps are tender and the filling is hot, creamy, and lightly golden, with chopped pecans providing a pleasant crunch.
Because the recipe uses pecans instead of breadcrumbs, it is naturally gluten-free as long as the other packaged ingredients are certified.
The mushrooms fit Thanksgiving, Christmas, casual gatherings, or any dinner that needs a warm bite-sized starter.
The original method below keeps preparation organized from cleaning the mushrooms through baking and serving.
Why Stuffed Mushrooms Are the Perfect Party Appetizer
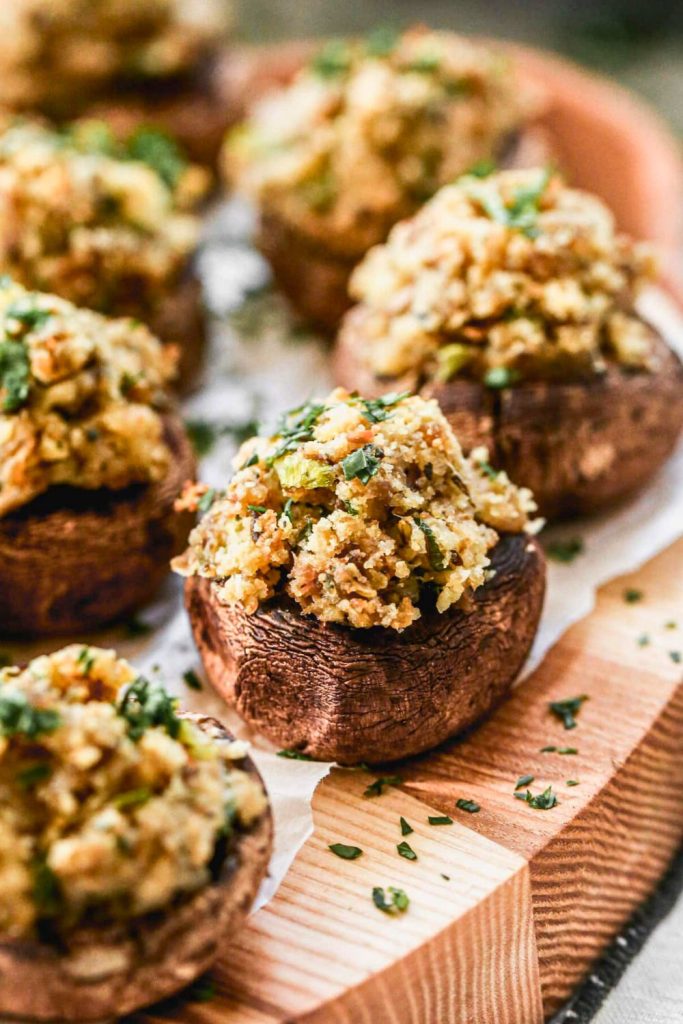
A tray of warm stuffed mushrooms offers the polish of a party appetizer without requiring complicated equipment or assembly.
Their small size, creamy filling, and browned tops make them easy to serve and easy for guests to eat.
Mushroom caps provide a naturally earthy, savory base and a convenient cup for holding the filling.
Chopped stems prevent waste and deepen the mushroom flavor, while cream cheese, Parmesan, garlic, onion, parsley, and pecans add richness and contrast.
They are practical for gatherings because no utensils are needed and each cap is already portioned.
Choose small or medium mushrooms that can be eaten in one or two bites; oversized caps are more likely to spill their filling.
The recipe is also flexible. The base is vegetarian, and pecans take the place of breadcrumbs for a gluten-free structure and extra texture.
For advance preparation, assemble the caps earlier in the day, refrigerate them, and bake close to serving time.
Whether the menu is casual or festive, stuffed mushrooms offer a warm appetizer that feels thoughtful without creating extra serving work.
Ingredients You’ll Need
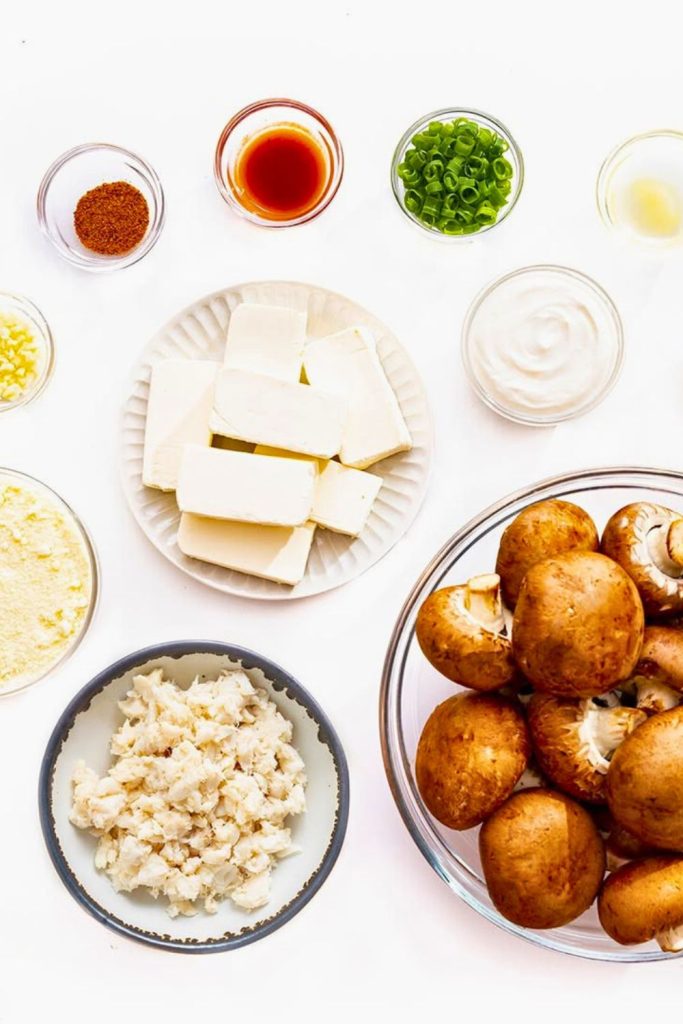
The table organizes the mushroom caps, creamy filling, seasonings, herbs, and pecans with the purpose of each ingredient.
| Ingredient | Amount | Purpose |
|---|---|---|
| White button mushrooms or baby bellas (cremini) | 20 mushrooms | Forms the base and “cups” for the filling; smaller mushrooms are best for bite-sized portions. |
| Mushroom stems | From 20 mushrooms | Chopped and sautéed to deepen flavor instead of wasting them. |
| Onion | ½ medium, finely diced | Contributes savory sweetness and blends smoothly into the filling. |
| Garlic | 2 cloves, minced | Infuses the stuffing with bold, garlicky flavor. |
| Butter | 2 tablespoons | Sautés the chopped stems, onion, and garlic while adding richness. |
| Kosher salt | ½ teaspoon | Maintains and enhances all the flavors. |
| Black pepper | ¼ teaspoon | Contributes a gentle kick of warmth and spice. |
| Cream cheese | 4 ounces | Produces the creamy, rich base of the filling. |
| Parmesan cheese (or Gruyere, Pecorino Romano) | ⅓ cup, grated | Contributes a nutty, salty flavor and helps bind the filling. |
| Pecans | ⅓ cup, finely chopped | Provides crunch, nuttiness, and a gluten-free alternative to breadcrumbs. |
| Fresh parsley | ¼ cup, chopped | Brings freshness, color, and balance to the richness. |
| Olive oil or avocado oil | 1–2 teaspoons | Used to lightly oil the baking sheet before roasting the mushrooms. |
How to Make Stuffed Mushrooms
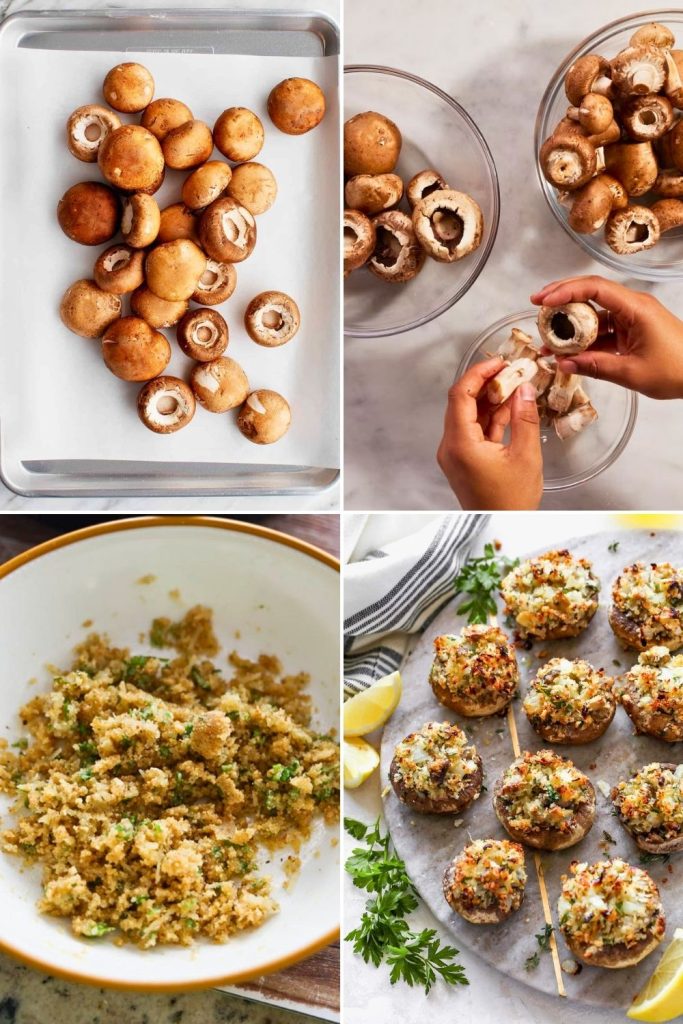
Stuffed mushrooms look polished, but the process is direct when divided into preparation, sautéing, mixing, filling, and baking.
The instructions below follow the complete original sequence from cleaning the mushrooms and cooking the filling to baking and plating.
Step 1: Preparing the Mushrooms
White button mushrooms and baby bellas, also called cremini mushrooms, are sturdy enough to hold the filling while remaining tender after baking.
Choose small or medium caps with enough depth to form neat, bite-sized cups.
When shopping, keep these tips in mind:
- Go small. Smaller mushrooms are easier to pop into your mouth in one bite. Larger caps might look impressive, but they are messier and less party-friendly.
- Select fresh mushrooms. Choose mushrooms with smooth caps, dry (not slimy) surfaces, and firm stems.
- Choose similar-size caps. Try to pick mushrooms that are roughly the same size, so they bake evenly.
Once you are ready to prep, preheat your oven to 400°F (200°C) and lightly oil a baking sheet. Drizzle olive or avocado oil, then use a paper towel to coat the pan evenly.
Remove each stem by rocking it gently from side to side until it releases. Keep every stem for the filling.
If one feels stubborn, wiggle it gently from side to side. Be careful not to crack the cap. Reserve all the stems in a pile; we’ll be using them later for the filling.
By the end of this stage, you will have a tray of clean, hollow mushroom caps waiting to be stuffed and a pile of stems ready to be transformed into savory flavor.
Step 2: Chopping and Prepping the Vegetables
Finely chopped stems, onion, and garlic form the savory base and prevent useful mushroom pieces from going to waste.
- Mushroom stems: Roughly chop them into small pieces. Since they’ll be sautéed, they do not need to be perfect, but aim for even sizes so they cook uniformly.
- Onion: Take half a medium onion and finely dice it. Smaller pieces are key here; you do not want large chunks that overpower a bite. Run your knife through the pile one more time to ensure everything’s nice and small.
- Garlic: Smash two cloves with the flat side of your knife to loosen the skins. You will mince them directly into the pan later.
At this point, you will have three bowls or piles: chopped stems, diced onion, and peeled garlic cloves. They are the base of your filling, ready to bring depth, aroma, and balance to the creamy mix.
Step 3: Cooking the Filling Base
Now it is time to fire up the stove and start building flavor. Heat a skillet over Medium heat and melt 2 tablespoons of butter.
Let the butter heat until it begins to sizzle gently before adding the chopped stems.
- Add the chopped mushroom stems. Cook for about 5 minutes, stirring occasionally. Mushrooms naturally release a lot of water, so do not be alarmed when liquid appears in the pan. Keep cooking until most of that moisture evaporates and the mushrooms shrink and turn golden. This stage is crucial; if you skip it, your filling will end up watery.
- Stir in the diced onion and cook with the stems for 1 to 2 minutes, until softened and slightly translucent.
- Add finely minced garlic to the skillet and stir only until fragrant so it does not burn.
Season with ½ teaspoon kosher salt and ¼ teaspoon black pepper. When the vegetables are soft and fragrant, transfer the mixture to a bowl.
Here is the important part: let it cool for 5–10 minutes. Adding cheese to hot filling will cause it to melt prematurely, and you want it to stay creamy when mixed.
Step 4: Preparing the Flavor Add-Ins
While the filling cools, it is the perfect time to prep the flavor-packed add-ins. This is where the stuffing goes from good to unforgettable.
- Parmesan cheese: Grate about ⅓ cup of fresh Parmesan. Its salty, nutty flavor enhances every bite. Do not stress if you have a little extra; it never hurts. Pecorino Romano or Gruyere also works beautifully if you want variety.
- Finely chopped pecans: Chop ⅓ cup of whole pecans until finely diced. Unlike many stuffed mushroom recipes that rely on breadcrumbs, these use pecans for crunch. They add richness, texture, and a slightly sweet nuttiness that balances the savory filling. Plus, it makes the recipe gluten-free.
- Fresh parsley: Chop ¼ cup of fresh parsley. This herb adds brightness, a touch of freshness, and a pop of green that looks gorgeous against the golden mushrooms.
Before mixing, reserve a tablespoon each of Parmesan, pecans, and parsley. These will be sprinkled on top later as a garnish.
Step 5: Mixing the Creamy Filling
Combine the cooled mushroom mixture with cream cheese, grated cheese, pecans, and parsley.
- Add 4 ounces of cream cheese (softened if possible).
- Add the grated Parmesan.
- Stir in the chopped pecans.
- Fold in the parsley.
If the cream cheese is firm, press it against the side of the bowl with the back of a spoon, then stir until the filling is evenly blended.
The filling should be thick, creamy, and flecked with herbs and pecans. Taste and adjust the seasoning before filling the raw caps.
Step 6: Stuffing the Mushrooms
Use a small spoon to mound the filling into each mushroom cap without packing it so firmly that the cap cracks.
A little goes a long way, so start with modest portions to be sure all the caps are filled. If you have extra at the end, go back and add a little more on top.
Set the filled mushrooms upright on the prepared baking sheet so the topping remains in place.
After they are all filled, sprinkle a pinch of the reserved Parmesan and chopped pecans on each cap. This creates a crisp, golden crust as they bake, giving each bite a little extra texture and flavor.
Step 7: Baking to Perfection
Bake at 400°F for 20 to 25 minutes, until the caps are tender and the filling is hot.
Here is what happens in the oven:
- The mushroom caps soften and release their earthy aroma.
- The warm cream cheese softens and binds the vegetables, herbs, cheese, and pecans into a creamy filling.
- The Parmesan crisps up, creating a deeply golden top.
- The pecans toast slightly, deepening their nutty flavor.
As the mushrooms bake, the aromas of garlic, butter, cheese, and herbs become more pronounced.
Begin checking at 20 minutes and remove the tray when the tops are lightly golden and the caps are just tender.
Step 8: Serving with Style
When the mushrooms emerge from the oven, they’ll be bubbling, golden, and irresistible. Let them cool for just a couple of minutes before serving. They’ll still be warm, but this short rest helps the filling set so it does not spill out.
Scatter the reserved parsley over the serving platter for fresh color and a clean herbal finish.
Serving tips:
- Arrange the mushrooms on a broad white, wooden, or neutral platter so the browned tops remain visible.
- If you are hosting a big gathering, consider doubling the recipe—they go fast.
- Serve them with sparkling water, cocktails, or a chilled white wine, depending on the occasion.
And here is a friendly warning: do not be surprised if you eat several before they make it to the table. They are that good.
Flavor Variations You’ll Love

The base filling is easy to adapt with different cheeses, vegetables, meat, seafood, or extra heat. The table below compares several useful combinations.
Here are some delicious twists you can try:
| Variation | Key Ingredients | Flavor Profile |
|---|---|---|
| Bacon & Cheddar | Crispy bacon crumbles + shredded cheddar cheese | Smoky, sharp, and hearty. Perfect for meat-lovers. |
| Spinach & Feta | Sautéed spinach + crumbled feta | Light, tangy, and Mediterranean-inspired. Adds freshness and a salty kick. |
| Sun-Dried Tomato & Mozzarella | Chopped sun-dried tomatoes + mozzarella cheese | Italian vibes with a sweet-tart punch and gooey cheese. |
| Vegan Delight | Dairy-free cream cheese + nutritional yeast + walnuts | Creamy, nutty, and completely plant-based without sacrificing flavor. |
| Spicy Jalapeño Kick | Diced jalapeños + pepper jack cheese | A bold, zesty bite with just the right amount of heat. |
| Crab-Stuffed | Fresh crab meat + Old Bay seasoning + cream cheese | Elegant, seafood-forward, and perfect for special occasions. |
| Herbed Goat Cheese | Goat cheese + fresh thyme or rosemary | Tangy, aromatic, and a little rustic. Great with a glass of wine. |
Tips for the Best Stuffed Mushrooms
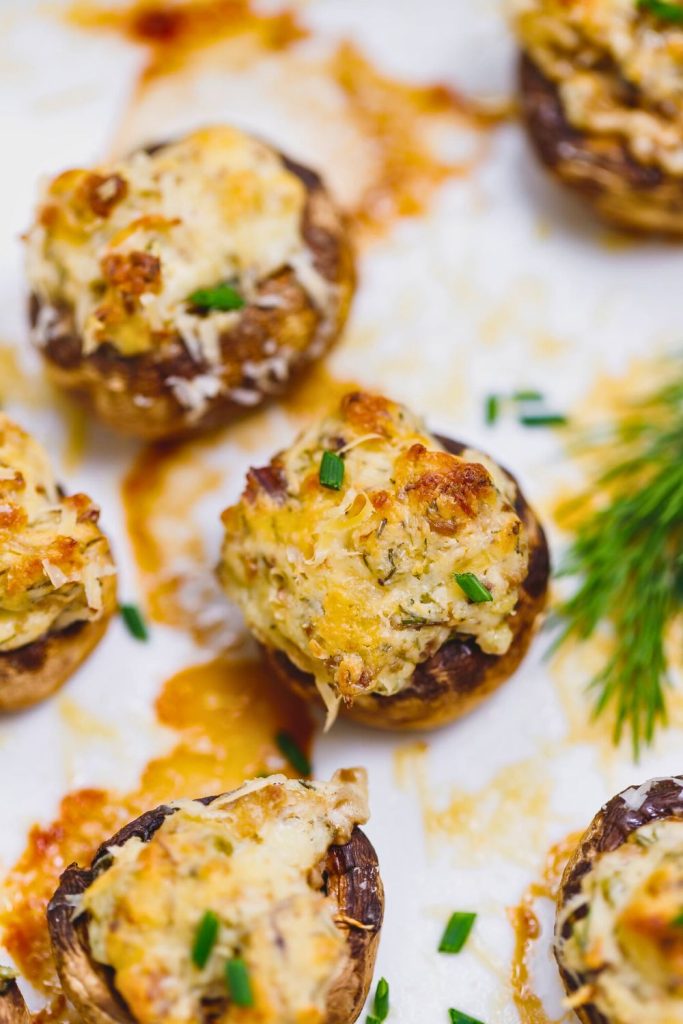
A few preparation details prevent watery filling, collapsed caps, and uneven baking:
- Pick the right mushrooms. Choose smaller white button or cremini mushrooms. They are bite-sized and sturdy, making them easier to fill and eat.
- Do not skip the stem sauté. Mushrooms release a lot of water. Cooking the stems first helps prevent a watery filling.
- Dice the onion finely. Smaller pieces blend into the filling better, so no one bites into a big raw chunk.
- Cool the sautéed base. Hot onions and mushrooms will melt the cream cheese too quickly, leaving you with a greasy filling. Let it rest for 5–10 minutes.
- Use fresh herbs. Parsley, thyme, or chives add brightness. Dried herbs do not deliver the same freshness.
- Monitor the last minutes of baking. Overbaking makes mushrooms collapse. Pull them out when the tops are golden and the caps are just tender.
- Assemble ahead when useful. You can prep and fill the mushrooms a few hours in advance, then bake right before serving. This makes hosting much easier.
Together, these tips protect the creamy texture and help every mushroom bake at approximately the same rate.
Why This Recipe Works Without Breadcrumbs
Breadcrumbs or panko usually add bulk to stuffed mushroom filling. Finely chopped pecans perform that job here while contributing toasted flavor and crunch.
Here is why:
- Contrasting texture: Pecans add toasted crunch rather than the softer, bread-like body created by crumbs.
- Toasted-nut flavor: Toasty pecans add a richness and depth that enhances the savory mushroom and onion base.
- Breadcrumb-free structure: By avoiding breadcrumbs, this recipe works for guests with gluten sensitivities without sacrificing taste.
- Additional nutrients: Pecans contribute unsaturated fats, plant protein, and useful minerals to the filling.
This minor adjustment not only makes the recipe stand out but also gives it a gourmet touch. Once you taste the nutty-cheesy combo, you will never miss the breadcrumbs.
Final Thoughts
Stuffed mushrooms may look elaborate on a platter, but their preparation is manageable and mostly uses one skillet and one baking sheet.
Tender caps, creamy cheese, fresh herbs, garlic, and toasted pecan flavor give each bite several layers of texture.
Keep the base vegetarian and gluten-free, or choose one of the variations when bacon, seafood, spinach, or extra heat better suits the menu.
For a reliable appetizer that can be assembled ahead and baked shortly before serving, this method is worth keeping.
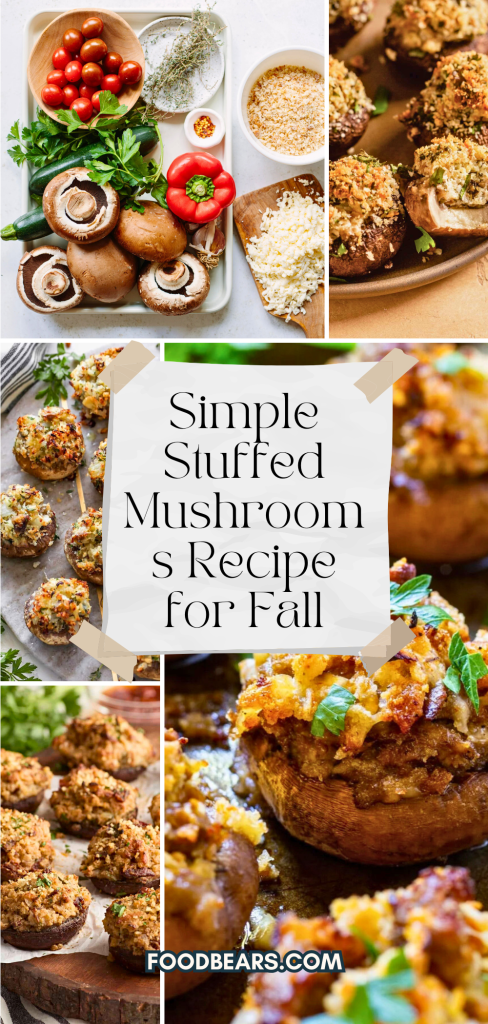
Cream Cheese Stuffed Mushrooms
More Cozy Fall Recipes You’ll Love
Round out a cool-weather menu with these linked FeastBears recipes:
- Creamy Crockpot Potato Soup – A slow-cooked, comforting soup for chilly evenings.
- Soft Homemade Cornbread – A fluffy, golden side for soup, chili, or a holiday meal.
- Sweet and Spicy Roasted Brussels Sprouts – Crisp-edged sprouts coated in a smoky honey-maple glaze.
Save the linked recipes when you want to combine a warm appetizer with soup, bread, and a flavorful vegetable side.

Dana Brooks is a home-cooking writer at Feastbears, where she shares easy family recipes, cozy dinners, quick desserts, and beginner-friendly kitchen tips. Her goal is to make everyday cooking feel simple, warm, and enjoyable for busy home cooks.


