When the weather cools down, these soft pumpkin sugar cookies are an easy way to bring pumpkin and warm spices into your fall baking.
Each pumpkin sugar cookie has a tender, lightly chewy center and a delicate sugar coating that adds just enough sparkle and crunch.
Plain pumpkin purée, dark brown sugar, and a five-spice blend give the buttery dough its soft orange color and cozy seasonal flavor.
The method follows familiar cookie-making steps, with a brief chill to make the dough easier to handle and a quick 10–12 minute bake for each tray.
Gather the ingredients and leave room in your schedule for chilling before you start.
Why You’ll Love Pumpkin Sugar Cookies
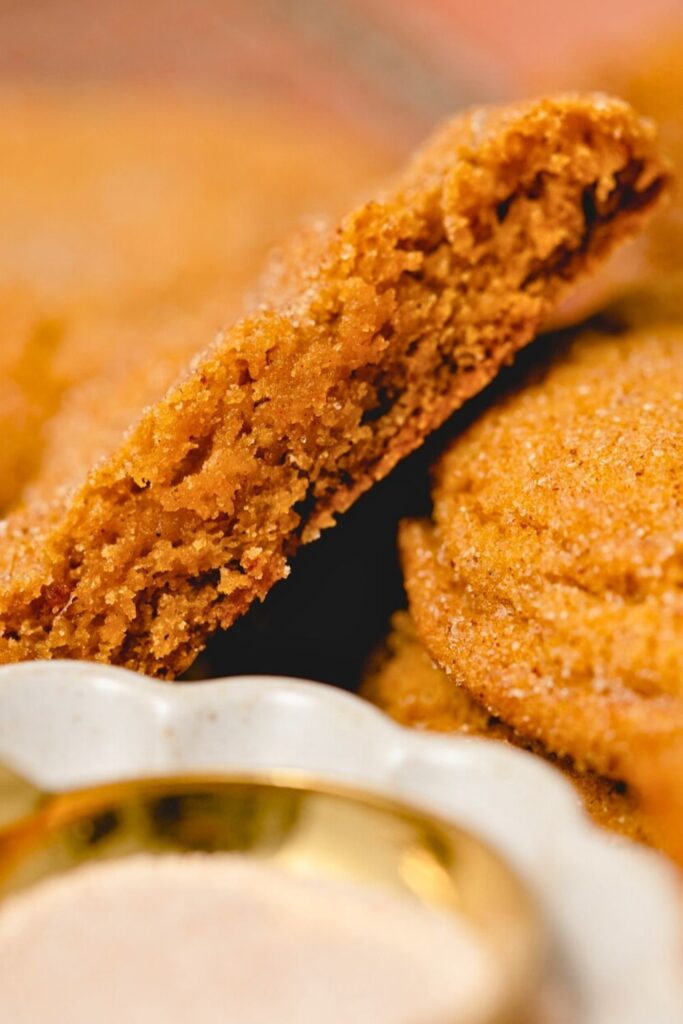
This recipe keeps the buttery sweetness of a classic sugar cookie while adding a mellow pumpkin note and a fragrant layer of fall spice.
They bake up soft and lightly chewy with sugared edges, making them equally welcome at an October gathering or alongside a warm drink later in the season.
Here are a few reasons to put them on your baking list:
- A soft texture: Creaming the butter and sugar introduces air, while careful flour measurement helps keep the dough from becoming overly dense.
- A layered spice blend: Cinnamon, ginger, mace, allspice, and nutmeg season the pumpkin dough.
- Familiar equipment: A hand mixer or stand mixer, mixing bowls, and lined baking sheets handle the job.
- Room for variation: Try maple sugar on the outside or a small spice adjustment if you want a different finish.
- Make-ahead options: Both the baked cookies and portioned dough can be frozen for another day.
The pumpkin flavor is mild, with a soft orange tint and warm spices that work alongside the butter and brown sugar.
Ingredients You’ll Need
Measure the dry ingredients and the butter-pumpkin mixture separately before you start. This keeps the mixing process organized and helps prevent accidental overworking of the dough.
The Dry Mixture
| Ingredient | Amount | Purpose |
|---|---|---|
| All-purpose flour | 2 ½ cups (300g) | Provides the cookie dough’s structure; weigh or spoon and level |
| Baking powder | ½ teaspoon | Adds a little lift as the dough bakes |
| Ground cinnamon | ½ teaspoon | Supplies the cinnamon note in the spice blend |
| Ground ginger | ½ teaspoon | Contributes a sharper, warming spice flavor |
| Ground mace | ½ teaspoon | Adds an aromatic note related to nutmeg |
| Allspice | ½ teaspoon | Rounds out the mixed-spice flavor |
| Sea salt | ½ teaspoon | Seasons the dough and balances the sweet ingredients |
| Freshly ground nutmeg | ½ teaspoon | Adds fragrant warmth; freshly grated or pre-ground is suitable |
Preparation tip: Sift the flour, leavening, and spices through a fine-mesh strainer to break up clumps, then whisk to distribute everything evenly.
The Butter and Pumpkin Mixture
| Ingredient | Amount | Purpose |
|---|---|---|
| Unsalted butter (softened) | 14 tbsp (196g) | Use softened, shape-holding butter for creaming |
| Granulated sugar | ¾ cup (150g) | Sweetens the dough; extra sugar is needed separately for rolling |
| Dark brown sugar | ¾ cup (150g) | Adds molasses flavor and moisture |
| Pumpkin puree | ½ cup (120g) | Use plain purée for pumpkin flavor and color |
| Vanilla extract | 1 tablespoon | Adds a background vanilla flavor |
| Egg yolk (room temperature) | 1 large yolk | Contributes richness and helps the ingredients bind |
Choose plain pumpkin purée, not pumpkin pie filling. Prepared pie filling adds sugar and spices beyond the amounts measured here.
Once the ingredients are measured, you can move through the mixing, chilling, and baking stages in order.
How to Make Pumpkin Sugar Cookies (Step-by-Step)
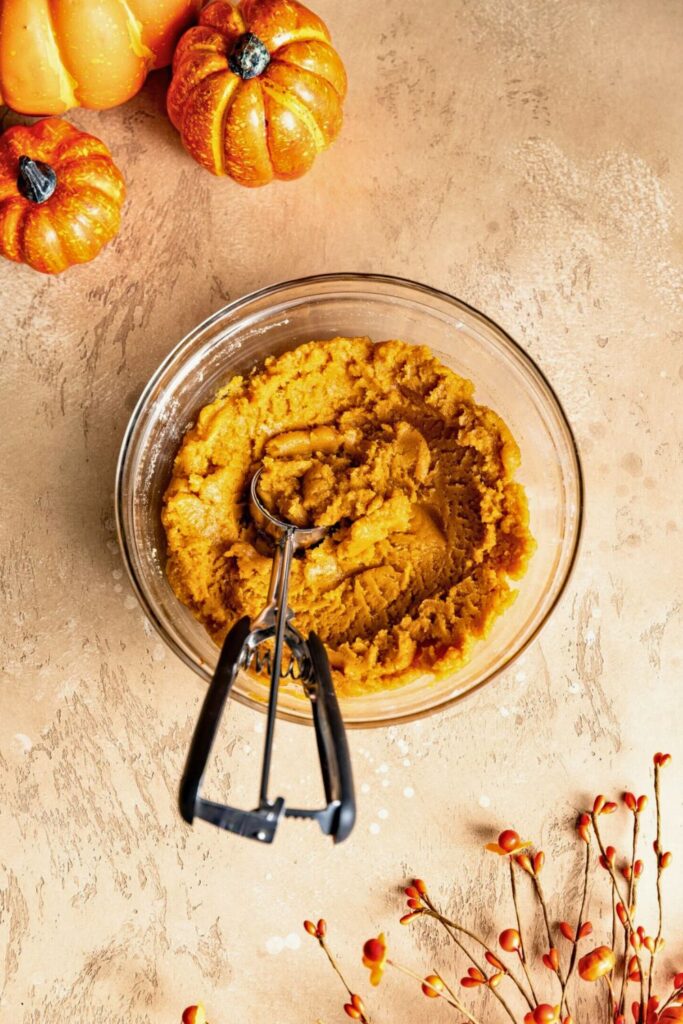
Follow the method below in order, using the visual and texture cues to know when the butter is properly creamed, the dough is chilled enough, and the cookies are ready to leave the oven.
For the best texture, start with softened—not melted—butter, mix only briefly after adding flour, and do not skip the refrigerator rest before shaping.
Step 1: Prep the Dry Ingredients
Start with the dry ingredients so they are ready to add once the butter mixture is prepared.
Set a fine-mesh strainer over a medium bowl and add:
- All-purpose flour: 2½ cups (300g)
- Baking powder: ½ teaspoon
- Ground cinnamon: ½ teaspoon
- Ground ginger: ½ teaspoon
- Ground mace: ½ teaspoon
- Allspice: ½ teaspoon
- Sea salt: ½ teaspoon
- Ground nutmeg: ½ teaspoon
Freshly grated nutmeg has a strong aroma, but pre-ground nutmeg is also suitable. Measure the same amount either way.
Sift, then whisk until the spices and baking powder are evenly distributed through the flour.
Set the dry mixture aside while you prepare the butter and sugars.
Step 2: Cream the Butter & Sugar
Creaming creates small air pockets in the butter mixture. Use softened butter that holds its shape, not melted or oily butter.
Fit a stand mixer with its paddle, or use a hand mixer with a large bowl. Begin with:
- Unsalted butter: 14 tablespoons (196g), softened
Beat the butter at medium speed for about 30 seconds, then add:
- Granulated sugar: ¾ cup (150g)
- Dark brown sugar: ¾ cup (150g), with lumps broken up
Cream at medium-high speed for about 5–6 minutes, watching for a lighter, fluffy mixture rather than relying on time alone.
What to look for: The butter and sugar should become more aerated as they mix. Those air pockets contribute to the baked cookie’s texture.
Scrape the sides and bottom halfway through and again at the end. Stop when the mixture is evenly fluffy; it does not need to reach an exact doubled volume.
Step 3: Add Pumpkin, Vanilla, and Egg Yolk
Next, add the pumpkin to the creamed mixture.
Reduce the mixer to low or medium-low and add:
- Plain pumpkin purée: ½ cup (120g)
Check that the can contains plain pumpkin, not a sweetened pie mixture.
Mix until the pumpkin is incorporated, then add:
- Vanilla extract: 1 tablespoon
Blend in the vanilla, then separate one large egg using clean hands or an egg separator. Add only the yolk to the bowl.
Wash your hands and any utensils that contacted the raw egg. Mix just until the yolk is incorporated, then scrape the bowl again.
Step 4: Add the Dry to the Wet
Combine the dry and wet mixtures gently to avoid unnecessary mixing once the flour goes in.
On low speed, add half of the flour mixture and mix only until incorporated.
Add the remaining dry mixture and stop when no loose flour is visible.
Keep this stage brief. Prolonged mixing after adding flour can develop more gluten and make the cookies tougher.
The dough should be soft and cohesive. If needed, stop the mixer just before it is fully combined and finish folding by hand.
Scrape the bowl and smooth the dough into an even layer ready for chilling.
Step 5: Chill the Dough
Chilling firms the butter and gives the flour time to absorb moisture, turning the soft dough into something much easier to scoop, roll, and flatten.
Cover the dough closely with plastic wrap or a suitable cover so the surface does not dry out.
Refrigerate for 30–45 minutes, until firmer and easier to handle.
The purpose of chilling: The butter firms and the flour absorbs moisture during the rest, helping the portions hold their shape.
Use that time to line your trays, clear the work surface, and prepare the coating sugar.
Step 6: Preheat & Portion
Toward the end of chilling, preheat the oven to:
- 350°F (175°C)
Line baking sheets with parchment paper or silicone baking mats, following the liner’s temperature guidance.
Portion the dough into small balls about 1 inch across. Aim for approximately 20g per cookie to keep the batch size and baking time consistent.
Roll each portion in a small bowl of granulated sugar to coat the surface.
Space the balls about 2 inches apart on the tray, then press gently into discs around ½ inch thick.
Bake a test cookie first. It lets you check the spread and timing before committing a full tray.
Step 7: Bake & Set
Once the test cookie is baked and cooled enough to assess, continue with the remaining portions.
Bake on the middle rack for about 10–12 minutes, adjusting for your oven and portion size.
Look for set edges and centers that remain soft but are no longer wet or raw-looking. Do not rely on cooling to finish visibly raw dough.
Texture tip: Avoid baking until the entire cookie becomes firm and dark. A baked-through but soft center will firm more as it rests.
Leave the cookies on the tray for 5–6 minutes, then transfer carefully to a wire rack.
Step 8: Repeat & Enjoy
Repeat with the remaining chilled dough, using cooled trays. At roughly 20g each, expect around 42–43 cookies.
Allow the cookies to cool fully before packing them, or set a few aside to serve once comfortably warm.
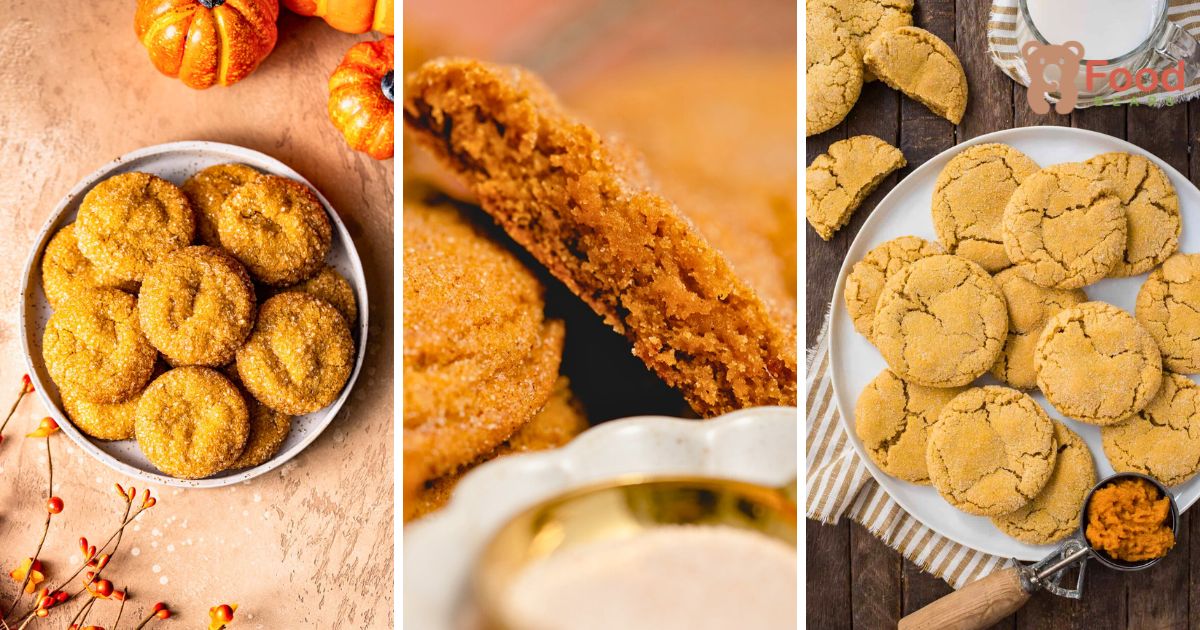
The finished cookies have a gentle pumpkin color, visible spice flecks, and a fine layer of sugar on top.
Light browning underneath and around the edges contrasts with the softer center.
Tasting Notes
- Texture: Expect a tender center with a little crispness at the sugared edge.
- Flavor: The spices sit alongside mild pumpkin, butter, and the deeper sweetness of brown sugar.
- Aroma: Cinnamon, ginger, nutmeg, and the other spices give the baked cookies a warm scent.
Serve them plain or try one of these pairings:
- A pumpkin spice latte alongside
- A little cinnamon cream cheese frosting
- A thin drizzle of maple glaze
- Vanilla ice cream between two cooled cookies
Tips for the Best Pumpkin Sugar Cookies
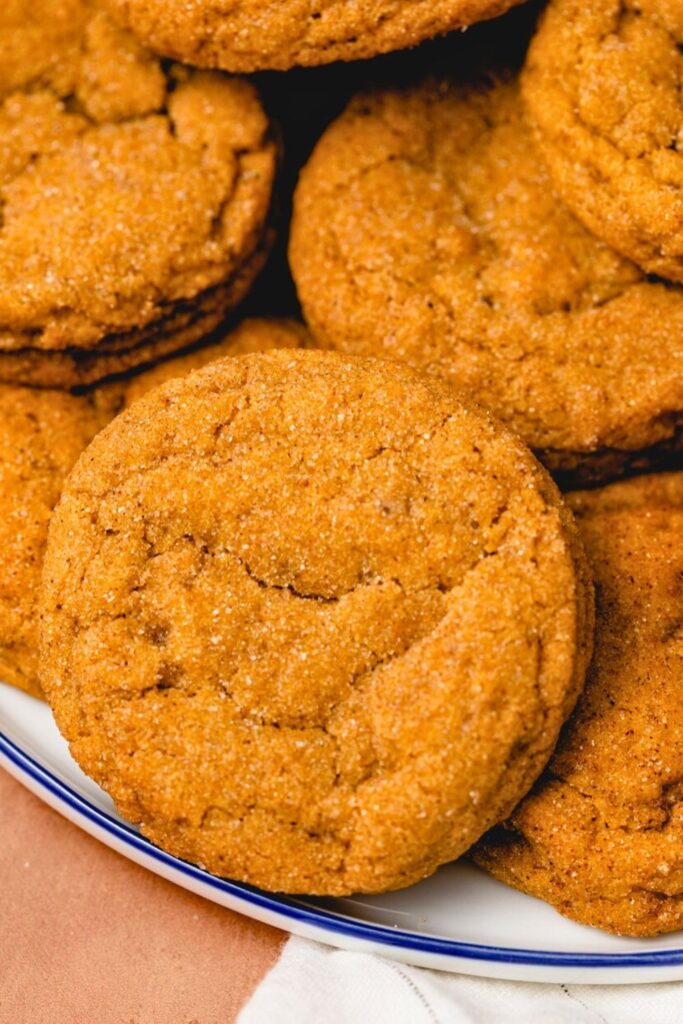
Use these practical checks to keep the dough easy to handle and produce cookies with tender centers rather than a dry, dense texture:
✅ 1. Cream Until Light and Fluffy
Allow about 5–6 minutes for the butter and sugars, scraping as needed. Watch the mixture rather than forcing a fixed time if it has already become fluffy or starts to warm excessively.
Mixing cue: Look for a lighter, aerated texture without requiring the mixture to double exactly.
✅ 2. Check the Pumpkin Label
Use plain pumpkin purée. Sweetened, spiced pie filling changes the recipe’s measured sugar and seasoning amounts.
✅ 3. Stop Once the Flour Is Incorporated
Keep the mixer low and stop when no flour pockets remain. Extra beating at this stage can make the baked texture less tender.
A spatula is useful for finishing the last few folds and scraping the bowl.
✅ 4. Give the Dough Its Refrigerator Rest
Chill for at least 30 minutes, allowing the butter to firm and the flour to hydrate. This helps manage spreading but does not replace careful measurement.
The firmer dough is also easier to scoop, roll, and flatten evenly.
✅ 5. Check One Cookie Before a Full Tray
A single test cookie helps you assess:
- How much the shaped dough spreads
- Whether the baking time needs adjustment
- The spice and sweetness of a baked, cooled sample
Judge flavor only after baking, not by tasting raw dough. Note any preference changes for your next batch.
Flavor Variations to Try
Once you are comfortable with the base recipe, change the coating, mix-ins, or finishing glaze to create a different flavor. Remember that wetter substitutions may also change how the dough handles.
| Variation | What to Do |
|---|---|
| Maple Sugar Coating | Coat the dough portions in maple sugar instead of the usual white sugar. |
| Extra-Spiced Pumpkin | Add a small pinch of cloves or a modest increase in ginger or nutmeg. |
| Frosted Pumpkin Cookies | Spread cinnamon cream cheese frosting on fully cooled cookies and keep them refrigerated. |
| Pumpkin Chai Sugar Cookies | Use a chai spice blend in place of the allspice for a different seasoning profile. |
| Pumpkin Chocolate Chip | Fold in mini chocolate chips before refrigerating the dough. |
| Glazed Pumpkin Cookies | Drizzle cooled cookies with a powdered-sugar glaze flavored with vanilla and a little milk. |
| Vegan Pumpkin Cookies | Plant-based butter and a flax egg are an experimental variation, not a guaranteed yolk replacement; the added water changes the dough. |
| Pumpkin Spice Sandwiches | Sandwich an appropriate buttercream or marshmallow filling between cooled cookies; follow the filling’s storage requirements. |
| Nutty Crunch | Fold ¼ cup chopped pecans or walnuts into the dough. |
| Pumpkin Mocha Cookies | Mix ½ teaspoon espresso powder into the dough for a light coffee note. |
How to Store Pumpkin Sugar Cookies
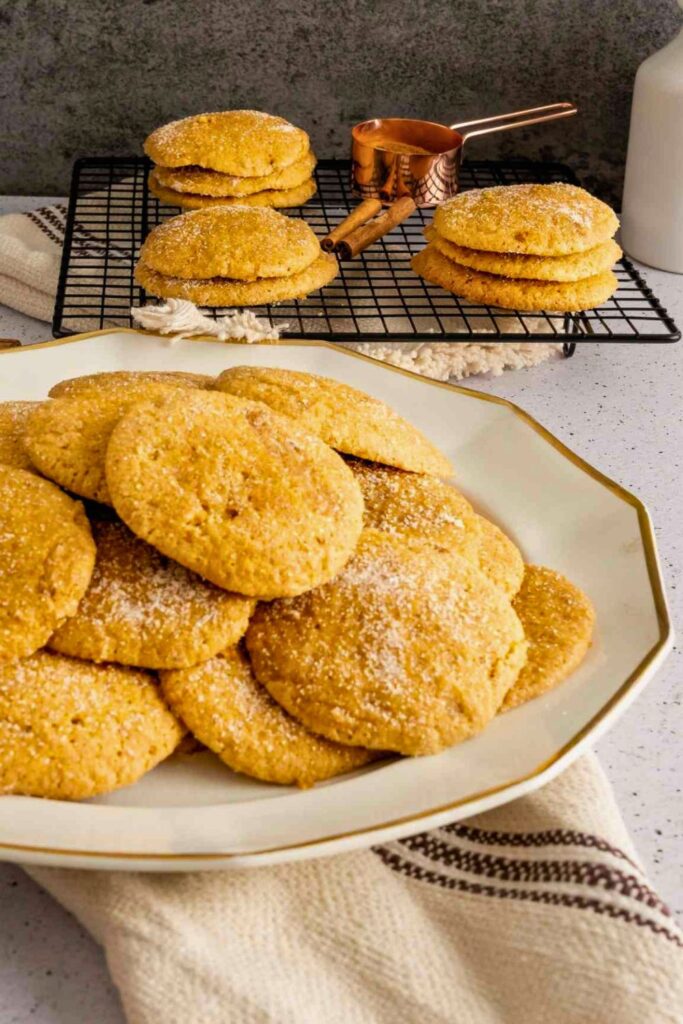
Let the cookies cool completely before packing them away; sealing them while warm traps steam and can soften the sugared surface.
🏡 Short-Term Counter Storage
- Container: Keep plain, unfrosted cookies in an airtight box.
- Quality guide: Use within about 5 days, keeping them cool and dry.
- Softness tip: A small piece of bread can transfer moisture to the cookies, not absorb moisture from the air to soften them. Keep it separate, check daily, and remove it if it becomes stale or shows spoilage.
❄️ Refrigerated Storage
- Container: Seal the cookies with parchment between layers if needed.
- Quality guide: Plain cookies can be kept for around 1 week; follow appropriate refrigeration guidance for any perishable frosting.
- Serving note: Let plain cookies lose their refrigerator chill before eating if you prefer a softer texture.
🧊 Freezing the Baked Cookies
- Method: Separate cooled cookies with parchment and place in a freezer bag or airtight freezer container.
- Quality guide: Freeze for up to 2 months.
- To serve: Thaw plain cookies at room temperature, usually around 1–2 hours, or warm them briefly in the oven.
⏳ Freezing the Unbaked Dough
Freeze portioned dough if you would like to bake smaller batches later.
- First: Scoop small, similarly sized dough balls.
- Next: Freeze on a lined tray until solid, then transfer to a labeled freezer bag.
- Quality guide: Use the frozen dough within about 3 months.
- To bake: Let frozen portions soften only enough to accept sugar and flatten as directed, keeping them cold. Bake with about 1–2 extra minutes as a starting point, then check the centers and adjust as needed.
Labeling tip: Record the freezing date, portion size, and oven setting on the container.
Final Thoughts: Fall in Cookie Form
These pumpkin sugar cookies balance mild pumpkin, brown-sugar richness, and a full blend of warming spices in a soft, buttery cookie.
Bake them for a fall gathering or a relaxed weekend project, making sure to leave 30–45 minutes in your schedule for chilling the dough.
Once cool, enjoy the tender centers and lightly crisp sugared edges right away, or store the batch for an easy seasonal treat later.
Soft Pumpkin Sugar Cookies
More Pumpkin Goodness You’ll Love
For more pumpkin cooking and baking ideas, explore these related recipes:
🧇 Pumpkin Waffles for Cozy Mornings
Try pumpkin waffles for a warm breakfast with crisp edges and a soft middle.
🍪 No-Bake & Easy Pumpkin Protein Balls Recipe for Fall
These no-bake pumpkin bites are another option when you want a small, spiced snack. Check their ingredients for dietary needs.
🧁 The Best Pumpkin Cupcakes Recipe for Fall Parties
Pumpkin cupcakes with cream cheese frosting make a different style of fall dessert for sharing.

Dana Brooks is a home-cooking writer at Feastbears, where she shares easy family recipes, cozy dinners, quick desserts, and beginner-friendly kitchen tips. Her goal is to make everyday cooking feel simple, warm, and enjoyable for busy home cooks.


