These no-bake pumpkin protein balls combine rolled oats, pumpkin purée, almond butter, and warm fall spices in soft, chilled snack-sized bites.
Everything mixes in a single bowl, while optional chocolate and a few easy adjustments allow you to control both sweetness and texture.
Make them ahead for convenient snacks, but store the finished bites in the refrigerator because the moist, no-bake mixture is not safe for room-temperature storage.
This guide covers the ingredients, eight simple mixing and shaping steps, texture troubleshooting, variations, and proper cold storage.
🧡 Why You’ll Love These Pumpkin Protein Balls
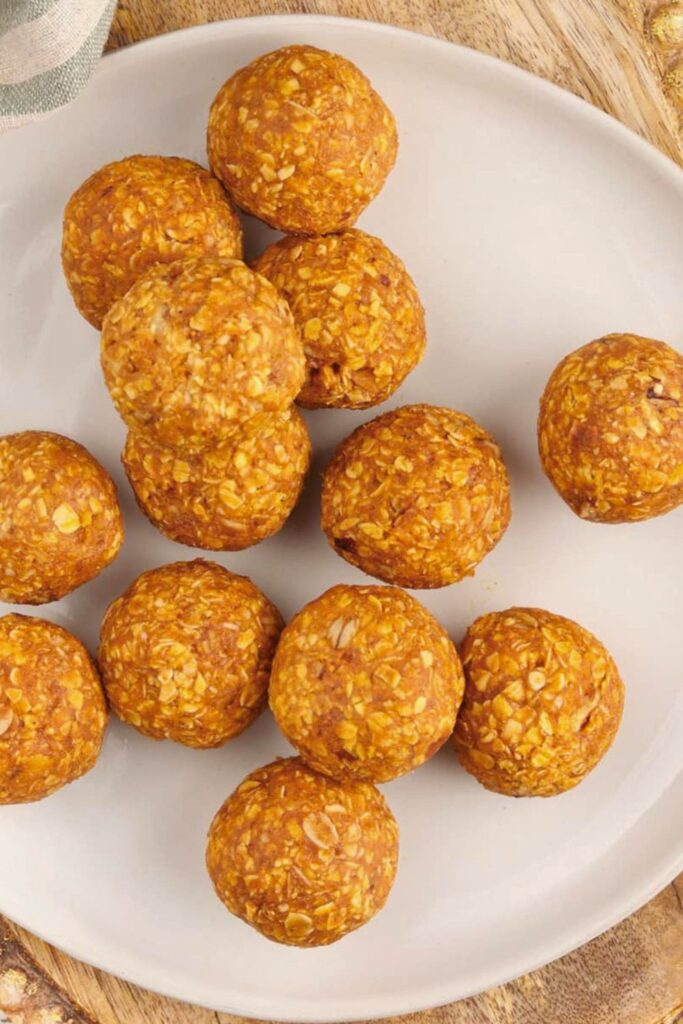
If you want pumpkin-spice flavor without turning on the oven, these chewy oat-based bites offer a practical make-ahead option.
Here is what makes the method convenient:
1. Brief Hands-On Preparation
Mixing can take around 10 minutes once everything is measured. Rolling and chilling add time, so plan beyond the mixing stage before serving.
2. A Single Mixing Bowl
Combine the ingredients in one bowl, then portion onto a lined tray. A sturdy spoon or spatula is enough for mixing.
3. A Shareable Snack Option
Pumpkin, oats, almond butter, and optional chocolate make a sweet, chewy bite. These contain milk and almonds, and the honey makes them unsuitable for babies younger than 12 months.
4. Flexible Flavors and Add-Ins
Try a different chocolate, a little chopped nut, or the partial protein-powder substitution described below. Additions may change how much moisture the mixture needs.
5. Familiar Ingredients with a Sweet Finish
Oats, pumpkin, almond butter, and non-fat dry milk form the base. They contribute different nutrients, but the exact protein and calorie amounts per ball depend on brands, add-ins, and portion size.
6. Pumpkin-Spice Flavor
Cinnamon, nutmeg, ginger, and allspice give the chilled bites their warm spice profile without needing to bake them.
📝 Ingredients You’ll Need
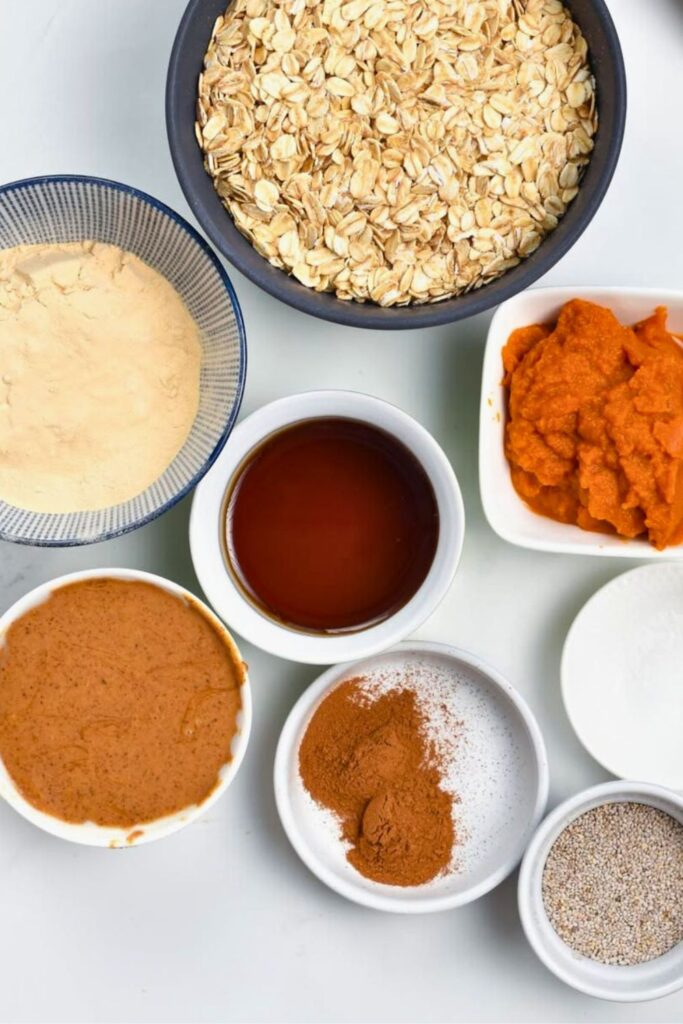
Measure every ingredient first and confirm that each oat, milk-powder, protein-powder, and chocolate product is appropriate for no-cook use.
| Ingredient | Amount | Notes |
|---|---|---|
| Old-fashioned oats | 1 cup | Use rolled oats suitable for no-cook eating; they absorb moisture and add texture |
| Non-fat dry milk powder | ½ cup | Use a suitable ready-to-eat product; optionally replace half with an appropriate protein powder |
| Almond butter | 2 tablespoons | Smooth, well-stirred nut butter helps bind the mixture |
| Pumpkin puree | ⅓ cup | Plain pumpkin supplies moisture and pumpkin flavor; do not use sweetened pie filling |
| Honey | 2 tablespoons | Adds sweetness and moisture; not suitable for infants under 12 months |
| Pumpkin spice blend | 1.5–2 teaspoons | Use a prepared blend or a homemade mix led by cinnamon |
| Chocolate chips/chunks (optional) | ¼–½ cup | Optional ready-to-eat chocolate; amount and type change the sweetness |
🧑🍳 Texture tip: Chill a sticky mixture first. If needed, add a little more oats or dry milk; if crumbly, work in small amounts of pumpkin or almond butter.
🧑🍳 Step-by-Step: How to Make Pumpkin Protein Balls (No-Bake & Easy)
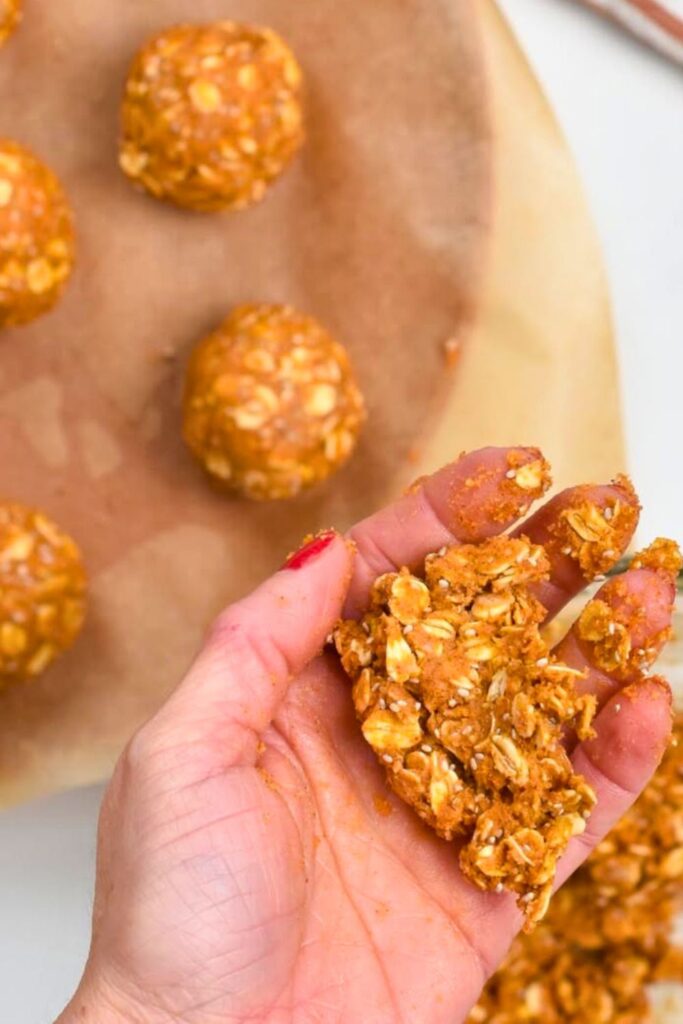
Instead of baking, you will mix, portion, roll, and chill the bites, adjusting only until the mixture forms a ball without crumbling or smearing.
Use the step-by-step guide to build the base, add the flavorings, and adjust the consistency before shaping.
Begin with the dry oat base.
🥣 Step 1: Start with Old-Fashioned Oats
Measure 1 cup old-fashioned rolled oats into a medium bowl. Use a product whose label or manufacturer supports no-cook use.
💡 The oats’ role:
They add texture and absorb some moisture as the mixture rests. Do not assume every oat product is ready to eat without cooking; check the directions.
Quick oats can make a softer, less chewy mixture if suitable for no-cook use. Steel-cut oats are not a direct substitute here.
🥛 Step 2: Add the Non-Fat Dry Milk Powder
Add ½ cup non-fat dry milk powder. Choose a product suitable for this no-bake use and follow any preparation requirements on its label.
💪 Protein-powder variation:
You can try replacing half the dry milk with ¼ cup vanilla or unflavored protein powder suitable for ready-to-eat use. Absorbency and nutritional content vary by product.
If you do not have dry milk, almond or coconut flour is not an automatic equivalent. Only consider products explicitly suitable for eating uncooked; do not add ordinary raw flour or rely on home heat treatment to make it safe.
🥜 Step 3: Scoop in the Almond Butter
Mix in 2 tablespoons smooth almond butter. It adds richness and helps the oats and milk powder hold together.
🤔 Peanut butter option:
You can use it instead of almond butter, but its stronger flavor will be more noticeable alongside the pumpkin.
Stir any separated oil back into the nut butter before measuring. A smooth, evenly mixed butter is easier to incorporate than a dry paste.
🎃 Step 4: Stir in the Pumpkin Purée
Add ⅓ cup plain pumpkin purée. Use unsweetened canned pumpkin, not pumpkin pie filling with added sugar and spices.
🎃 What pumpkin adds:
It brings moisture, color, and mild pumpkin flavor. Its water content also affects how much the mixture needs to rest or be adjusted.
Stir the pumpkin through the oats, dry milk, and almond butter until the mixture is evenly moistened.
🧂 Step 5: Add Your Homemade Pumpkin Spice Blend
Season with 1½–2 teaspoons pumpkin pie spice, either prepared or homemade.
A homemade blend can draw on the following spices:
- Cinnamon as the main note
- A smaller amount of nutmeg
- Ground ginger for warmth
- Allspice for another aromatic layer
- An optional small pinch of ground cloves
🍂 Spice adjustment:
Start with 1½ teaspoons of the blend and use up to 2 teaspoons for a stronger flavor. The strength depends on the blend you choose.
Stir thoroughly so there are no concentrated pockets of dry spice.
🍯 Step 6: Sweeten It Up with Honey
Add 2 tablespoons honey and mix it through the pumpkin-oat base.
If omitting chocolate,
you may prefer another tablespoon of honey. It adds both sweetness and moisture, so reassess the texture afterward.
Maple syrup or agave can replace honey, though they may loosen the mixture. That change alone does not make the recipe vegan: the dry milk and any dairy-containing chocolate would also need suitable replacements.
Mix until the honey is evenly distributed and the mixture becomes a thick, sticky mass.
🍫 Step 7: Add Chocolate Chips or Chunks (Optional but Encouraged)
Chocolate is optional, so choose the amount and type that suits your preference.
Fold in ¼–½ cup chocolate chips or small chocolate chunks. Dark, milk, or white chocolate each gives a different sweetness and flavor.
🍫 Pantry tip:
Use leftover baking chocolate pieces if they are fresh and suitable for eating as they are. Break large pieces small enough to fit comfortably in a bite.
Distribute the chocolate evenly, then check whether the mixture is ready to roll or needs chilling.
❄️ Step 8: Chill (If Needed) and Roll
If very sticky, refrigerate the bowl for 15–20 minutes before shaping. The rest lets it firm and gives the oats time to absorb moisture.
Line a tray or large plate with parchment. Wash your hands, leaving them clean and only slightly damp if that helps prevent sticking, then:
- Scoop about 1 tablespoon for a small ball, or use larger equal portions for fewer bites.
- Press and roll the portion gently between your palms until it holds together.
- Set the shaped ball on the lined tray.
Continue with the remaining mixture. Divide it into 12–16 larger balls, or expect more pieces if you use smaller tablespoon-size portions.
🧼 Rolling tip:
Wash off sticky residue as needed and dry your hands before continuing. Avoid adding excess water to the mixture.
Refrigerate the shaped balls for 10–15 minutes to firm before serving or packing into containers.
🧊 Aftercare: How to Store Pumpkin Protein Balls
Keep the finished bites in an airtight container in the refrigerator; they are not a shelf-stable snack.
- Refrigerator: Use within 3–4 days, keeping them cold between servings.
- Freezer: Freeze for up to 2 months for best quality, then thaw in the refrigerator.
Separate layers with parchment to reduce sticking. For lunches or travel, carry them in an insulated bag with an ice pack rather than leaving them in a warm car or backpack.
🎉 Bonus Tip: Adjusting the Texture
If the mixture does not roll easily, use these small adjustments:
| Problem | Solution |
|---|---|
| Too wet or sticky | Chill first, then add oats or dry milk a tablespoon at a time only if still needed. |
| Too dry or crumbly | Work in a little pumpkin, almond butter, or honey, stopping once the mixture holds together. |
| Too bland | Add a small pinch of spice or a little extra chocolate and mix evenly. |
Aim for a cohesive mixture that holds a ball without smearing heavily or falling apart. Make adjustments gradually.
👐 How to Roll the Perfect Protein Balls
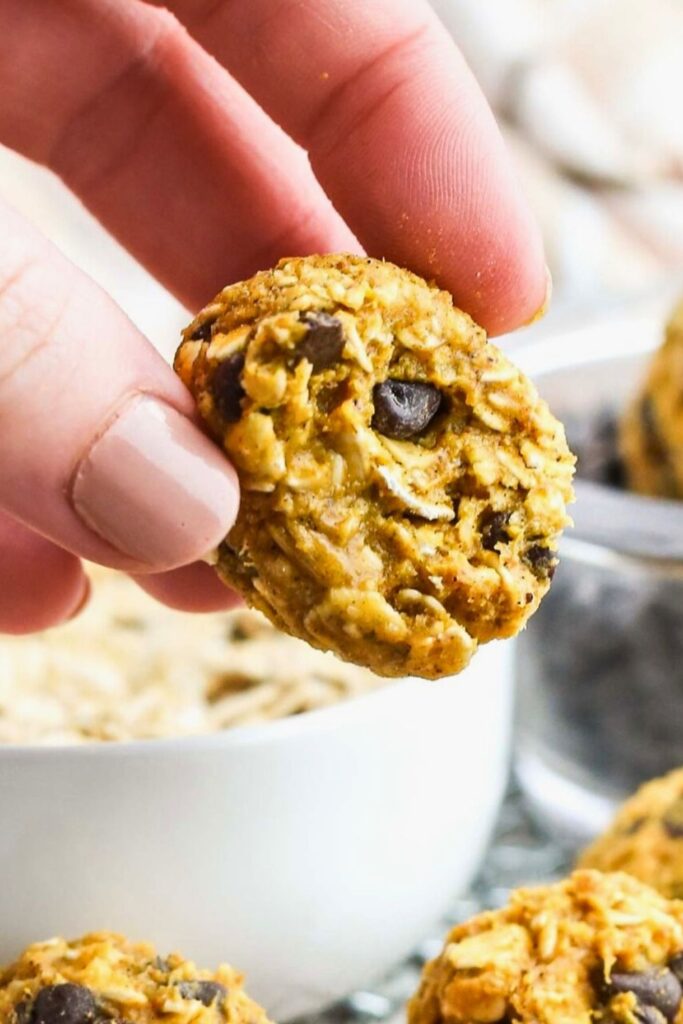
Once the mixture is cohesive and cool, a lined tray, consistent scoop, and clean hands make shaping neater and portions more even.
✋ 1. Prepare a Lined Surface
Line a tray, plate, or baking sheet with parchment paper before portioning, so each finished ball has somewhere to go.
A flat tray is simplest. If using a rack, cover it with parchment supported well enough that the soft balls cannot sag through.
🍪 2. Keep the Scoop Size Consistent
A tablespoon-size scoop works for small bites. Use a consistent amount for each ball, then press and roll gently between your palms.
💦 3. Keep Hands Clean and Lightly Damp
Wash off any buildup and dry your hands. A trace of moisture can help with sticking, but soaking-wet hands can loosen the mixture.
💡 If it still clings, return the bowl to the refrigerator for 15–20 minutes before trying again.
🍬 4. Choose a Manageable Portion
Smaller balls are easy to portion, while dividing the batch into 12–16 pieces gives larger bites. Adjust to your intended serving rather than assuming a fixed nutritional amount per ball.
You can portion them for:
- A chilled lunchbox snack where allergy rules permit
- Taking along in a cooler bag
- A snack break around your usual activities
After rolling, chill for 10–15 minutes and keep refrigerated until you serve or store them.
🌱 Health Benefits You’ll Love
Oats, milk powder, almond butter, pumpkin, and honey contribute different macronutrients; the notes below explain their recipe roles without inventing per-ball nutrition claims.
🍂 1. Pumpkin in the Mixture
Pumpkin contributes plant ingredients and some fiber alongside its flavor and moisture. The amount in each ball is only a fraction of the batch, so these bites should not be treated as a guaranteed high-fiber serving.
🥣 2. Oats as the Base
Rolled oats contribute carbohydrate and fiber while giving the mixture its chewy structure. This recipe has not been evaluated for effects on blood sugar or cholesterol.
💪 3. Protein-Containing Ingredients
Milk powder and almond butter contribute protein, with optional protein powder changing the amount. Check the actual products and finished yield if you need a per-serving calculation.
🍯 4. Honey Provides Added Sweetness
Honey is the sweetener here, but it is still added sugar; optional chocolate may add more. It does not make the snack sugar-free or provide a reason to treat it as a remedy.
🧠 5. Nut Butter Adds Fat and Richness
Almond butter contributes fat as well as nut flavor and helps bind the ingredients. The two tablespoons are shared across the full batch.
🧊 6. A Refrigerated Make-Ahead Option
Portioning and chilling the bites can make snack preparation convenient. Keep them cold and use or freeze them within the storage guidance above.
🎨 Flavor Variations to Try
Use these mix-in ideas for a different flavor, adding each gradually so the chilled mixture remains firm enough to roll.
| Flavor Theme | Add or Swap |
|---|---|
| Chocolate Chip Classic | Use ¼–½ cup dark or milk chocolate chips or small chunks. |
| White Chocolate Pumpkin | Choose white chocolate chips instead for a sweeter flavor. |
| Nutty Crunch | Mix in ¼ cup chopped pecans or walnuts, checking the texture afterward. |
| Fall Spice Boost | Use the higher end of the listed spice amount or add a small pinch of cinnamon. |
| Coconut Delight | Add 2 tablespoons unsweetened shredded coconut for a chewy variation. |
| Chia Boost | Mix in 1 tablespoon chia seeds; they absorb moisture, so allow a rest before adjusting. |
| Vanilla Protein Power | Replace ¼ cup of the dry milk with vanilla protein powder suitable for no-bake use; absorbency varies. |
| Peanut Butter Lovers | Replace the almond butter with the same amount of well-stirred peanut butter. |
| Apple Cinnamon | Add small dried apple pieces and a little cinnamon for an apple-spice variation. |
| Spicy Sweet | Add only a tiny pinch of cayenne, then mix thoroughly for gentle heat. |
🧁 Optional coating: Roll the balls in ready-to-eat graham cracker crumbs, a little cinnamon sugar, or finely chopped nuts before the final chill.
📝 Final Thoughts: Snack Smart, Snack Fall
Pumpkin, oats, nut butter, and cozy spices come together in an easy no-bake snack that is naturally portioned for grab-and-go serving.
Enjoy the bites chilled for their best chewy texture and warm spice flavor, either alone or alongside your favorite snack-time drink.
Measure accurately, make small texture adjustments as needed, and allow the shaped balls to chill fully before serving.
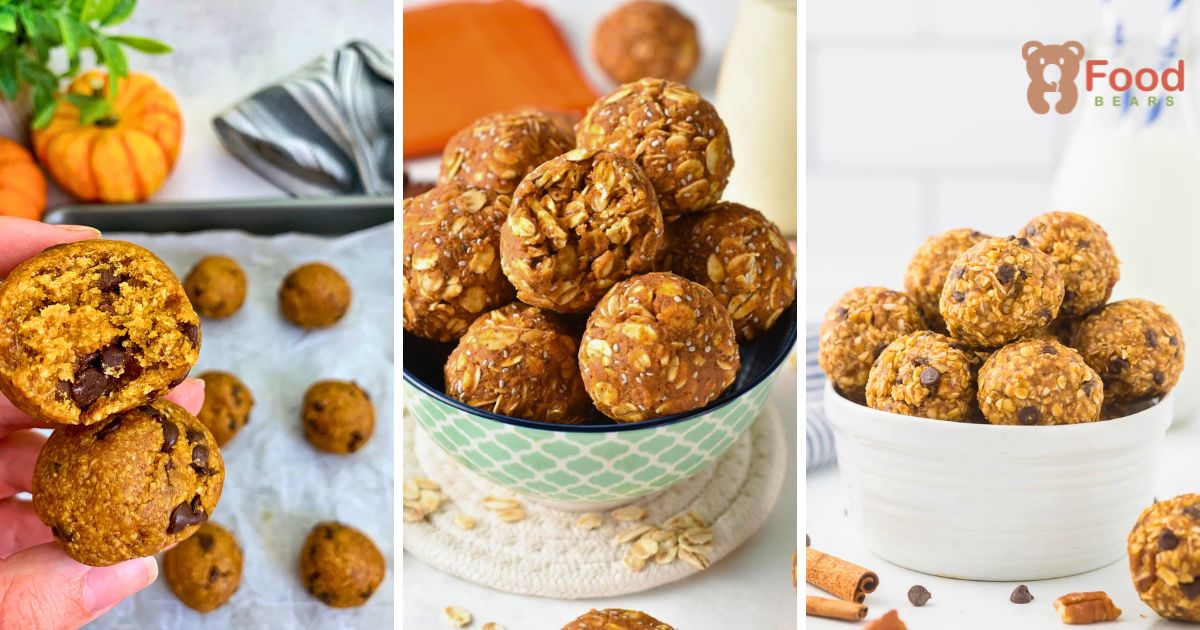
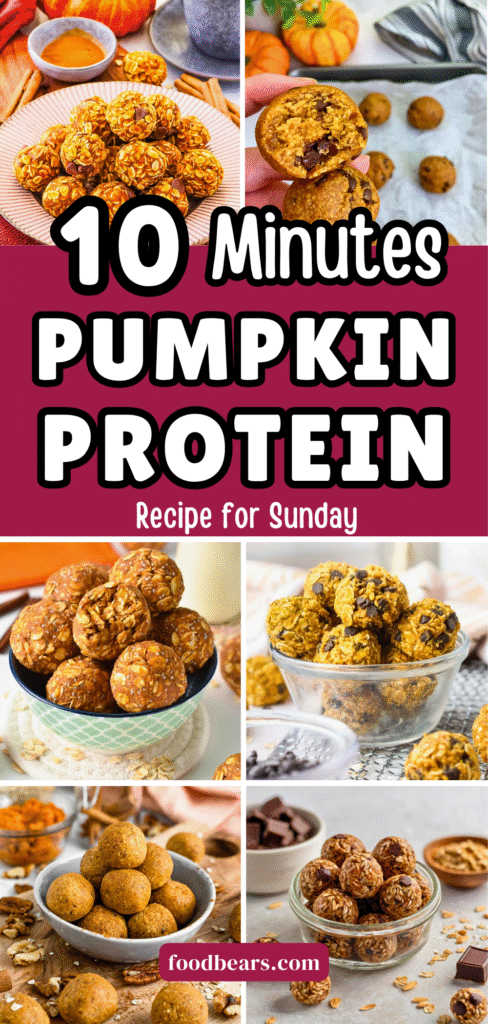
No-Bake Pumpkin Protein Balls
🎃 More Fall Recipes You’ll Love
Discover more ways to use pumpkin with these related seasonal recipes:
- 👉 The Ultimate Pumpkin Cinnamon Rolls Recipe – Pumpkin cinnamon rolls offer a soft, spiced weekend baking option with a creamy glaze.
- 👉 The Only Pumpkin Chili Recipe You Need – Try pumpkin chili when you want a savory meal built around the same seasonal ingredient.
- 👉 Pumpkin Waffles for Cozy Mornings – Pumpkin waffles bring warm spices to breakfast with a tender center and crisp edges.

Dana Brooks is a home-cooking writer at Feastbears, where she shares easy family recipes, cozy dinners, quick desserts, and beginner-friendly kitchen tips. Her goal is to make everyday cooking feel simple, warm, and enjoyable for busy home cooks.


