
Deviled eggs are an easy, creamy appetizer with enough tang and seasoning to stand out on a party tray.
The smooth yolk filling balances mayonnaise, Dijon, vinegar, and pepper, with paprika adding the familiar finishing color.
They work equally well for Easter brunch, summer cookouts, potlucks, and simple weekend snacks.
Start with eggs that peel cleanly, then follow the timing and chilling steps below.
What Exactly Are Deviled Eggs?
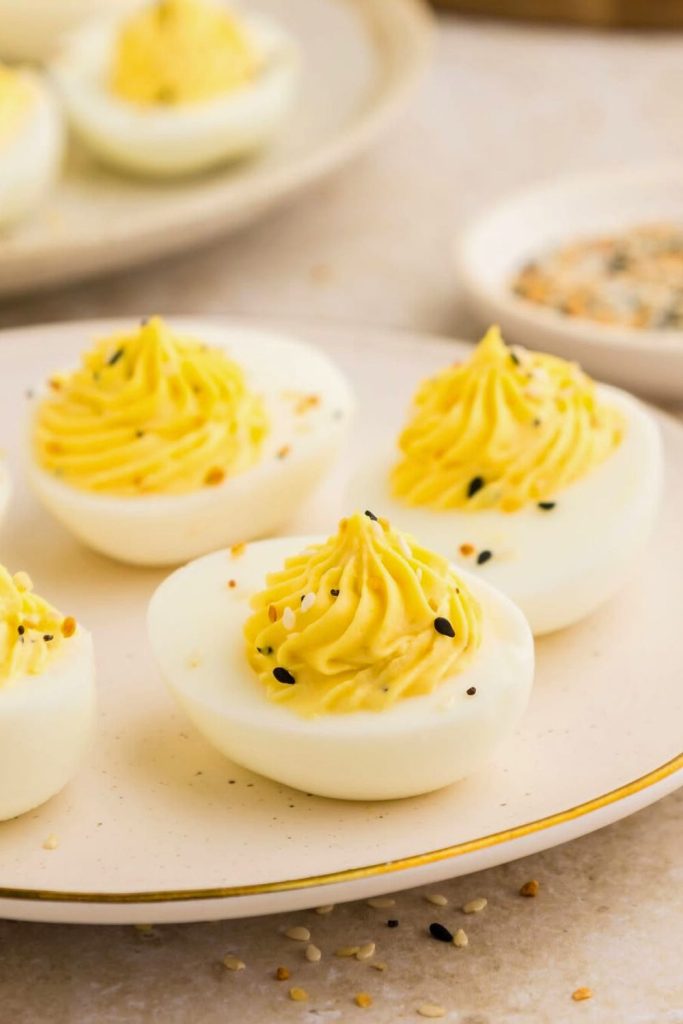
Deviled eggs begin with hard-cooked eggs cut lengthwise. The yolks are removed, seasoned into a creamy mixture, and returned to the firm white halves.
Mustard, pepper, and acid explain the name: historically, “deviled” described boldly seasoned foods. In this recipe, those ingredients give the mild egg filling its characteristic tang.
Versions of seasoned boiled eggs date back centuries, although today’s mayonnaise-based appetizer is a more modern preparation.
Current recipes are often finished with paprika, bacon, chives, pickles, or other small garnishes.
Despite their polished appearance, deviled eggs use affordable ingredients and a straightforward method.
Ingredients You’ll Need
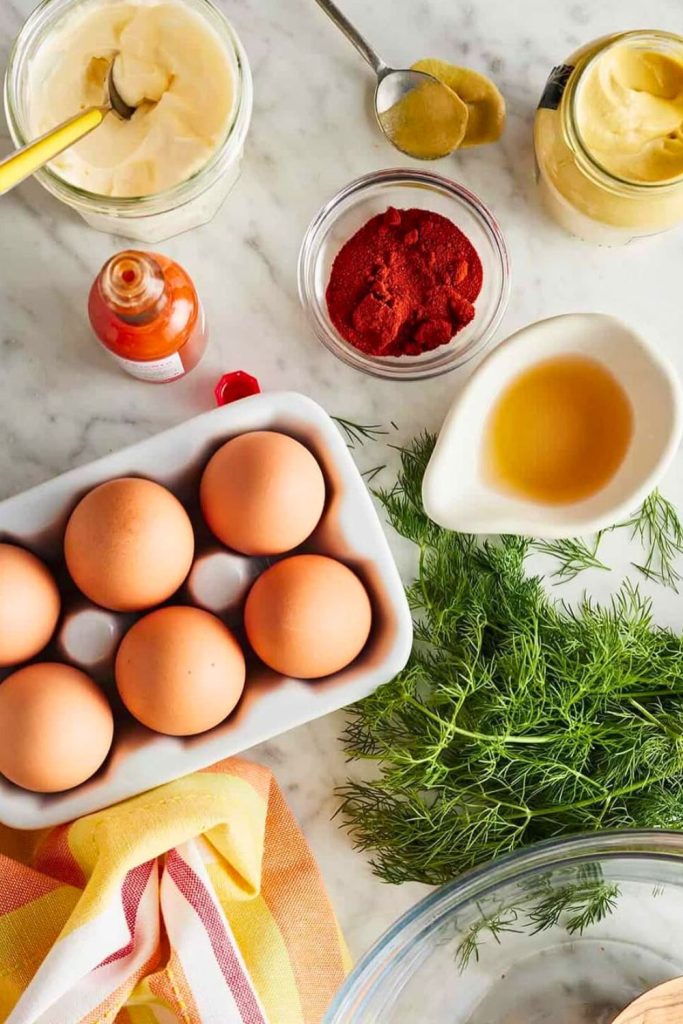
| Category | Ingredient | How It Helps |
|---|---|---|
| Eggs | 6 large eggs | Eggs that are not extremely fresh are usually easier to peel |
| 2 teaspoons salt | Seasons the cooking water | |
| Water | Use enough to cover the eggs by 1–2 inches | |
| Filling | 3 tablespoons mayonnaise | Creates the smooth, rich base |
| 1½ teaspoons Dijon mustard | Adds tang and gentle sharpness | |
| 1 teaspoon white vinegar | Brightens and balances the filling | |
| Salt and pepper | Adjust to your taste | |
| Paprika | Adds color and a mild finishing flavor | |
| Optional Extras | Bacon, jalapeños, truffle oil, or avocado | Useful for changing the flavor and texture |
Step-by-Step: How to Make the Best Deviled Eggs

The process is easiest when you treat cooking, cooling, peeling, filling, and garnishing as separate stages.
Use this sequence to produce intact whites and a smooth yolk mixture.
Step 1: Choosing the Right Eggs
For easier peeling, avoid the very freshest eggs in the carton.
As eggs age within their safe storage period, the membrane tends to release from the cooked white more readily, reducing torn surfaces.
Choose refrigerated eggs that have been stored for a week or so rather than ones that are near expiration.
A shell that releases cleanly makes the rest of the recipe quicker and gives the finished platter a neater appearance.
Step 2: Boiling the Eggs (Perfect Every Time)
The whites need to remain tender while the yolks become fully set and yellow.
Use this method:
- Arrange the eggs in one layer in a medium saucepan and handle them gently to avoid cracks.
- Add 2 teaspoons salt and 2 teaspoons white vinegar to the pot. These ingredients may help with minor cracks and peeling.
- Pour in enough cold water to cover the eggs by 1–2 inches so they heat at an even pace.
- Bring the water to a rolling boil over medium-high heat.
Once boiling, cook for 7 minutes and use a timer for consistency.
Extending the boil unnecessarily can create a gray-green ring around the yolks and make their texture chalky.
The intended result is a firm, golden yolk that mashes easily without becoming dry.
Step 3: Cool Down with an Ice Bath
Move the eggs to ice water as soon as the cooking time ends.
This quick cooling stage is essential for controlling doneness.
Fill a large bowl with ice and cold water, then transfer the eggs gently and leave them submerged for about 10 minutes.
Rapid cooling stops carryover cooking and helps the whites pull slightly from the shell.
The ice bath protects the yolk color and makes the peeling stage more manageable.
Step 4: Peel Like a Pro
When the eggs are fully cool, crack and peel them carefully.
Use the following approach:
- Tap each shell gently against a firm surface until cracks spread around it.
- Roll the egg lightly beneath your palm to loosen the shell without crushing the white.
- Begin at the wide end, where the air pocket often gives you an opening beneath the membrane.
If fragments stick, peel under water or dip the egg back into the ice bath so loose shell pieces wash away.
Work patiently and use the smoothest halves for the most visible places on the serving platter.
Step 5: Slice and Scoop
After peeling, cut the eggs lengthwise.
Use a sharp knife and wipe the blade between cuts when necessary to keep the edges tidy.
Ease each yolk out with a small spoon or clean fingers, taking care not to split the white.
Collect all yolks in a mixing bowl and arrange the empty whites cut-side up.
Step 6: Make the Creamy Filling
The filling begins with the cooked yolks.
Add:
- 3 tablespoons mayonnaise for moisture and richness
- 1½ teaspoons Dijon mustard for sharpness
- 1 teaspoon white vinegar for balancing acidity
- Salt and freshly ground black pepper to taste
Mash thoroughly with a fork until the yolks and seasonings form a cohesive, mostly smooth paste.
Dijon supplies the classic bite, while mayonnaise softens the texture enough for spooning or piping.
Adjust gradually: add a little mayonnaise if the mixture is too firm, or a few drops of vinegar if it needs brightness.
Step 7: Customize Your Flavor
The basic mixture is useful on its own, but it also accepts small flavor additions.
Consider these options:
- Spicy: mix in sriracha, cayenne, or finely minced jalapeño.
- Smoky: add smoked paprika or a very small amount of liquid smoke.
- Herbal: fold in chopped dill, parsley, or chives.
- Avocado: replace part of the mayonnaise with mashed avocado and add lime.
- Cheesy: use a small amount of finely grated cheddar or Parmesan.
- Tangy and Crunchy: stir in minced pickles or relish.
Choose one direction so the seasonings support rather than overwhelm the eggs.
Step 8: Make It Silky Smooth
For an especially refined texture, press the yolk mixture through a fine-mesh sieve.
This optional step takes a few extra minutes.
The sieve removes dry crumbs and creates a filling that flows cleanly through a piping tip.
Skip it for a casual snack, but consider it when appearance is important for a party platter.
Step 9: Fill the Egg Whites
Return the seasoned yolks to the egg-white cavities.
A spoon is the fastest option and works well for family meals.
For a decorative result, transfer the filling to a piping bag fitted with a star or round tip.
Divide the mixture generously so each half has a rounded mound above the edge.
Step 10: Garnish to Impress
A small garnish brings color, texture, and another flavor note.
Paprika is the traditional choice, but other options include:
- Crumbled cooked bacon for salt and crunch
- Fresh chives or dill for a green, herbal finish
- Thin jalapeño slices for noticeable heat
- Small pickle pieces for acidity
- Everything-bagel seasoning for seeds and savory flavor
Use a restrained amount so the topping does not hide the creamy filling.
Step 11: Serve or Store
Serve the eggs soon after filling for the firmest whites and freshest appearance.
For advance preparation:
- Arrange them in a covered container in a single layer and refrigerate promptly.
- For the best flavor and texture, serve within 24 hours.
Do not freeze deviled eggs. Thawed whites become watery and rubbery, so short refrigerated storage is the better option.
5 Best Tips for Foolproof Deviled Eggs
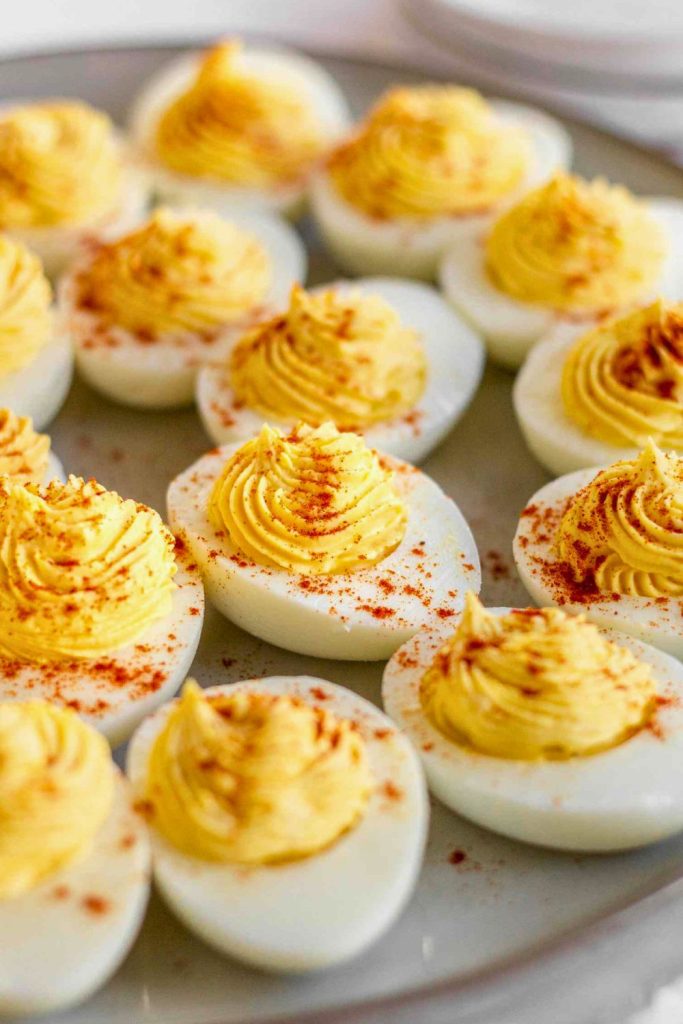
Good timing and careful handling make deviled eggs more reliable.
1. Select Slightly Older Eggs
Very fresh eggs can cling tightly to their shells. Eggs stored safely for a week or two often peel with less damage.
Cleaner peeling leaves smooth cups that are easier to fill and present.
2. Time the Boil
Count 7 minutes once the water reaches a full boil to keep the yolks yellow, set, and suitable for mashing.
3. Use an Ice Bath Immediately
Ten minutes in ice water stops residual heat and encourages the shells to release.
4. Mash or Sieve Until Smooth
Break up every yolk piece with a fork; for the finest consistency, press the mixture through a fine sieve before piping.
5. Add a Thoughtful Garnish
Paprika, herbs, bacon, or pickle provides visual contrast and a small burst of flavor.
Flavor Variations to Try
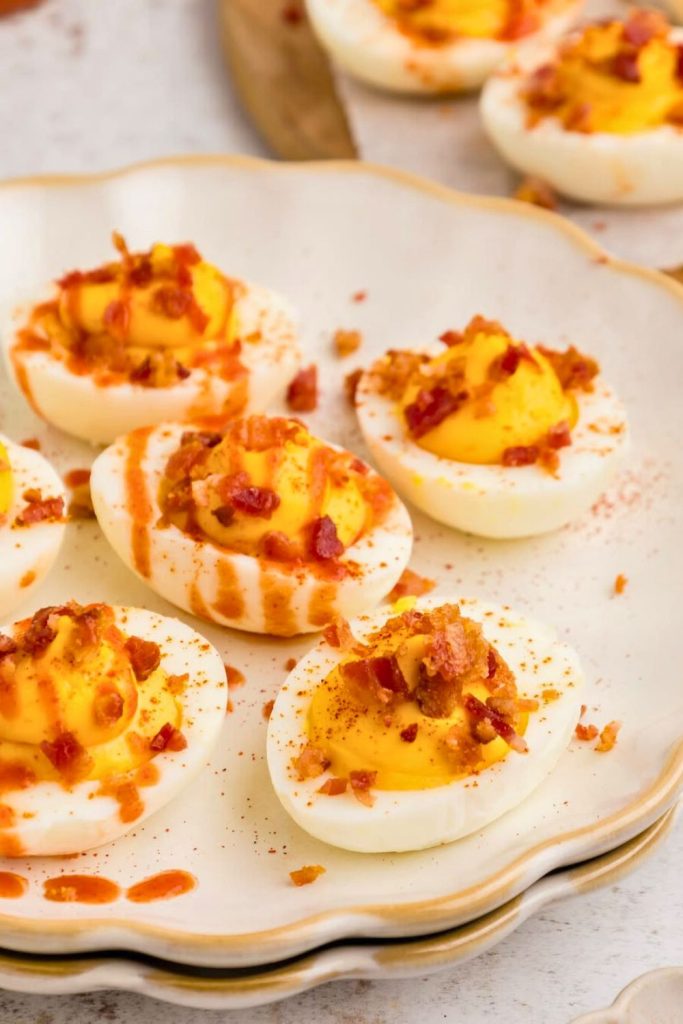
| Variation | What to Add | Flavor | Good Occasion |
|---|---|---|---|
| Classic | Mayonnaise, Dijon, vinegar, paprika | Creamy and tangy | Family meals |
| Smoky Bacon | Crumbled bacon and smoked paprika | Rich and smoky | Game-day snacks |
| Spicy Jalapeño | Jalapeño, hot sauce, or cayenne | Bright and spicy | Barbecues |
| Avocado | Mashed avocado and lime juice | Fresh and creamy | Brunch |
| Dill Pickle | Dill relish and extra mustard | Tangy with a little crunch | Picnics |
| Truffle | Truffle oil and black pepper | Earthy and savory | Dinner parties |
Pairing Ideas
Deviled eggs suit brunch, picnics, and holiday menus. They pair well with:
- Roasted ham, turkey, or beef
- Green salad, pasta salad, or potato salad
- Croissants, fruit, and other brunch foods
- Sliders, dips, and cheese-board items
Their tangy filling can lighten a rich menu while remaining flavorful enough to serve alone.
Fun Garnish Ideas
Change the look and flavor with one small topping:
- Paprika for traditional color
- Chopped chives or dill for freshness
- Crisp bacon for salty crunch
- Pickle slices or capers for sharpness
- Jalapeño rings for heat
- Everything-bagel seasoning for a savory seeded texture
- Tiny shrimp or smoked salmon for a brunch-style finish
Apply garnishes just before serving so they remain fresh and distinct.
Final Thoughts
Deviled eggs demonstrate how a few familiar ingredients can create a balanced appetizer.
Creamy yolks, Dijon, vinegar, and paprika make a compact bite that suits both casual and festive tables.
Prepare the eggs carefully, adjust the filling to taste, and refrigerate them until the platter is ready.
Classic Deviled Eggs

More Holiday Favorites You’ll Love
Complete the holiday menu with these FeastBears recipes:
- 🎄 30 Best Christmas Appetizers for Family Parties – Browse easy, festive bites for a varied party spread.
- 🍫 Best Peppermint Bark Recipe for Holiday Nights – Layer crisp chocolate and peppermint into a simple seasonal treat.
- 🍰 The Best Yule Log Cake Recipe for the Holidays – Create a rolled chocolate dessert designed for the Christmas table.
Save the recipes you want to serve together so holiday planning stays simple.

Dana Brooks is a home-cooking writer at Feastbears, where she shares easy family recipes, cozy dinners, quick desserts, and beginner-friendly kitchen tips. Her goal is to make everyday cooking feel simple, warm, and enjoyable for busy home cooks.


