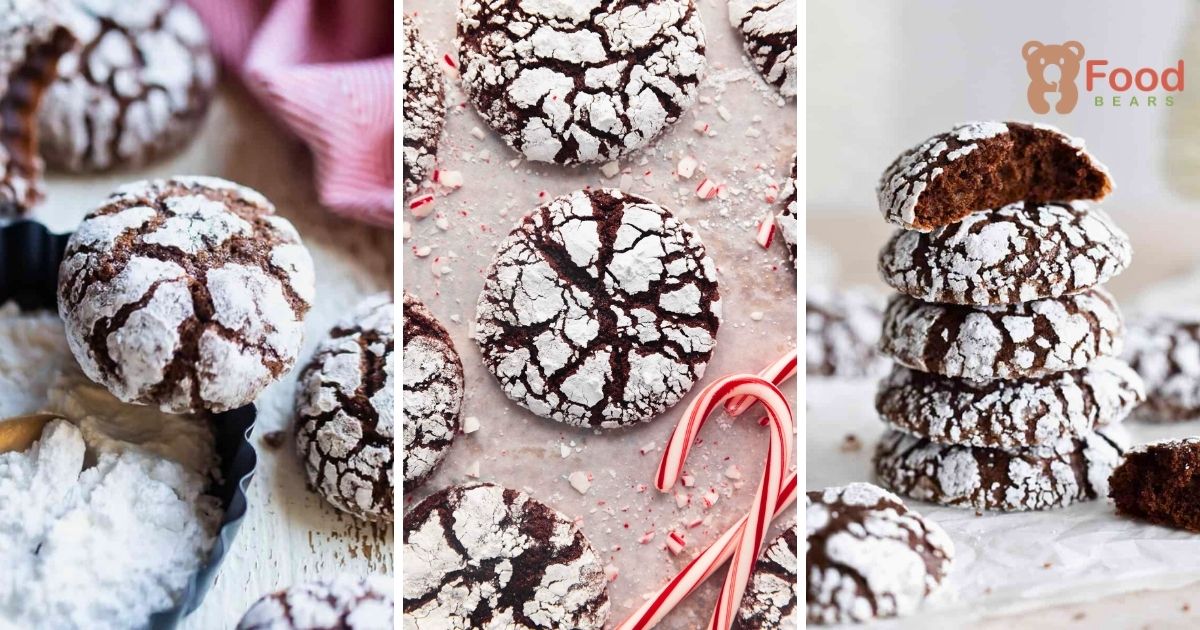
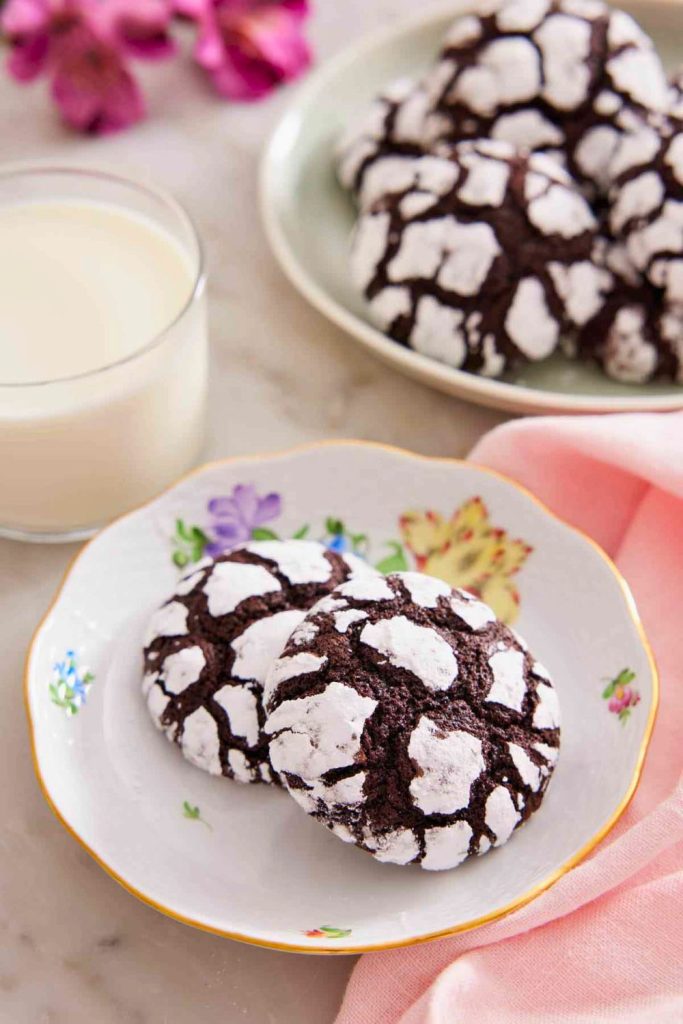
Chocolate crinkle cookies stand out with dark cocoa centers and a bright powdered-sugar coating that splits into dramatic cracks.
The edges bake delicately crisp while the middle remains tender, chewy, and brownie-like.
The dough uses everyday baking ingredients and needs an overnight chill, giving you a convenient make-ahead schedule.
Use the original method below for a thick white coating, defined crinkles, and a fudgy center.
Why You’ll Love These Chocolate Crinkle Cookies
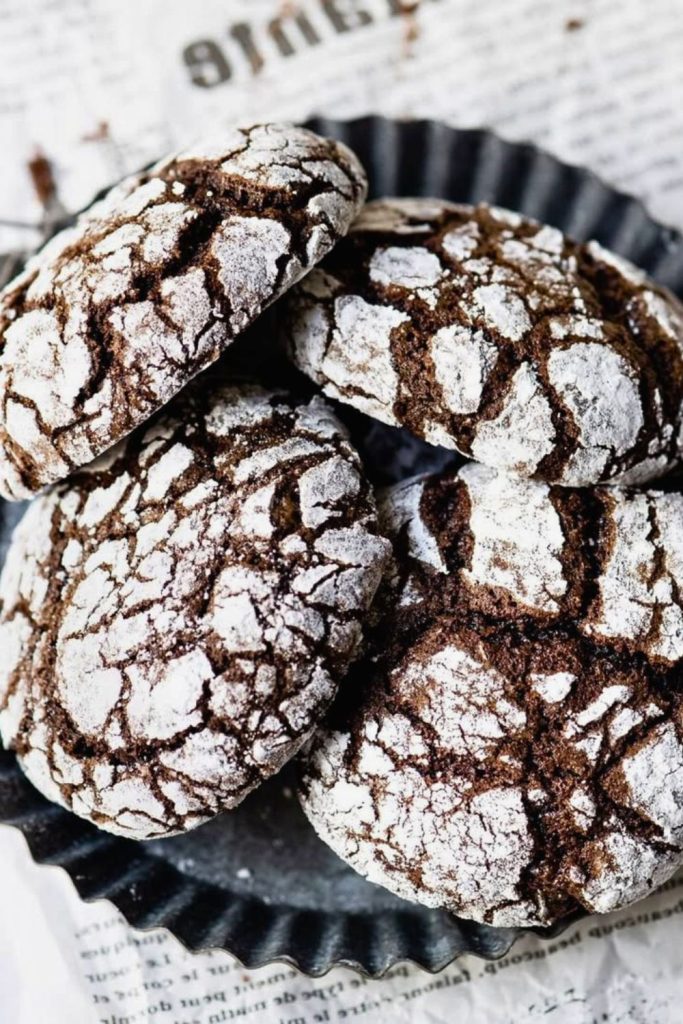
The finished cookies combine the texture of a soft brownie with the shape and portability of a classic drop cookie.
- Fudgy center and crisp shell: Oil and cocoa keep the middle moist while the exterior sets around it.
- No elaborate decoration: The powdered sugar and natural expansion in the oven create the finished pattern.
- Make-ahead dough: Mix it one day and bake after a full refrigerator rest.
- Useful year-round: The snowy finish suits Christmas, but the chocolate flavor works for any season.
Ingredients You’ll Need
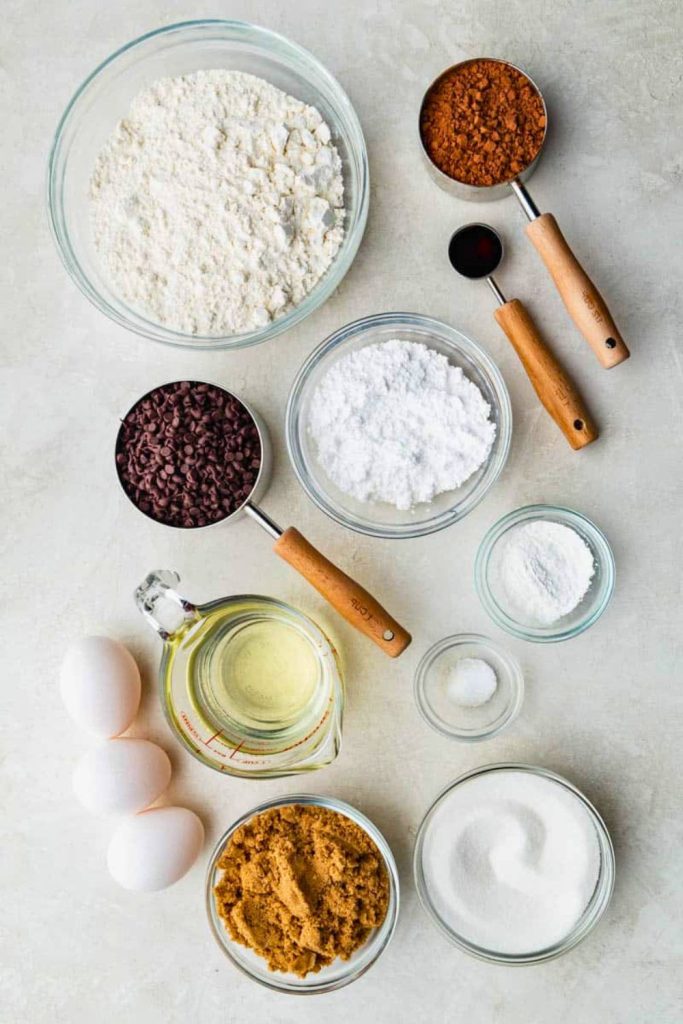
| Category | Ingredient | Amount and Purpose |
|---|---|---|
| Dry Ingredients | All-purpose flour | 2 cups (240 g), sifted or weighed for an accurate, tender result |
| Baking powder | 2 teaspoons to lift the dough and help form the crinkles | |
| Fine salt | ¾ teaspoon to balance sweetness and strengthen the cocoa flavor | |
| Chocolate Dough | Granulated sugar | 1¾ cups for sweetness and structure |
| Vegetable oil | ½ cup (120 ml) to keep the centers soft and moist | |
| Large eggs | 4, at room temperature, to bind and enrich the dough | |
| Unsweetened cocoa powder | 1 cup; Dutch-process gives the darkest color and mellow flavor | |
| Vanilla extract | 2 teaspoons to round out the chocolate | |
| Espresso powder (optional) | ½ teaspoon to deepen the cocoa without a strong coffee taste | |
| Coating | Confectioners’ sugar | Enough to cover every dough ball thoroughly |
How to Bake Chocolate Crinkle Cookies (Step-by-Step Guide)

Chocolate crinkle dough starts glossy and very soft, then becomes firm enough to scoop after chilling.
A generous powdered-sugar coating separates while the cookies rise, revealing the dark cocoa dough beneath.
The detailed steps below cover measurement, mixing, chilling, shaping, coating, and baking.
Step 1: Combine the Dry Ingredients
Sift 2 cups (240 g) all-purpose flour into a large bowl to remove compacted lumps.
Mix in:
- 2 teaspoons baking powder, which helps the cookies rise and split their coating.
- ¾ teaspoon fine salt to balance the sugar and sharpen the cocoa flavor.
Pro Tip: For volume measurement, loosen the flour, spoon it into the cup, and level it. Using a kitchen scale gives the most consistent 240-gram amount.
Keep the dry mixture nearby.
Step 2: Mix the Sugar and Oil
In the bowl of a stand mixer or a large bowl for a hand mixer, combine:
- 1¾ cups granulated sugar
- ½ cup (120 ml) vegetable oil
Mix with a paddle or mixer until the sugar and oil are uniformly blended and slightly lighter.
Unlike butter-based cookie dough, this oil-based mixture remains loose and contributes to the finished cookies’ moist, fudgy texture.
Optional: A mild olive oil can replace the vegetable oil and add subtle depth beneath the cocoa.
Step 3: Add Cocoa Powder
Turn the mixer to low and gradually add:
- 1 cup unsweetened cocoa powder, with Dutch-process preferred for the deepest color.
Dutch-process cocoa has a mellow, dark flavor, but another unsweetened cocoa can also be used in this formula.
Scrape down the bowl thoroughly until no dry cocoa remains and the mixture looks dark and thick.
Step 4: Add the Eggs One at a Time
Crack 4 room-temperature eggs into a separate bowl so shell fragments are easy to remove.
Blend them into the cocoa mixture one at a time, allowing each egg to blend before the next is added.
The mixture will become glossy and fluid; the flour and refrigeration will provide the necessary firmness later.
Step 5: Add Espresso Powder and Vanilla Extract
Add two flavor enhancers:
- ½ teaspoon espresso powder, optional
- 2 teaspoons vanilla extract
A modest amount of espresso deepens the cocoa without making the cookies taste strongly of coffee, while vanilla rounds out the flavor.
Stir briefly until both are distributed throughout.
Step 6: Combine Wet and Dry Ingredients
Add the flour mixture to the chocolate base in two or three portions.
Keep the mixer on low to control the flour and stop as soon as the dry streaks disappear.
Scrape both the sides and bottom of the bowl so the dough is evenly mixed.
Once mixed, the dough should be very soft and thick, closer to cake batter than ordinary rollable cookie dough.
Step 7: Chill Overnight
Refrigeration is essential for this oil-based dough.
Cover the bowl tightly and chill for at least 8 hours, preferably overnight.
Storage Note: The covered dough can remain refrigerated for about 3 to 4 days; keep it sealed against drying and refrigerator odors.
Step 8: Roll and Coat in Powdered Sugar
After chilling, the dough should feel firm enough to scoop while remaining soft and pliable.
Portion it with a tablespoon or cookie scoop and roll into smooth 1-inch balls.
Create the characteristic finish:
- Place each ball in a bowl of confectioners’ sugar.
- Roll until the chocolate dough is hidden beneath a thick white coating.
Place the coated balls on a parchment-lined sheet with room for spreading.
Humidity Tip: If the sugar begins dissolving, coat the balls a second time right away before baking.
Step 9: Add Creative Twists (Optional)
When the classic method is familiar, small changes can adapt the cookies to different occasions:
- Berry Crinkles: Blend powdered freeze-dried strawberry or raspberry into the confectioners’ sugar.
- Double-Chocolate Crinkles: Add 2 tablespoons cocoa to the coating for a softer contrast.
- Peppermint Crinkles: Add a modest amount of peppermint extract and a light candy-cane garnish.
Keep each adjustment modest so the soft dough still chills and bakes correctly.
Step 10: Bake to Perfection
Preheat the oven to 350°F (175°C) and bake the coated dough balls for 10 to 12 minutes.
They are ready when:
- The cookies have puffed.
- Cracks reveal the dark chocolate surface.
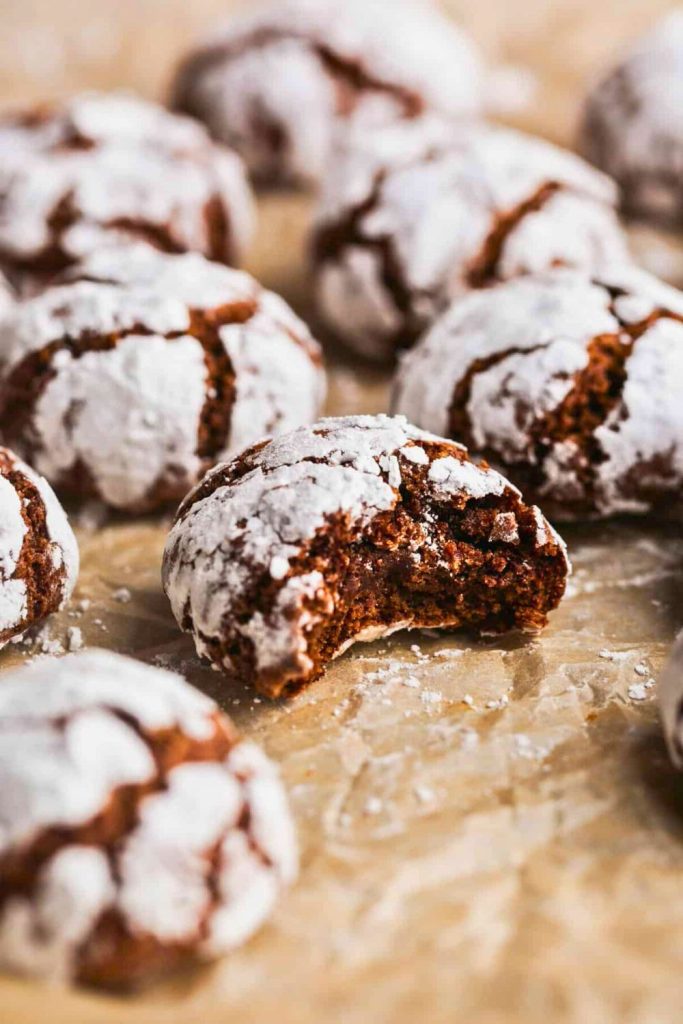
- The edges are set while the centers still look slightly soft.
Take them out before the middle looks fully dry; residual heat will continue cooking the centers.
Let the cookies cool on the baking sheet for 5 minutes, then move the cookies to a wire rack.
Step 11: Enjoy That First Bite
After a short cool, the cookies are ready to taste.
The thin crackled shell gives way to a soft, fudgy center with pronounced cocoa flavor.
They need no frosting or extra decoration; serve them with milk or coffee, or add them directly to a holiday tray.
The distinctive appearance and brownie-like texture make them an easy cookie to share.
Tips for the Perfect Chocolate Crinkle Cookies
Although the method is easy to follow, these details improve the shape, coating, and center texture.
Keep them in mind each time you prepare the dough:
1. Measure the Flour Accurately
Extra flour produces a dry, cakey cookie. Weigh 240 grams when possible, or use the spoon-and-level method.
2. Chill the Dough Thoroughly
Give the oil-based dough a full overnight rest so it firms enough to roll and spreads at a controlled rate.
3. Apply a Thick Sugar Coating
Cover every ball thoroughly. In humid weather, roll twice so enough white sugar remains visible after baking.
4. Choose Dutch-Process Cocoa for Darker Flavor
Dutch cocoa gives the cookies a smooth, dark profile and creates stronger contrast with the coating.
5. Avoid Overbaking
Remove the cookies once puffed and cracked, while the centers still appear soft. They finish setting on the hot tray.
Serving Ideas
Chocolate crinkle cookies can be served plainly or incorporated into a larger dessert spread.
- Holiday cookie trays: Pair them with gingerbread, sugar cookies, or peppermint bark.
- Coffee break: Serve with espresso, cappuccino, or spiced chai.
- Ice-cream sandwiches: Place vanilla, chocolate, or peppermint ice cream between two fully cooled cookies.
- Gift boxes: Stack the cookies gently in a lined tin or jar and finish with ribbon.
- School or office parties: Bake a double batch when serving a larger group.
Flavor Variations

| Variation | How to Adapt the Cookies |
|---|---|
| Berry Crinkles | Mix powdered freeze-dried raspberries or strawberries into the confectioners’ sugar. |
| Double-Chocolate Crinkles | Add 2 tablespoons cocoa powder to the coating for a darker finish. |
| Peppermint Crinkles | Add a modest amount of peppermint extract and garnish lightly with crushed candy cane. |
| Spiced Mocha Crinkles | Add ½ teaspoon cinnamon and use the optional espresso powder. |
| Chocolate-Hazelnut Filled | Wrap a small chilled portion of chocolate-hazelnut spread inside each dough ball and seal well. |
| Coconut Crinkles | Fold ¼ cup shredded coconut into the dough or combine it with the sugar coating. |
| Mexican Hot Chocolate | Add ½ teaspoon cinnamon and up to ¼ teaspoon cayenne, according to taste. |
| Hazelnut Crinkles | Fold in finely chopped toasted hazelnuts for extra texture. |
Final Thoughts
Chocolate crinkle cookies offer a brownie-like center and a snowy holiday appearance in one straightforward bake.
They are deeply chocolatey, delicately crisp outside, and soft enough in the middle to remain chewy.
Mix the dough ahead, refrigerate it overnight, then coat and bake the cookies the following day.
Serve them for a holiday party, a weekend dessert, or whenever a dark chocolate cookie sounds appealing.
The natural crackled pattern makes every batch look decorative without additional frosting.
Chocolate Crinkle Cookies

You’ll Also Crave These Next
If these chocolate crinkle cookies are on your baking list, continue with these FeastBears recipes:
🍪 Easy 25-Min Monster Cookies Recipe for Weekend
Bake soft oatmeal-peanut-butter cookies filled with colorful chocolate candies.
💕 Quick & Easy Thumbprint Cookies Recipe in 40-Min
Fill tender butter cookies with jam or chocolate for gifting and tea trays.
🍫 Chewy Brownie Cookies Recipe for Cozy Weekends
Make glossy, fudgy cocoa cookies when you want the flavor of a brownie in cookie form.

Dana Brooks is a home-cooking writer at Feastbears, where she shares easy family recipes, cozy dinners, quick desserts, and beginner-friendly kitchen tips. Her goal is to make everyday cooking feel simple, warm, and enjoyable for busy home cooks.


