
Fresh thumbprint cookies combine buttery dough, a light sugar sparkle, and glossy jam centers in one small bake.
The ingredients are straightforward, but the contrast is memorable: tender cookie, delicately crisp edges, and bright fruit filling.
That classic appearance makes them a natural choice for holiday cookie trays.
They are also easy to personalize with raspberry, apricot, fig, blueberry, or another thick jam.
The instructions that follow retain the original method while explaining how to shape smooth cookies and keep the centers neat.
What Are Thumbprint Cookies?
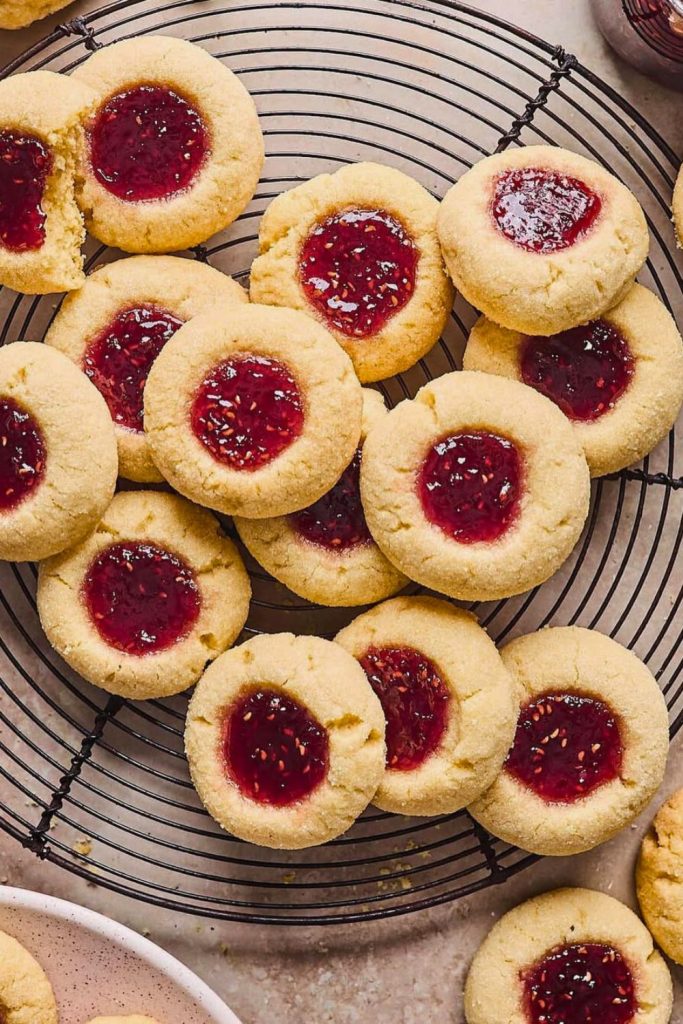
Thumbprint cookies are small butter cookies finished with a well of jam or another sweet filling.
Their name describes the shaping technique: a shallow indentation is pressed into each dough ball before it is filled.
A Scandinavian version is known as hallongrotta, or “raspberry cave.” Raspberry is traditional, although strawberry, apricot, blueberry, fig, and guava all work.
The base sits between shortbread and a sugar cookie—rich, tender, and slightly crumbly—while the jam adds fruitiness and moisture.
They are particularly common at Christmas, but the method suits weekend baking, parties, afternoon tea, and edible gifts.
Keep the classic round wells or form small heart-shaped centers for a different presentation.
Ingredients You’ll Need
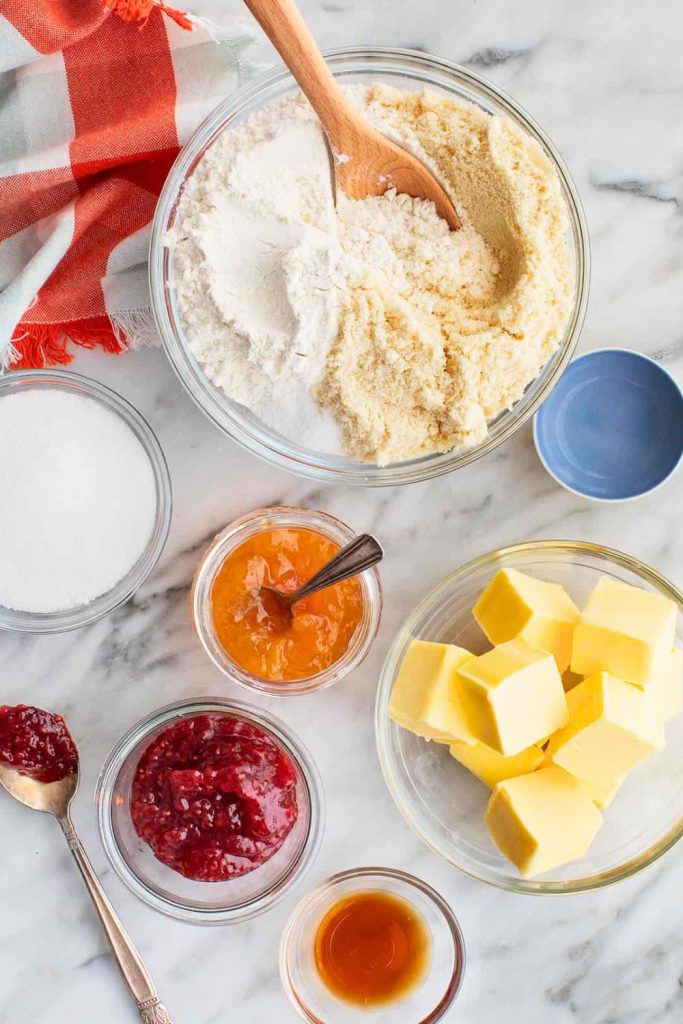
| Ingredient | Amount | Role in the Dough |
|---|---|---|
| Unsalted butter, room temperature | 1 cup (226 g) | Creates the rich, tender base |
| Granulated sugar | ¾ cup (150 g) | Sweetens the cookie and helps with structure |
| Large egg yolks | 2 | Add richness and a delicate crumb |
| Vanilla extract | 1 teaspoon | Provides warm background flavor |
| Fine sea salt | ½ teaspoon | Balances the sugar and highlights the butter |
| All-purpose flour | 3 cups (360 g) | Forms the cookie’s structure |
| Jam or preserves | About ½ cup | Fills the centers; choose a thick favorite flavor |
| Granulated or sanding sugar, optional | As needed | Adds sparkle and a light exterior crunch |
Color Tip: Use two or three jam flavors, such as raspberry, apricot, and blueberry, to create a varied tray.
Step-by-Step: How to Make Thumbprint Cookies

This approachable method works for experienced bakers and first-time cookie makers alike.
Use the visual and texture cues in each step to keep the cookies tender and the jam centered.
Step 1: Cream the Butter and Sugar
Fit a stand mixer with the paddle attachment, or prepare a large bowl and hand mixer.
Place 1 cup (226 g) room-temperature unsalted butter in the bowl. It should yield to a fingertip without looking melted or oily.
Correctly softened butter blends smoothly and holds tiny air pockets that help make the cookie tender.
Add ¾ cup (150 g) granulated sugar and beat on medium speed for about 1 minute, until pale and creamy.
Pro Tip: Creaming incorporates air, preventing the finished cookies from becoming unnecessarily dense.
Step 2: Add Egg Yolks, Vanilla, and Salt
Separate 2 large eggs and reserve the whites for another use; only the yolks go into this dough.
Add the yolks, ½ teaspoon fine sea salt, and 1 teaspoon vanilla extract to the creamed butter.
The yolks enrich the crumb, vanilla adds warmth, and salt balances the sweetness.
Blend on low to medium speed until cohesive, pausing to scrape the bottom and sides of the bowl.
Mixing Note: Incorporate the yolks fully so the dough has an even texture later.
Step 3: Add the Flour
Add 3 cups (360 g) all-purpose flour to the wet mixture.
Blend on low speed, either all at once or in two additions. The mixture may look crumbly before it begins forming a dough.
Stop while a few dry areas remain and finish folding by hand to avoid developing too much gluten.
The dough should feel soft and moldable rather than sticky. If it remains crumbly, gently knead it a few times so the warmth of your hands brings it together.
Optional Flavor: Add slightly cinnamon, nutmeg, or ground clove for a warmer holiday variation.
Step 4: Chill the Dough
Refrigerating the dough is important for clean shapes.
Form it into a disc or ball, wrap well, and chill for at least 1 hour. For a shorter rest, freeze it for about 30 minutes.
The cold firms the butter, reduces spreading, and makes each portion easier to roll.
Cold-Kitchen Note: If the chilled dough becomes too firm and cracks, let it stand for a few minutes before shaping.
Step 5: Scoop and Shape the Cookies
Remove the dough from the refrigerator and allow it to soften for about 5 minutes.
Preheat the oven to 375°F (190°C) and line the baking sheets with parchment.
Use a 1-tablespoon scoop or measuring spoon to make equal portions so the cookies bake at the same rate.
Roll each portion between your palms until round and smooth. Warm a cracking piece briefly between your hands and roll again.
Optional: Roll the balls in granulated or sanding sugar for sparkle and a delicate crunch.
Step 6: Make the Indentations
Create the small well that gives the cookie its name.
Press a thumb gently into the center of each ball, stopping before you reach the bottom.
Smooth or pinch any large cracks around the rim; a few fine lines are perfectly normal.
For a more decorative shape, make a heart.
Use a pinky to press two shallow marks at opposing angles, forming a V, or use the curved edge of a small spoon.
Raspberry jam gives heart-shaped centers a bright red finish.
Step 7: Fill with Jam
Prepare a thick jam such as raspberry, apricot, blueberry, or fig.
Place about ½ teaspoon jam in each indentation. Keep it below the rim so it does not bubble over.
A small spoon makes filling easy; gently nudge the jam into the corners of heart shapes if needed.
Flavor Tip: Filling one tray with several jams makes a colorful assortment for parties and gift boxes.
Step 8: Bake to Golden Perfection
Transfer the filled cookies to the 375°F (190°C) oven.
Let the cookies bake for 12 to 14 minutes, until the edges barely begin to turn golden and the centers still look soft.
Let the cookies cool on the baking sheet for 5 minutes, then move the cookies gently to a wire rack.
Cooling Warning: Jam stays extremely hot after the cookie leaves the oven, so cool completely before eating or packaging.
Expert Tips for Perfect Thumbprint Cookies

A few precise habits can turn this straightforward recipe into neat, tender cookies.
Keep these five checks for reliable shaping, baking, and cooling.
1. Measure the flour gently.
Weigh 360 grams when possible. For cups, spoon loosened flour into the measure and level it rather than scooping directly from the container.
2. Begin with properly softened butter.
Cold butter does not cream smoothly, while melted butter makes the dough greasy. Look for butter that accepts a light fingerprint.
3. Chill before shaping and baking.
Cold dough spreads less, holds a round outline, and helps the jam remain in its well.
4. Use only a modest amount of jam.
About ½ teaspoon is enough for each cookie; more can boil over the edge.
5. Allow the cookies to firm.
Leave them on the sheet for at least 5 minutes and handle only after the hot jam and tender dough have had time to set.
Bonus: A coating of granulated or sanding sugar adds a festive finish and a light outer crunch.
Serving Ideas

Thumbprint cookies are useful for everyday snacks as well as special occasions:
- Holiday platter: Alternate several jam colors for a bright display.
- Afternoon tea: Serve with black tea, coffee, or hot chocolate.
- Homemade gift: Pack fully cooled cookies in a lined tin or glass jar.
- Dessert board: Arrange them with brownies, truffles, and shortbread.
- Lunchbox treat: Add one in a firm container so the jam center stays intact.
The straightforward butter-cookie base feels casual enough for snacking but polished enough for parties and celebrations.
Variations You’ll Love

| Variation | Method | Suggested Filling |
|---|---|---|
| Classic Fruit | Keep the traditional smooth butter-cookie base | Raspberry or strawberry jam |
| Nut-Coated | Roll the dough balls in finely chopped nuts before indenting | Apricot or peach preserves |
| Chocolate | Fill the baked or cooled wells with chocolate spread or ganache | Chocolate-hazelnut spread or ganache |
| Holiday Spice | Add cinnamon, clove, or nutmeg to the dough | Cranberry or fig preserves |
| Glazed | Drizzle cooled cookies with a straightforward powdered-sugar glaze | Lemon curd or raspberry jam |
| Sugar Sparkle | Roll each ball in granulated or sanding sugar | Any brightly colored jam |
| Heart Centers | Make two angled impressions to form a small heart | Raspberry jam |
| Coconut-Coated | Press shredded coconut lightly around each dough ball | Pineapple or guava jam |
Variation Tip: Combine different coatings, shapes, and fillings on one tray while keeping the base dough unchanged.
Conclusion: A Cookie That Never Goes Out of Style
Thumbprint cookies show how butter, flour, sugar, and fruit can become a distinctive classic.
This reliable recipe fits Christmas baking, bake sales, quiet weekends, and any occasion that benefits from a colorful cookie.
Choose a thick favorite jam, follow the chilling and shaping cues, and let the filled cookies cool completely before serving.
Thumbprint Cookies

You’ll Also Love These Cookies
Continue with these related FeastBears cookie recipes:
- 🍪 15-Min Prep Red Velvet Cookies for Christmas — Make soft cocoa cookies with white chocolate chips and festive color.
- 🌸 No-Fail Peanut Butter Blossom Cookies for Parties — Finish soft peanut butter cookies with a chocolate kiss.
- 🎉 Easy 25-Min Monster Cookies Recipe for Weekend — Bake chewy oat cookies loaded with peanut butter and chocolate.
Each recipe offers a different texture and flavor while keeping the same approachable, home-baked style.

Dana Brooks is a home-cooking writer at Feastbears, where she shares easy family recipes, cozy dinners, quick desserts, and beginner-friendly kitchen tips. Her goal is to make everyday cooking feel simple, warm, and enjoyable for busy home cooks.


