
Cooler days call for a satisfying pot of homemade soup, and this classic split pea soup delivers gentle smokiness, creamy peas, and plenty of comfort.
The recipe uses familiar ingredients and a straightforward simmer. A leftover ham bone adds depth, but the method also works with the substitutions covered below.
Follow the section order to prepare the vegetables, simmer the split peas, finish the soup, store leftovers, and explore the listed variations.
The result is a thick, warming soup that fits weeknight dinners, meal prep, or a relaxed weekend meal.
Why Split Pea Soup Deserves a Place in Your Kitchen
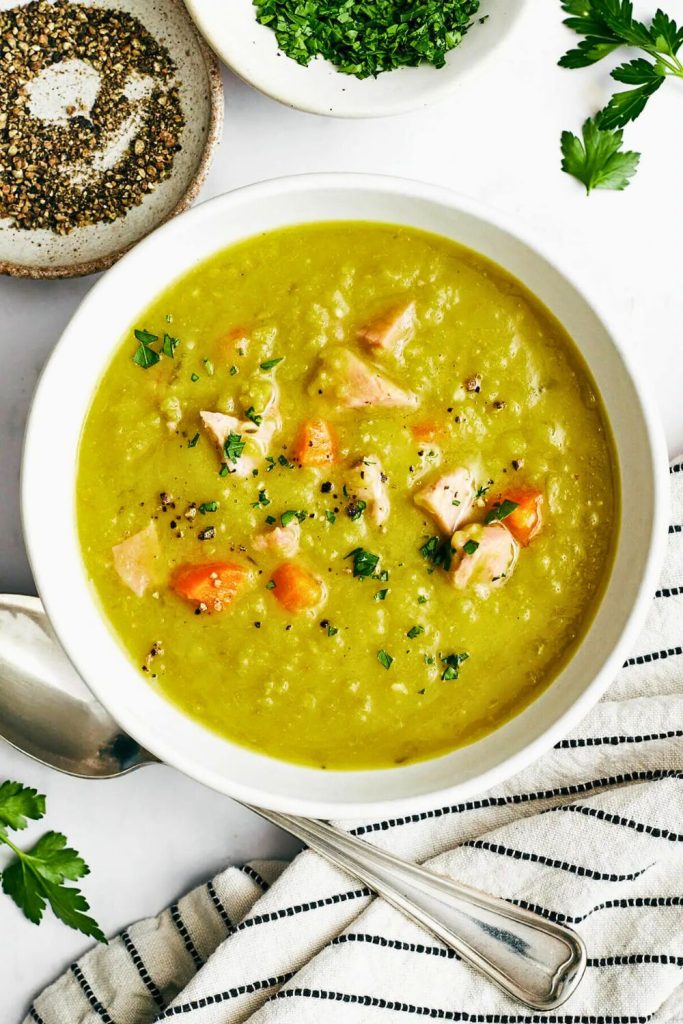
Split pea soup earns its place in a regular dinner rotation because it is economical, adaptable, and deeply satisfying.
Its slow-simmered flavor and creamy consistency come from a short list of practical ingredients. These qualities make the recipe especially useful:
1. Comfort in Every Spoon
As the split peas soften beside the vegetables and ham bone, the soup develops a smooth body and smoky aroma associated with classic family meals.
2. Budget-Friendly Goodness
For reliable results, a pound of dried split peas costs just a few dollars, yet yields a large pot of soup that can feed the entire family. Add a leftover ham bone from Christmas or Easter, and you’ve instantly transformed inexpensive ingredients into something rich and hearty.
3. Nutrition-Packed Meal
Split peas are loaded with plant-based protein, fiber, iron, and B vitamins. Paired with vegetables like carrots, onions, and celery, you get a meal that is as healthy as it is comforting. This makes it a great choice if you want a dish that is both wholesome and filling.
4. Flexible and Adaptable
No ham bone? No problem. You may make this recipe with diced ham, pancetta, turkey, or even go completely vegetarian by using vegetable broth and smoked paprika. Whether you are cooking for meat lovers, vegetarians, or picky eaters, you may easily adapt the flavors.
The Ingredients You’ll Need

This recipe uses simple, everyday ingredients you may find at any grocery store. Yet when combined, they transform into a soup that tastes like it came straight from a restaurant.
Here’s a clear ingredient list for easy reference:
| Ingredient | Amount | Notes & Tips |
|---|---|---|
| Split Peas (green or yellow) | 1 pound (about 2 cups) | Works well for: green peas are sweeter; yellow peas have a more earthy flavor. Rinse and pick out debris before cooking. |
| Carrots | 2 medium, diced | Adds natural sweetness and color to balance the peas. |
| Celery | 2 stalks, diced | Essential for depth of flavor and aromatic base. |
| Onion | 1 medium, diced | Choose this when: start light, then adjust at the end depending on the ham bone’s saltiness. |
| Garlic | 2 cloves, minced | Builds savory flavor; can add more if you love garlic. |
| Ham Bone | 1 (with some meat on it, if possible) | A good fit for: leftover holiday ham bones are perfect. Adds smoky, meaty flavor. Alternatives: ham hock, diced ham, or pancetta. |
| Bay Leaf | 1 | Infuses subtle earthy notes; remove just before serving. |
| Chicken Broth (low-sodium) | 4 cups | Low-sodium helps control saltiness since the ham bone deepens the taste. Can substitute with vegetable broth. |
| Water | 3 cups | Balances the broth and prevents oversalting. |
| Dried Thyme | ½ teaspoon | Adds herbal notes; fresh thyme can also be used. |
| Kosher Salt | ½ teaspoon (to start) | Works well for: start light, then adjust at the end depending on the ham bone’s saltiness. |
| Black Pepper | ½ teaspoon, freshly ground | Balances the sweetness of peas and carrots. |
| Olive Oil | 2 tablespoons | Choose this when: used for sautéing vegetables; can substitute butter for richness. |
For garnish, add fresh parsley, thyme sprigs, or another turn of cracked black pepper at the table.
How to Cook the Best Split Pea Soup Recipe
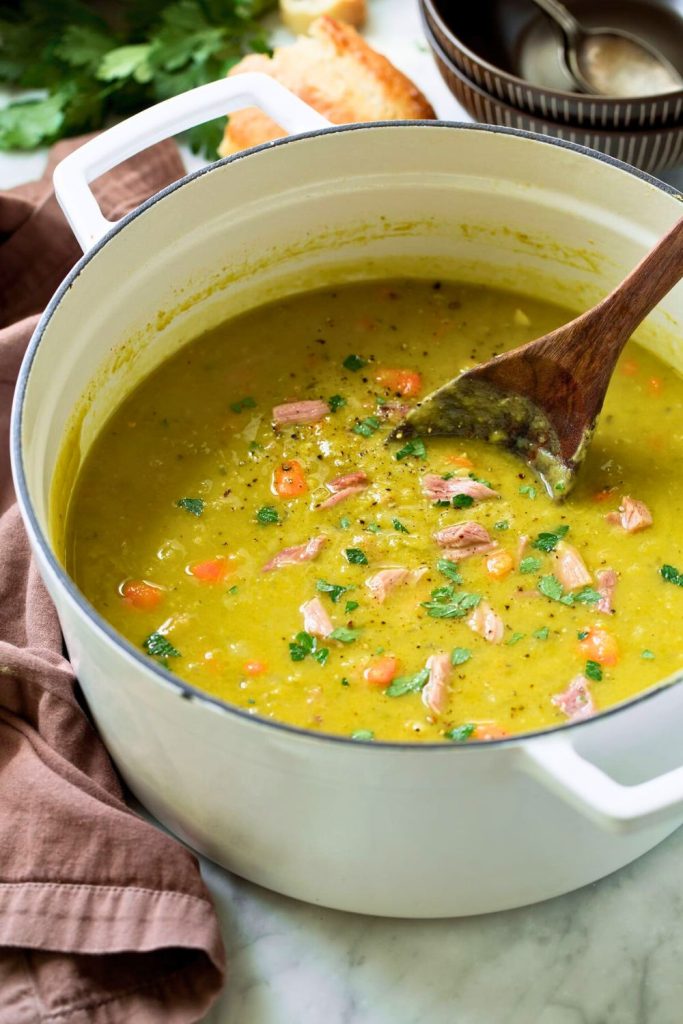
Cooking split pea soup may sound simple, but the magic lies in layering flavors step by step. By following this process, you will transform a bag of dried peas into a creamy, smoky, and soul-warming bowl of a comforting meal.
Let’s walk through each stage in detail.
Step 1: Start With a Flavorful Base
Remember that every unforgettable soup begins with its foundation, and for split pea soup, that base is the classic mirepoix, a mix of onion, carrots, and celery.
Why it matters: Onion, carrot, and celery build the aromatic base. Their savory sweetness complements the split peas and keeps the broth from tasting one-dimensional.
What to do:
- At this stage, dice 2 carrots, 2 celery stalks, and 1 medium onion into small, even pieces. The size matters; you want small enough pieces to soften quickly, but large enough to provide some texture in the final dish.
- Here, heat 2 tablespoons of olive oil in a large Dutch oven or stockpot over medium-high heat.
- Add the diced vegetables and sauté for 3–4 minutes, stirring from time to time, until softened and fragrant.
- Add 2 minced garlic cloves and continue cooking for one more minute.
Helpful tip: If you love extra depth, try sautéing the vegetables until they start to caramelize lightly. The hint of sweetness balances the earthy peas beautifully.
By the end of this stage, your kitchen will smell incredible, and you will already know you are off to a great start.
Step 2: Rinse and Add Your Split Peas
One useful detail: split peas may look clean in the bag, but they should always be rinsed before cooking.
Why rinse? Washing the dried peas removes surface starch and any stray debris, then helps them separate more readily when added to the pot.
How to do it right:
- Measure out 1 pound (about 2 cups) of dried split peas.
- Arrange them in a colander and run cold water over them, picking through to remove any tiny stones or bad peas.
- Drain well.
Adding them to the pot: After rinsed, add the split peas directly into your sautéed vegetables. Stir them in so they’re coated with the oil and aromatics.
For a balanced finish, season now, not later: Add ½ teaspoon dried thyme, ½ teaspoon kosher salt, and ½ teaspoon black pepper at this stage. Seasoning early allows the flavors to meld as the peas cook.
Helpful tip: Do not rinse your peas too far in advance. If they sit wet, they tend to clump. If they do clump in the pot, break them apart with your spoon.
This stage lays the groundwork for the soup’s signature texture. The peas will gradually soften, break down, and create that thick, hearty consistency that split pea soup is known for.
Step 3: The Magic of the Ham Bone
This is where the recipe goes from good to polished and well balanced.
Why a ham bone? When simmered, a ham bone releases smoky, salty flavors that infuse the broth. The marrow and any leftover meat enrich the soup, giving it body and depth that is hard to achieve otherwise.
What kind of ham bone works best?
- Meaty ham bone (ideal): You will get both flavor and tender chunks of ham to stir back in.
- During this step, bare ham bone : Even if most of the meat is gone, the bone itself still flavors the soup beautifully.
- Alternatives:
- Ham hock (smoky, rich flavor)
- Store-bought diced ham steaks
- Pancetta cubes
- Smoked turkey legs (for a twist)
- At this point, vegetarian? Skip the bone entirely and lean on herbs and spices.
How to use it: Nestle the ham bone into the pot with the peas and veggies. Do not worry if it doesn’t submerge completely; as the liquid is added, it will sink and flavor everything.
Helpful tip: If your ham bone still has meat on it, that is perfect, you will remove and dice that meat later to stir back into the soup.
The ham bone transforms the earthy pea base into a deeply savory, familiar soup.
Step 4: Add Liquids and Simmer
Now it is time to bring everything together into a rich broth.
Liquids to add:
- 4 cups low-sodium chicken broth
- 3 cups water
Why low-sodium broth? Ham bones can be salty, so it is best to begin with low-sodium broth. You may always add more salt later, but you may’t take it away after it is there.
How to simmer:
- Pour the liquids into the pot.
- Add 1 bay leaf.
- Mix gently to ensure the peas do not clump at the bottom.
- Increase the heat to bring the pot to a boil.
- Once boiling, reduce to a gentle simmer.
- Cover the pot with a lid and allow it to continue cooking for 50–60 minutes.
For the smoothest process, stir occasionally: Peas love to stick to the bottom if left alone. Stir every 10–15 minutes to prevent scorching.
Watch the texture: Over the hour, you will notice the peas softening and eventually breaking down into a creamy, thick soup. This is the magic transformation.
Helpful tip: If you like a smoother soup, you may help the process along by lightly mashing some peas against the pot’s side with a spoon while stirring.
During the long, gentle simmer, smoky ham, sweet vegetables, and earthy split peas blend into one cohesive flavor.
Step 5: Remove the Ham Bone and Add the Meat
As you work, note that after about an hour, your peas should be tender, your broth should be rich, and your ham bone will have done its job.
- Lift the ham bone from the pot with sturdy tongs and place it on a plate.
- Use tongs to lift the bone from the pot carefully.
- Place it on a cutting board and allow it to cool slightly.
- What to do next:
- Slice off any remaining meat from the bone.
- Chop it into bite-sized pieces.
- Stir the diced ham back into the soup.
- How much ham to add? About 1 cup of diced ham is ideal. But do not stress—if you have more, the soup will just be heartier. If you have less, it’ll still taste amazing.
- At this stage, no meat left? Add extra diced ham from a ham steak, or even sauté some pancetta or bacon separately and stir it in.
This stage gives your soup a delicious meaty bite in each spoonful.
Step 6: Adjust and Finish
By this stage, your soup is nearly ready. All that is left are the finishing touches.
- Take the bay leaf: Always fish it out just before serving; no one enjoys biting into that surprise.
- Taste before serving and adjust the balance. Dilute excess salt with water or soften it with a small squeeze of lemon.
- Too salty? Add a splash of water or a squeeze of lemon juice to balance.
- Too bland? Season with more salt, pepper, or herbs.
- When the soup is thicker than desired, mix in water or broth gradually until it reaches the consistency you prefer.
- If the soup is too thick, stir in a cup of water or broth until it reaches the desired consistency.
- Here, if the soup is too thin, simmer uncovered for 5–10 minutes to reduce.
- Optional garnish: A sprinkle of chopped parsley or thyme and fresh-ground black pepper provides a bright finishing touch.
- Meal prep note: When refrigerated, split pea soup thickens into almost a solid block. Do not worry! Just add broth or water as you reheat, and it will loosen back into creamy goodness.
By the end of this stage, you will have a pot of perfect split pea soup —creamy, smoky, hearty, and comforting.
Tips and Tricks for Perfect Split Pea Soup

It also helps to remember: even though split pea soup is a simple recipe, a few innovative techniques can take it from “good” to unforgettable. Here are some tips to ensure your soup comes out perfect every single time:
1. Adjusting Thickness
- Too thick? Split peas naturally thicken as they cook and break down. If your soup resembles a stew or solid mash, add more water or broth a small amount at a time until it reaches your desired consistency. Stir well just before serving.
- Too thin? Leave the pot uncovered and allow it to simmer for 5–10 extra minutes. The excess liquid will evaporate, and the peas will continue to break down, thickening the soup naturally.
💡 Pro Tip: If you are reheating leftovers, always plan to add liquid since chilled split pea soup thickens a lot in the fridge.
2. Make It Vegetarian (or Vegan)
If you do not have a ham bone or prefer to skip meat, you may still enjoy a flavor-packed vegetarian version. Follow these directions:
- Use vegetable broth instead of chicken broth.
- During this step, add ½ teaspoon smoked paprika or liquid smoke for that rich, smoky depth usually provided by ham.
- At this point, boost umami with a splash of soy sauce, miso paste, or nutritional yeast.
3. Meal Prep Friendly
At this stage, split pea soup is a superstar when it comes to meal prepping:
- Storage: Keeps well in the fridge for up to 5 days.
- At this stage, freezing: Freeze portions for up to 3 months. Thaw overnight in the fridge before reheating.
- Here, reheating: Expect it to be thick like mashed potatoes. Add broth or water, stir, and gently reheat on the stove or in the microwave.
Variations You’ll Love
One of the best things about split pea soup is its versatility. With just a minor tweak here and there, you may create an entirely new flavor profile.
| Variation | How to Make It | Flavor Profile |
|---|---|---|
| Smoky Split Pea Soup | Warm, bold, and zesty with a bit of heat. | Deep, smoky flavor with a Southern twist. |
| Herb Lovers’ Version | Mix in fresh rosemary, thyme, or sage during the last 10 minutes of cooking. | Fragrant, earthy, and garden-fresh. |
| Creamy Style | Add ½ cup of heavy cream, half-and-half, or coconut milk just before serving. | Rich, silky, and indulgent. |
| Spicy Kick | A good fit for: add ½ teaspoon red pepper flakes or a pinch of cayenne pepper. | Warm, bold, and zesty with a little heat. |
| Protein-Packed | Stir in diced chicken or extra beans. | Extra hearty and filling. |
| Vegan Comfort | Works well for: skip meat, use vegetable broth, and add smoked paprika + miso paste. | Savory, smoky, and fully plant-based. |
💡 Helpful tip: Try pairing two variations together, for example, a creamy + spicy version with coconut milk and red pepper flakes for a warming winter twist.
Final Thoughts
Dried split peas, everyday vegetables, and an optional ham bone come together in a filling soup with a classic savory character.
The recipe is affordable, easy to prepare ahead, and flexible enough for vegetarian, creamy, spicy, or extra-smoky variations. Leftovers also reheat well the next day.
Serve a bowl while it is hot, then refrigerate or freeze the remaining soup for another comforting meal.
Classic Split Pea Soup With Ham Bone

You Might Also Like
Continue your soup rotation with these linked recipes:
- 🥦 Healthy Cauliflower Soup Recipe for Millennials – A smooth vegetable soup suited to an easy weeknight dinner.
- 🍲 15-Min Egg Drop Soup Recipe Perfect for Fall Nights – Silky egg ribbons and savory broth make a fast, warming bowl.
- 🥩 Easy Vegetable Beef Soup Recipe for Families – Tender beef and vegetables simmer together in a hearty one-pot meal.

Dana Brooks is a home-cooking writer at Feastbears, where she shares easy family recipes, cozy dinners, quick desserts, and beginner-friendly kitchen tips. Her goal is to make everyday cooking feel simple, warm, and enjoyable for busy home cooks.


