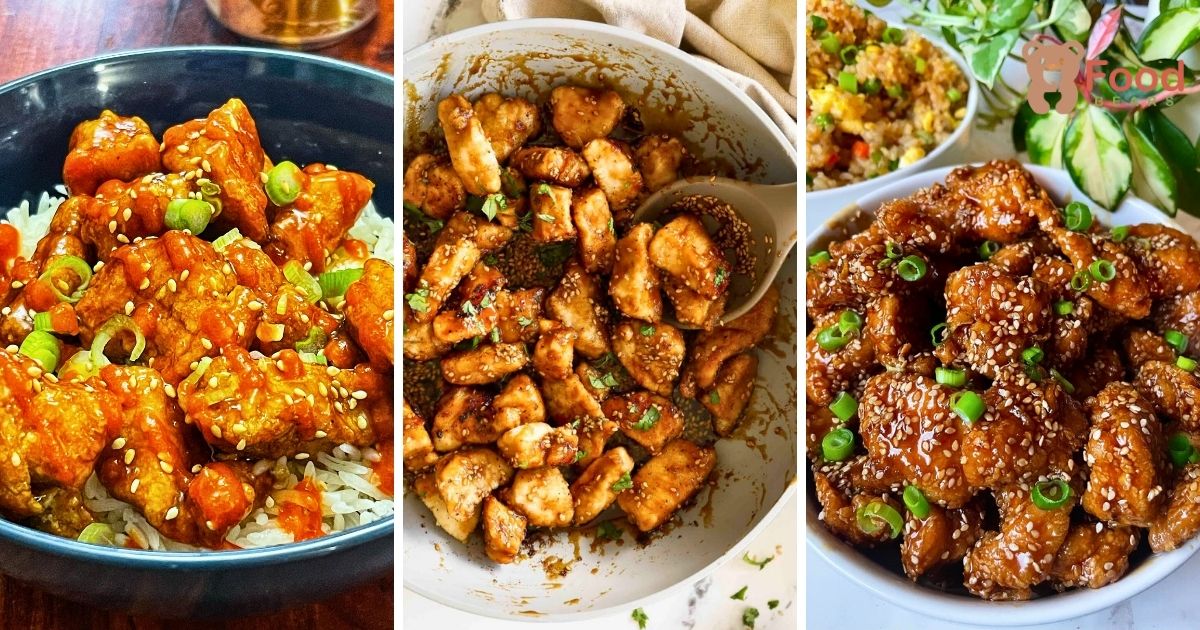
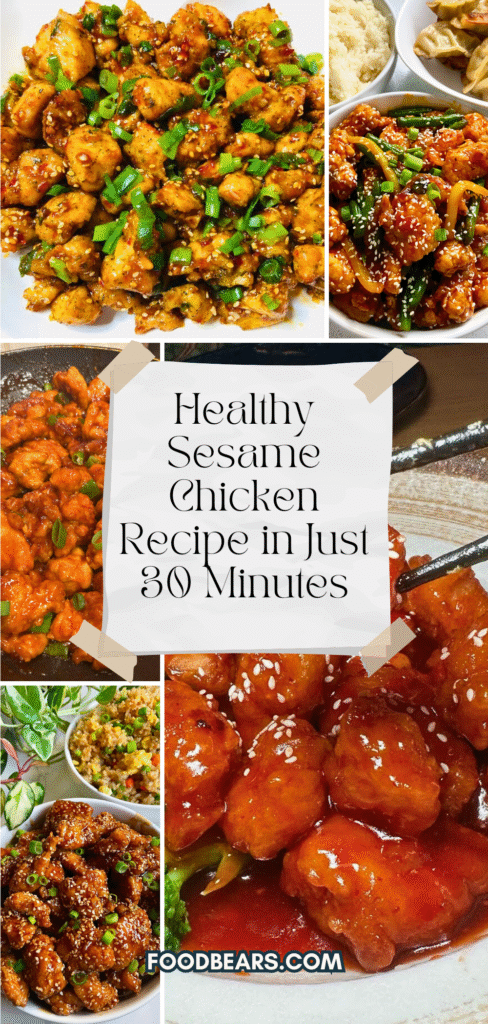
This homemade sesame chicken pairs crisp, bite-size chicken with a glossy sauce that is sweet, tangy, savory, and finished with toasted sesame flavor.
The chicken is marinated first, coated with starch, then fried twice for a craggy exterior that holds up well when tossed with the warm glaze.
Although the recipe has several stages, each one has a clear purpose. Preparing the sauce and coating ingredients before heating the oil makes the process much easier to manage.
Why You’ll Love This Sesame Chicken Recipe
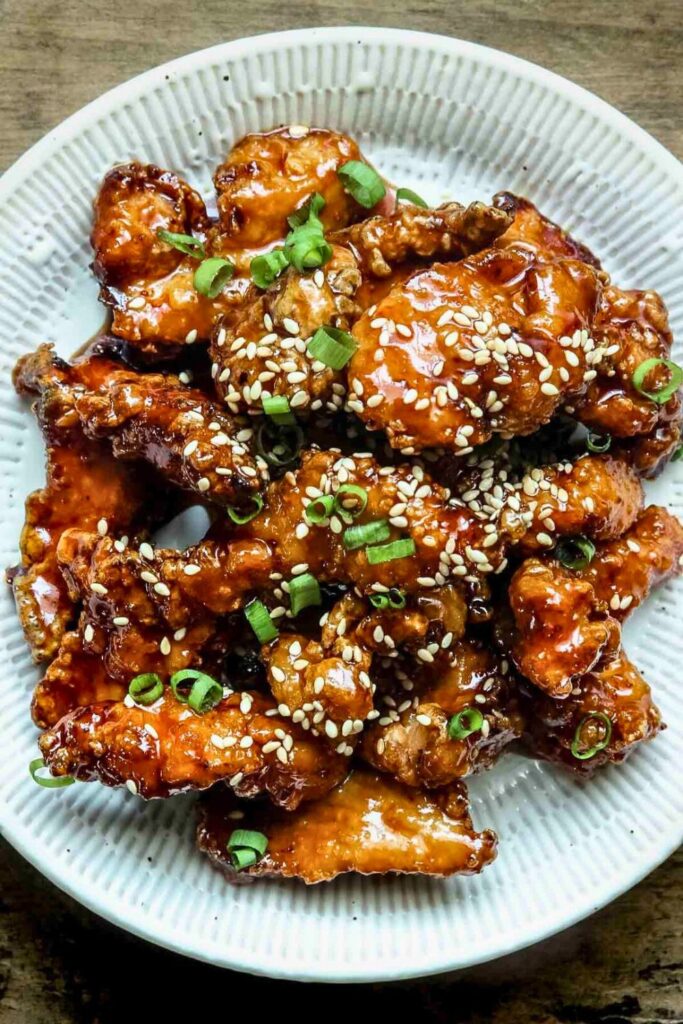
This recipe delivers the restaurant-style contrast people love: crisp chicken underneath a shiny, flavorful sauce. The method is detailed enough for a first attempt while still leaving room to adjust sweetness and heat.
The guide covers the ingredients, coating technique, two frying stages, and the final sauce toss.
- Several details give this sesame chicken its characteristic flavor and texture.
- A textured coating: Sweet potato starch forms a crisp shell around the thin chicken pieces.
- A sweet-tangy glaze: Honey and brown sugar balance the soy sauce and vinegar.
- A sesame finish: Toasted seeds and a little sesame oil bring the flavor that names the dish.
- Control over the process: Monitor frying temperature and add only enough sauce to coat the chicken.
A familiar dinner pairing: Serve it with rice and vegetables to complete the meal.
A Brief History: Where Did Sesame Chicken Come From?
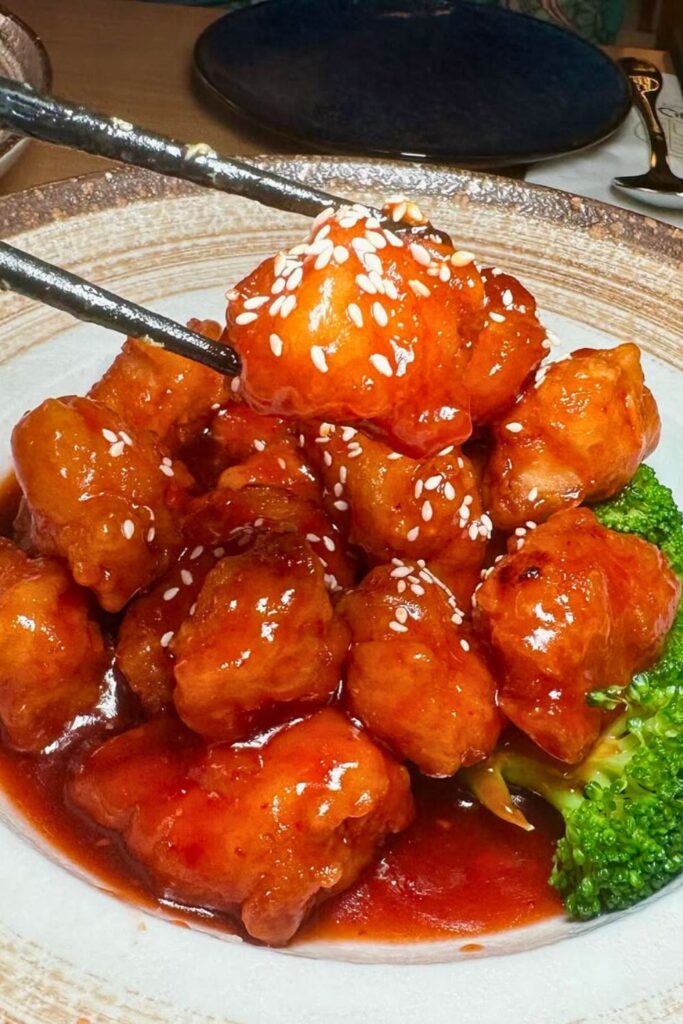
Sesame chicken is best known as a Chinese-American restaurant dish. It reflects the way Chinese cooking traditions adapted to American tastes, restaurant kitchens, and locally available ingredients.
It belongs to a broader tradition of dishes adapted by Chinese cooks for changing ingredients, settings, and customers.
Sweet-and-sour dishes offer a useful flavor comparison, but that similarity does not prove one direct origin for sesame chicken.
The balance of sweetness, acidity, and savory seasoning varies among kitchens.
Chicken can be sliced, cubed, or given different coatings, changing how the sauce clings.
Some versions emphasize honey, while others use different sugars or stronger vinegar.
In this recipe, sesame seeds and oil are finishing flavors rather than the sauce base.
Treat the following method as one home-cooking version, not a definitive formula for every restaurant.
Ingredients You’ll Need

Organize the ingredients by stage—marinade, coating, sauce, and garnish—before you begin. Once the oil is hot, having everything measured keeps the cooking smooth and safe.
For the Chicken and Marinade
| Ingredient | Amount |
|---|---|
| Chicken breast | 1 lb, cut into ⅓-inch slices |
| Garlic (finely minced) | 1 tbsp |
| Soy sauce | 2 tsp |
| Salt | ½ tsp |
| Black pepper | To taste |
| Baking soda | ⅓ tsp |
| Egg | 1 |
| Sweet potato starch | 3 tbsp |
For the Starch Coating
| Ingredient | Amount |
|---|---|
| Sweet potato starch | Enough to coat the chicken |
| (Optional: water spray) | For DIY coarse texture |
For the Sweet-Tangy Sauce
| Ingredient | Amount |
|---|---|
| Honey | 2 tbsp |
| Brown sugar | 3 tbsp |
| Soy sauce | 2.5 tbsp |
| Ketchup | 2.5 tbsp |
| Chinese black vinegar | 1 tbsp (or white vinegar) |
| Water | 3.5 tbsp |
| Sweet potato starch | 2 tsp (to mix with water) |
For the Sesame Finish
| Ingredient | Amount |
|---|---|
| Roasted sesame seeds | 1.5 tbsp |
| Sesame oil | A drizzle (about 1 tsp) |
| Sliced scallions | Optional, for garnish |
For Frying
| Ingredient | Amount |
|---|---|
| Oil for deep frying | About 3–4 cups, depending on pan capacity; plus 1–2 teaspoons in a separate sauce pan |
Measure the sauce ingredients and set up a draining rack before heating oil. Stay beside the pan once frying begins.
Step-by-Step: How to Make Sesame Chicken at Home
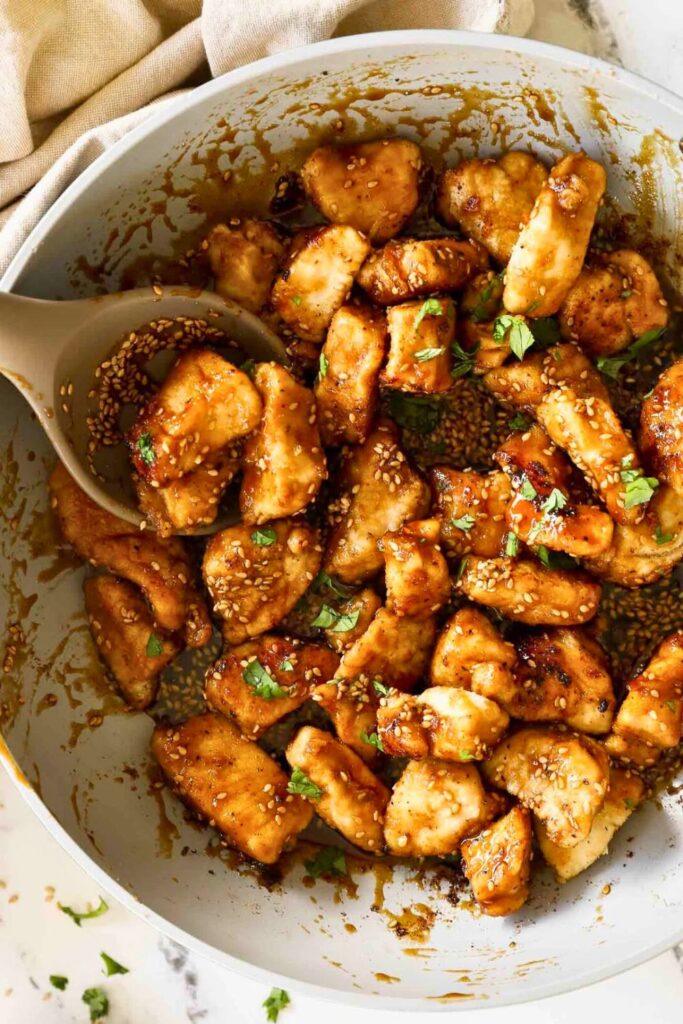
The recipe uses a marinade, a textured starch coating, two frying stages, and a quick sauce toss. Read through the full method first so the glaze and serving dishes are ready when the chicken becomes crisp.
Read the complete sequence first so the chicken, sauce, and serving dishes are ready on time.
Step 1: Prep the Chicken Breast Properly
Begin with 1 pound chicken breast.
Cut it into thin, fairly even pieces so the center cooks promptly without an overly thick coating.
- Slice thick breasts horizontally into thinner sections first.
- Then cut pieces about ⅓ inch thick.
Keep thickness consistent because oversized pieces need longer than the rest.
If slicing is difficult, chill the meat in the freezer for about 10 minutes to firm it slightly, without freezing solid.
Step 2: Marinate for Moisture and Flavor
Place the sliced chicken in a bowl and add the marinade.
🧂 Add the following to your sliced chicken:
- 1 tablespoon finely minced garlic.
- 2 teaspoons soy sauce.
- ½ teaspoon salt.
- Black pepper to taste.
- ⅓ teaspoon baking soda.
- 1 egg.
- 3 tablespoons sweet potato starch.
Mix until every piece is coated and no dry starch remains.
Cover and marinate for 20 minutes in the refrigerator.
🤔 Why these ingredients?
- The measured baking soda affects surface texture; too much can leave an unpleasant taste.
- The starch helps the marinade cling and begins the outer coating.
- The egg binds the wet mixture to the chicken.
A short refrigerated rest lets the coating settle around the pieces.
Step 3: Create a Crispy Coating
Use enough sweet potato starch to coat the chicken, preferably coarse-textured starch when available.
With very fine starch, the optional misting method below forms small clusters instead of a completely powdery layer.
Optional: Form Small Starch Clusters
- Spread starch across a wide tray.
- Mist very lightly with clean water; never soak it or leave puddles.
- Wait about 20 seconds, then whisk gently to create small crumbs.
- Repeat the light misting and mixing about 5 times, stopping when enough clusters form.
Keep the coating loose and crumbly, not wet. Keep all water and wet tools away from frying oil.
Step 4: Coat the Chicken with Starch Clusters
Work with a few marinated pieces at a time.
Here’s how to do it:
- Place individual pieces in the starch.
- Leave room so they do not stick together.
- Turn gently with clean utensils until every side is covered.
- Shake off loose excess starch before moving pieces to a plate.
Rest coated chicken for 15 minutes in the refrigerator so the coating adheres.
Step 5: First Fry—Cook the Chicken Through
Heat suitable deep-frying oil to 380°F (193°C) in a deep, heavy pan. About 3–4 cups is listed, but the safe quantity depends on pan capacity; leave ample headroom and never overfill.
Remember these frying points:
- Use small batches to keep pieces separate and limit temperature drop.
- The first fry must cook the chicken to 165°F at its thickest point. Firmness or white color alone is not a reliable safety test.
- For thin pieces, 2–3 minutes is only a guide. Remove one from the oil to check the center with a thermometer and cook longer when needed.
- Move cooked pieces to a rack over a tray to drain.
Carefully skim loose crumbs between batches with a dry metal skimmer.
Step 6: Rest the Cooked Chicken Before the Second Fry
First-fried chicken rests before going briefly into hotter oil.
Let each batch stand on the rack for about 15 minutes.
Why?
- It must already have reached 165°F in the first fry; the rest cannot safely finish an undercooked center.
- Moisture can move into the coating during the rest, temporarily softening it.
- The second fry drives away surface moisture and refreshes the crust.
This improves texture but does not permanently seal juices inside.
Step 7: Mix the Sauce
Prepare the glaze while the cooked chicken rests, using a clean bowl and tools that never touched raw chicken.
In a bowl, combine:
- 2 tablespoons honey.
- 3 tablespoons brown sugar.
- 2½ tablespoons soy sauce.
- 2½ tablespoons ketchup.
- 1 tablespoon Chinese black vinegar, or white vinegar for a different tang.
- Separately whisk 3½ tablespoons cold water with 2 teaspoons sweet potato starch, then combine the smooth slurry with the remaining sauce.
Stir thoroughly before use so settled starch and sugar are evenly distributed.
💡 Refrigerate clean, unused sauce in a covered container and use within 3–4 days, not three months. Rewhisk settled starch and discard sauce contaminated by raw chicken.
Step 8: Double Fry and Toss in Sauce
Set out the sauce pan and serving dishes before the final fry.
Raise the frying oil to 400°F (204°C), watching carefully and never letting it smoke.
Refry the cooked chicken in small batches for about 2–3 minutes, or only until golden and crisp. Thin pieces may finish sooner.
Lift out and drain on the rack.
Use a separate clean pan with 1–2 teaspoons cooking oil for sauce. Switch off the fryer and let its oil cool completely before moving, straining, or discarding it; never pour hot oil.
Stir the sauce, add it to the clean pan, and bubble for about 1 minute while stirring until thickened.
Add fried chicken and toss briefly to coat.
Add the sesame finish:
- About 1 teaspoon sesame oil.
- 1½ tablespoons roasted sesame seeds.
Sliced scallions, if desired.
Toss only long enough to distribute the glaze, then serve promptly. Extra sauce and holding time soften the crust.
Tips for Crispy Chicken Every Time
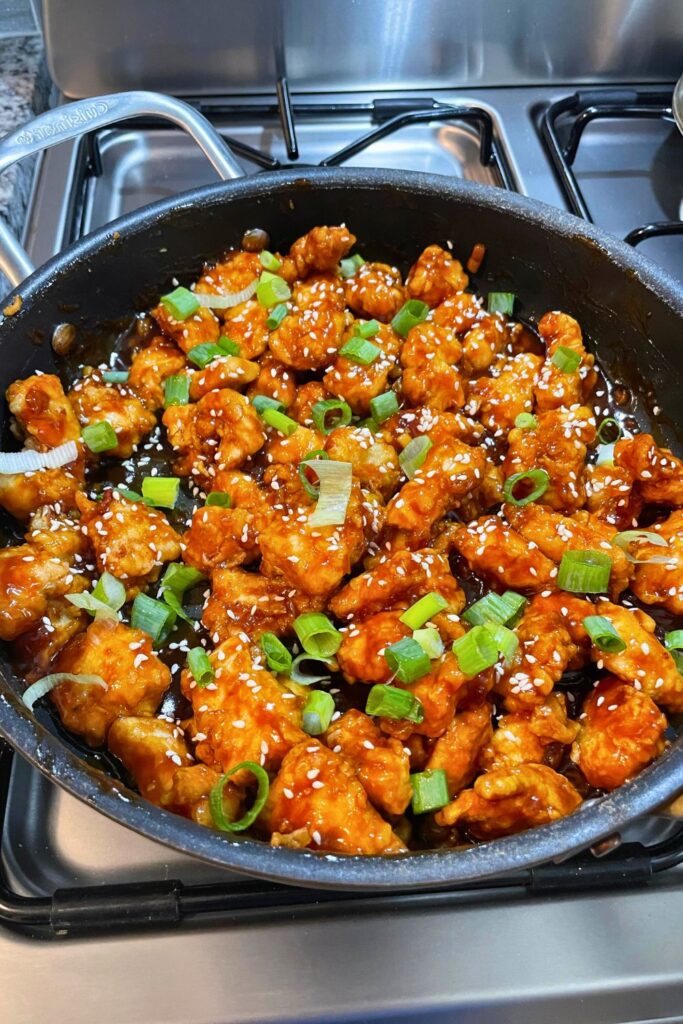
Crisp sesame chicken depends on three things: a dry, well-textured coating; steady oil temperature; and a short final toss so the sauce coats the pieces without softening them too quickly.
Select the Coating Starch Deliberately
Different starches give different textures, so alternatives do not behave exactly like sweet potato starch.
- Sweet potato starch: The starch specified here; a coarse product gives added surface texture.
- Tapioca starch: An alternative with a different bite and coating behavior.
- Potato starch: Another frying starch that can form a crisp shell.
- Cornstarch: Commonly available, but it produces a different final crust.
- All-purpose flour is not an identical replacement because it changes texture and browning.
When using fine starch, apply the optional light-misting method carefully to form crumbs without a wet paste.
Rest the Coating
Rest coated raw chicken for 15 minutes in the refrigerator, not at room temperature.
- The starch absorbs some moisture from the marinade.
- A settled coating is easier to handle and can adhere better while frying.
- Shake off loose excess to limit crumbs in the oil.
Give the Two Frying Stages Separate Jobs
The first stage cooks the chicken; the brief second stage develops the final crust.
- The hotter finish removes more surface moisture.
- It helps serving-time crispness, although sauce still softens the coating as it stands.
- Watch color as well as time so the second fry does not become too dark.
Use 380°F for the first fry and 400°F for the second, monitoring oil with a thermometer and separately checking chicken for 165°F after the first fry.
Remove Crumbs Safely
Skim crumbs carefully with a dry metal utensil. Leave full oil straining until it has cooled completely.
Thicken Sauce Before Adding Chicken
Let the glaze bubble and coat a spoon before tossing in the fried pieces.
Serve quickly after glazing for the strongest contrast between crisp coating and sticky sauce.
Serving Suggestions

Because the chicken is richly flavored, simple sides work best. Steamed rice and lightly cooked vegetables balance the sweet-savory glaze without competing with it.
🍚 Steamed Rice
- Plain rice absorbs some glaze without competing with it.
- Use jasmine or short-grain rice according to the texture you prefer.
🥬 Green Vegetables
- Try sautéed bok choy, spinach, or Chinese broccoli with garlic.
- Simple seasoning gives a welcome counterpoint to the sweet glaze.
🍜 Fried Rice or Noodles
- Fried rice or lo mein creates a more substantial plate.
- Egg-and-pea fried rice is one option; prepare it separately to control seasoning.
🍽️ Family-Style Serving
- Pile freshly glazed chicken on a platter with rice and vegetables nearby.
- Provide serving utensils so everyone can portion it comfortably.
🥤 Drinks
- Unsweetened tea or sparkling water pairs well; adults who want beer might choose a lager.
If serving appetizers, keep portions modest and serve perishable dishes promptly instead of leaving them out through a long meal.
What’s the Difference Between Sesame Chicken and General Tso’s?
Both dishes often feature fried chicken in a glossy sauce, but sesame chicken usually leans sweeter and nuttier. General Tso’s is commonly darker, tangier, and spicier, although recipes vary from one restaurant to another.
| Feature | Sesame Chicken | General Tso’s Chicken |
|---|---|---|
| Cooking Style | Chinese-American-style fried chicken with a sesame finish. | Chinese-American-style fried chicken, often with chili-accented glaze. |
| Flavor Profile | Sweet, tangy, savory, and nutty from sesame. | Usually sweet and tangy, with heat varying by recipe. |
| Sauce Ingredients | This recipe uses soy sauce, honey, brown sugar, ketchup, and vinegar. | Often soy sauce, sugar, vinegar, garlic, ginger, and chili; formulas vary. |
| Spiciness Level | This version has no added chili and is relatively mild. | Can be mild or hot according to the chilies used. |
| Toppings | Roasted sesame seeds and optional scallions. | May include chilies, scallions, or sesame; verify the specific dish. |
| Crunch Factor | Depends on coating, frying, sauce quantity, and serving time. | Also depends on coating and sauce; it is not automatically crispier. |
| Color | Golden coating with a glossy brown glaze. | Often brown or reddish-brown, depending on sauce. |
| Where You May Find It | Common on Chinese-American restaurant menus. | Also common on Chinese-American restaurant menus. |
Choose this sesame chicken for its sweet glaze and nutty finish. Check a specific General Tso’s preparation when seeking more heat or managing ingredient restrictions.
FAQs
What goes into sesame chicken sauce?
This glaze contains honey, brown sugar, soy sauce, ketchup, and vinegar, thickened by a water-and-starch slurry and finished with sesame oil and seeds.
How is the chicken seasoned?
Garlic, soy sauce, salt, and pepper flavor the marinade. Egg and starch support coating adhesion, while carefully measured baking soda affects texture rather than acting as the main seasoning.
Does General Tso’s chicken contain sesame?
It can. Recipes and garnishes vary, so never assume it is sesame-free. For allergies, verify ingredients and cross-contact controls with the cook or restaurant.
Is tahini the same as sesame chicken sauce?
No. Tahini is ground sesame paste; this glaze is mainly sweet-savory soy, ketchup, and vinegar, finished with sesame oil and seeds.
| Tahini | Sesame Sauce (for chicken) |
|---|---|
| A paste made from ground sesame seeds. | A soy-based sweet-tangy glaze with sesame added at the finish. |
| Usually thick and paste-like before thinning. | Thickens into a glossy coating when heated with starch. |
| Nutty, sometimes with a slightly bitter edge. | Sweet, tangy, savory, and accented with sesame. |
| Common in Middle Eastern cooking and many other uses. | Used here for Chinese-American-style fried chicken. |
Can I substitute rice vinegar?
Rice vinegar supplies acidity but tastes different from the listed Chinese black or white vinegar. It is for flavor, not for disinfecting chicken or making unsafe food safe.
Final Thoughts
Homemade sesame chicken is a rewarding weekend-style cooking project built around careful preparation, temperature control, and a fast finish.
Measure the sauce before frying, keep the oil steady, and serve immediately after tossing for the best balance of crisp coating and glossy glaze.
Refrigerate leftovers within 2 hours, or 1 hour above 90°F, and use within 3–4 days. Reheat to 165°F. Stored sauce softens the coating, so leftovers differ from freshly fried chicken.
Crispy Sesame Chicken
More Easy & Delicious Recipes to Try Next
🍯 Easy Honey Garlic Chicken Bites in 25 Min
Bite-size chicken pieces offer another easy-to-portion chicken dinner.
🍛 Quick Indian Butter Chicken Recipe in 20 Minutes
Chicken in a creamy tomato sauce brings a different spice profile.
🥗 Grilled Chicken Salad with Eggs and Vinaigrette
Grilled chicken, romaine, eggs, and vinaigrette make a fresh alternative.

Dana Brooks is a home-cooking writer at Feastbears, where she shares easy family recipes, cozy dinners, quick desserts, and beginner-friendly kitchen tips. Her goal is to make everyday cooking feel simple, warm, and enjoyable for busy home cooks.


