Homemade puff pastry can produce delicate layers that break into crisp, buttery flakes when baked.
The technique is often considered difficult because traditional versions require precise lamination.
This recipe uses a rough-puff method that relies on frozen grated butter, simple folds, and careful chilling instead of a separate butter block.
The dough begins with familiar pantry ingredients and becomes smoother and more layered with each roll and fold.
It still needs proper chilling, but the active steps are manageable with basic equipment.
Follow the nine original steps below to make the dough.
Why Make Puff Pastry from Scratch?
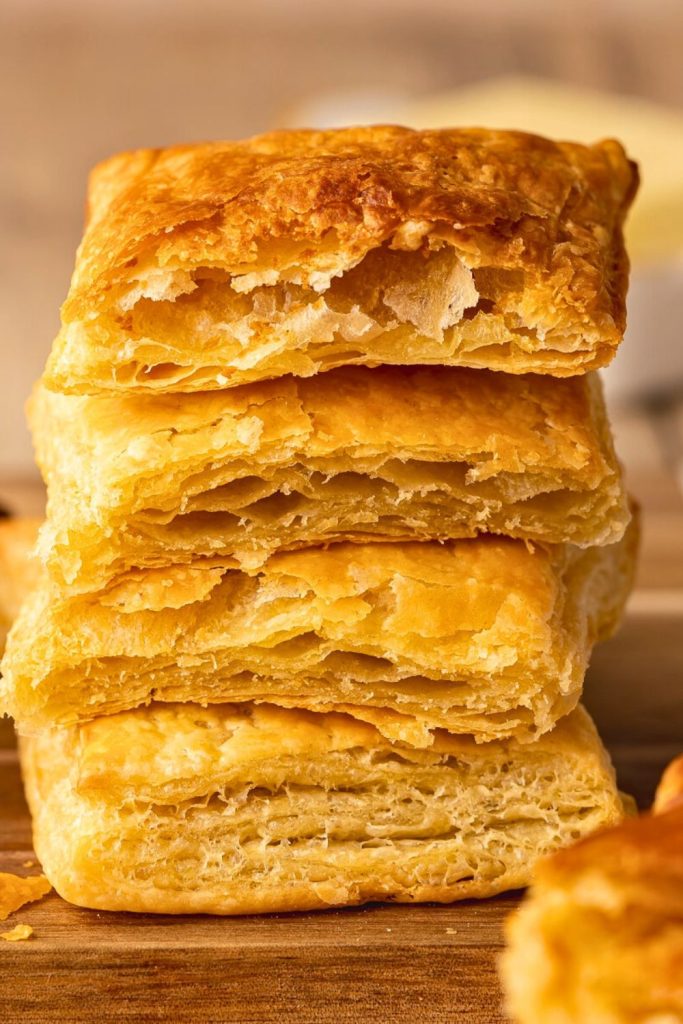
Frozen puff pastry is convenient, but a homemade batch offers several advantages.
The main benefits are:
- Flavor: Real butter gives the dough a clean, rich taste.
- Texture: Cold butter and repeated folds create thin layers that bake crisp.
- Versatility: Use the same dough for fruit tarts, turnovers, cheese twists, and savory pies.
- Confidence: Learning rough puff makes many bakery-style recipes more approachable.
Ingredients You’ll Need

Only five ingredients are needed for the basic dough.
| Ingredient | Amount | Details |
|---|---|---|
| All-purpose flour | 2 cups (240 g) | Provides the structure for the folded dough. |
| Unsalted butter | 1 cup (2 sticks) | Freeze solid before grating; European-style butter is optional. |
| Granulated sugar | 1 tablespoon | Supports browning and balances the butter without making the dough sweet. |
| Salt | ½ teaspoon | Strengthens the butter flavor. |
| Cold water | 6–8 tablespoons | Start with 6 tablespoons and add more only until the dough holds together. |
Important: Freeze the butter in advance so it stays in distinct pieces during mixing.
How to Make Puff Pastry from Scratch (Step-by-Step)

This simplified rough-puff process avoids the separate butter block used in classic laminated pastry.
Cold grated butter is distributed through the flour, and four letter folds organize it into layers.
Begin by freezing the butter.
Step 1: Freeze the Butter
Place the butter in the freezer before measuring the remaining ingredients.
It should be completely firm when grated.
Butter pieces that remain solid until the dough reaches the oven release steam, separating the flour layers and creating lift.
This is especially important in a warm kitchen, where softened butter can blend into the flour and produce greasy, dense pastry.
A higher-fat European-style butter can provide a richer flavor, but standard unsalted butter also works when kept cold.
Leave the butter frozen until the flour mixture is ready.
Step 2: Mix the Dry Ingredients
Combine the dry ingredients in a large bowl:
- 2 cups (240 g) all-purpose flour.
- 1 tablespoon granulated sugar.
- ½ teaspoon salt.
Whisk briefly so the sugar and salt are dispersed evenly.
The flour supplies the structure that will hold the butter layers.
The small amount of sugar supports browning and balance without making the dough noticeably sweet.
Salt is essential for bringing out the butter’s flavor in both sweet and savory recipes.
Step 3: Grate the Frozen Butter
Grating creates many small butter pieces quickly and keeps them separate through the dough.
Use the large holes of a box grater to shred the frozen butter directly over the flour mixture.
Work in short stages:
- Grate part of the butter.
- Toss the shreds gently with flour to coat them.
- Continue until all the butter has been grated and separated.
Coating between additions prevents the shreds from sticking together in a solid clump.
The same technique is useful for other flaky doughs, including pie crust.
Finely chop the final small piece if it becomes unsafe or awkward to hold against the grater.
A very light dusting of flour on the grater can reduce sticking.
When finished, visible butter pieces should be distributed throughout the flour.
Step 4: Add Cold Water
Add just enough cold water to make the mixture hold together.
Begin with 6 tablespoons, stirring gently. Add up to 2 more tablespoons, one at a time, only if dry flour remains.
Avoid pouring in all the water at once.
The mixture should look shaggy and crumbly rather than smooth or sticky.
Test a small amount:
- Pick up a loose handful.
- Squeeze it lightly.
- It is ready when it holds together without feeling wet.
Handle the mixture gently so the butter remains visible and the gluten is not overdeveloped.
Step 5: Bring the Dough Together
Use your hands only enough to gather the shaggy mixture.
Press with the heel of your palm rather than kneading as you would bread dough.
Work slowly and stop if the butter begins softening.
Turn the dough onto a lightly floured surface and press it into a square or rectangle about 1 inch thick.
A rough appearance is normal at this stage; later folds will even it out.
Step 6: Chill It
Wrap the dough tightly and refrigerate it.
Chill for at least 1 hour.
During this rest:
- The butter firms again.
- The gluten relaxes, so the dough rolls more easily.
- The loose mixture becomes easier to fold without cracking.
If the dough warms at any later stage, return it to the refrigerator before continuing.
Step 7: Rolling and Folding Time
After the first chill, begin the folds that create the layers.
Lightly flour the work surface and rolling pin.
Roll the dough into a rectangle about ½ inch thick, then:
- Fold the bottom third upward and the top third downward, like a business letter.
- Rotate the folded dough 90 degrees.
- Roll it back into a rectangle.
- Repeat the fold-and-turn sequence.
Complete four folds in total to distribute the butter into many thin layers.
If the dough springs back, feels soft, or the butter begins melting, chill it for 20 to 30 minutes.
The first fold may look rough, but each pass should make the dough more cohesive.
After successive folds, the rectangle should appear smoother and more even.
Step 8: Chill Again
Wrap the dough again after the fourth fold and refrigerate it for the final rest.
- Chill for at least 2 hours.
- It can remain refrigerated for up to 2 days.
- For longer storage, freeze for up to 2 months and thaw in the refrigerator before rolling.
You may flatten the dough slightly between parchment sheets before freezing to make later rolling easier.
Step 9: Time to Use Your Puff Pastry
The chilled dough is now ready to roll, cut, fill, and bake.
Keep unused portions refrigerated while you work.
To prepare it:
- Cut off only the amount required for the recipe.
- Roll to about ⅛ inch thick, or slightly thinner when an especially crisp result is desired.
- Use a sharp knife or pizza cutter so the edges are cut cleanly rather than compressed.
For tarts or turnovers:
- Score a shallow border to help the outside rise.
- Add a sweet or savory filling without overloading the pastry.
- Brush exposed dough with egg wash for a golden finish.
For a sweet option, pair cream cheese with fruit preserves; for a savory version, try caramelized onion and Gruyère.
Follow the baking time for the finished recipe; many puff-pastry items bake well between 375°F and 400°F (190°C to 200°C).
Sweet and Savory Ideas to Try
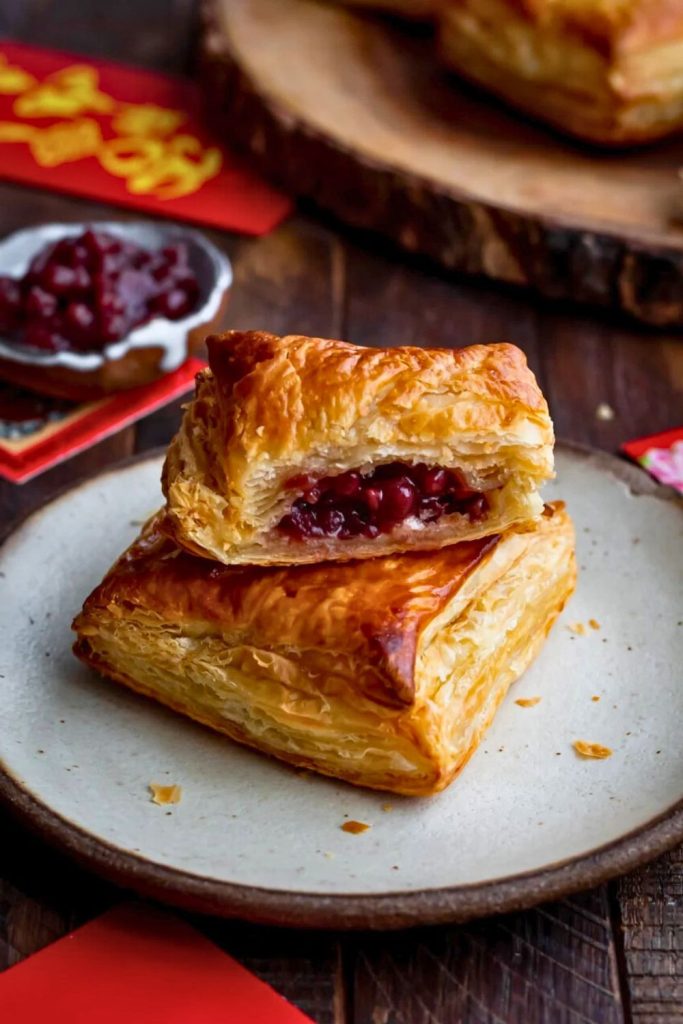
Homemade puff pastry can be used as a neutral base for many sweet and savory fillings.
Choose the style that suits the meal or occasion.
Start with one of these ideas:
Sweet Puff Pastry Recipes
- Fruit Turnovers: Add jam, fresh fruit, or pie filling, then fold, seal, and bake.
- Cream Cheese Danishes: Place sweetened vanilla cream cheese in pastry squares and fold the corners.
- Palmiers: Sprinkle with sugar, fold both sides toward the center, slice, and bake into crisp spirals.
- Chocolate-Hazelnut Puffs: Spread a thin layer inside, seal, bake, and finish with powdered sugar.
- Mini Apple Tarts: Arrange thin apple slices with cinnamon and sugar inside a scored border.
Savory Puff Pastry Recipes
- Cheese and Onion Tart: Top with caramelized onions, herbs, and grated cheese.
- Spinach and Feta Pockets: Enclose a well-drained spinach-and-cheese filling.
- Mini Pizzas: Cut rounds and top lightly with tomato sauce, cheese, and preferred toppings.
- Puff Pastry Twists: Add pesto or cheese, cut strips, twist, and bake.
- Breakfast Squares: Fill with scrambled egg, bacon, and cheddar for brunch.
Whichever direction you choose, keep the pastry cold and avoid wet or excessive fillings.
5 Pro Tips for Puff Pastry Success
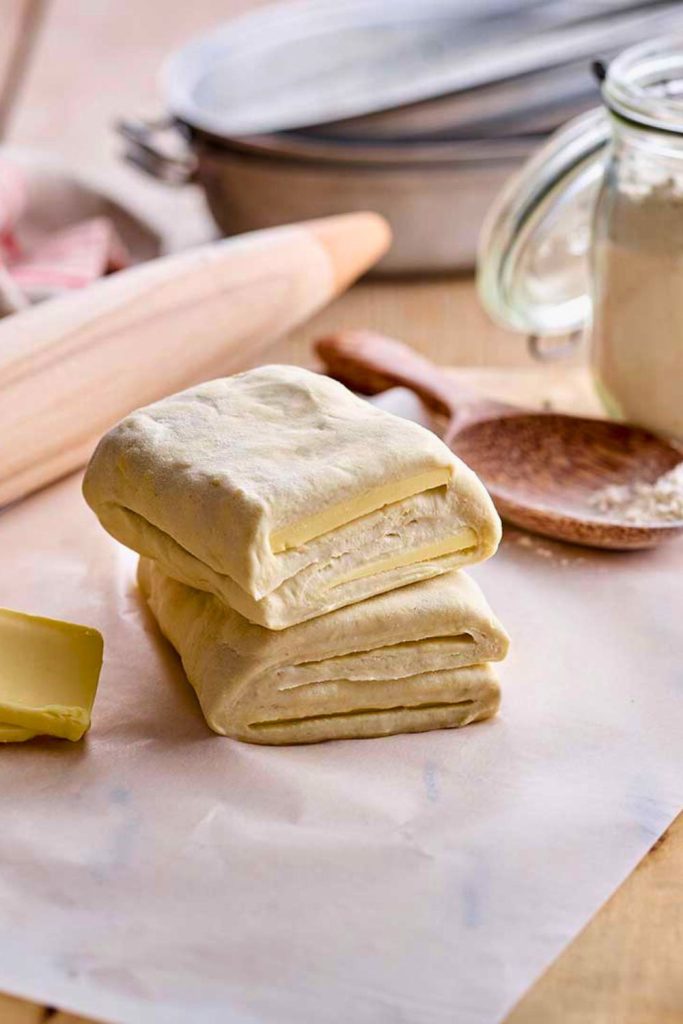
These five practices protect the layers and encourage an even rise.
1. Keep Everything Cold
If the dough or butter begins to feel soft, refrigerate it for 15 to 20 minutes before continuing.
2. Handle the Dough Lightly
Do not knead. Excess mixing develops gluten and can smear the butter into the flour.
3. Respect the Chill Times
Resting relaxes the gluten and firms the butter; both are necessary for easy rolling and flaky layers.
4. Add Egg Wash Carefully
Beat an egg with a small splash of water or milk and brush only the exposed surface, avoiding heavy drips down cut edges.
5. Score or Vent Filled Pastries
Small cuts release steam and help prevent soggy centers or uneven bubbles.
Bonus: Use a very sharp blade; a dull edge can press the layers together and limit their rise.
Serving Ideas for Puff Pastry Treats

Baked puff pastry looks polished with little extra decoration and works for casual or formal serving.
Brunch Board
- Mini fruit or cream-cheese danishes.
- Cheese or herb twists.
- Fruit turnovers.
- Coffee, tea, or mimosas alongside.
Appetizer Spread
- Tart squares with goat cheese and honey.
- Savory turnovers filled with spinach or mushrooms.
- Wine or sparkling water for serving.
Weeknight Dinner
- Cover soup or stew portions with pastry lids.
- Use pastry as the crust for pot pie.
- Bake savory rectangles beside salad or roasted vegetables.
Dessert Tray
- Serve warm pastries with whipped cream, ice cream, or powdered sugar.
- Add a light drizzle of chocolate or caramel sauce if desired.
From quick snacks to holiday platters, puff pastry adds crisp texture and an attractive finish.
Variations to Try
The table below suggests several ways to flavor the dough or turn it into filled pastries.
| Variation | What to Add or Change | Best Use |
|---|---|---|
| Herb-Infused Dough | Add finely chopped rosemary or thyme to the flour. | Savory tarts, quiches, and pastry lids. |
| Cheddar Puff Pastry | Fold in finely grated sharp cheddar during the first turn. | Cheese straws, crackers, and savory twists. |
| Cinnamon Sugar Puff | Sprinkle cinnamon sugar over the rolled dough before shaping. | Palmiers and breakfast pastries. |
| Whole-Wheat Twist | Replace ½ cup all-purpose flour with whole-wheat flour. | Heartier vegetable tarts and pockets. |
| Chocolate-Hazelnut Roll | Spread a thin layer of chocolate-hazelnut spread, roll, and slice. | Breakfast or dessert pinwheels. |
| Jalapeño Cheese Bites | Add chopped jalapeño and shredded cheese as the filling. | Party and game-day snacks. |
| Lemon Zest Pastry | Add finely grated lemon zest and pair with berries. | Summer fruit pastries. |
| Pumpkin Spice Layers | Mix pumpkin spice with the sugar before sprinkling. | Autumn breakfast tarts. |
Each option keeps the rough-puff method intact while adding a different flavor or use.
Final Thoughts
A small amount of flour, butter, sugar, salt, and water can become a remarkably light, crisp dough through cold handling and repeated folds.
Rough puff is more approachable than classic lamination, but the butter temperature and resting times still matter.
Use the finished dough for sweet fruit turnovers, savory cheese tarts, and many other baked recipes.
The flavor is rich and buttery, while the folded structure produces a golden, layered texture.
Make a batch ahead, chill or freeze it, and use portions whenever a recipe calls for puff pastry.
Easy Homemade Rough Puff Pastry

More Comfort Recipes You’ll Love
Continue with these related comfort-food recipes:
- 🥩 Easy Beef Wellington Recipe for Busy Nights: Beef and a savory filling wrapped in crisp puff pastry.
- 🍖 Perfect Prime Rib Roast Recipe for Busy Families: A carefully cooked beef roast for holidays and special dinners.
- 🍗 Best 75-Min Roast Chicken Recipe for Busy Women: A whole roast chicken with crisp skin and juicy meat.
Save these ideas for meals that need a flaky pastry, a satisfying main course, or both.


Dana Brooks is a home-cooking writer at Feastbears, where she shares easy family recipes, cozy dinners, quick desserts, and beginner-friendly kitchen tips. Her goal is to make everyday cooking feel simple, warm, and enjoyable for busy home cooks.


