
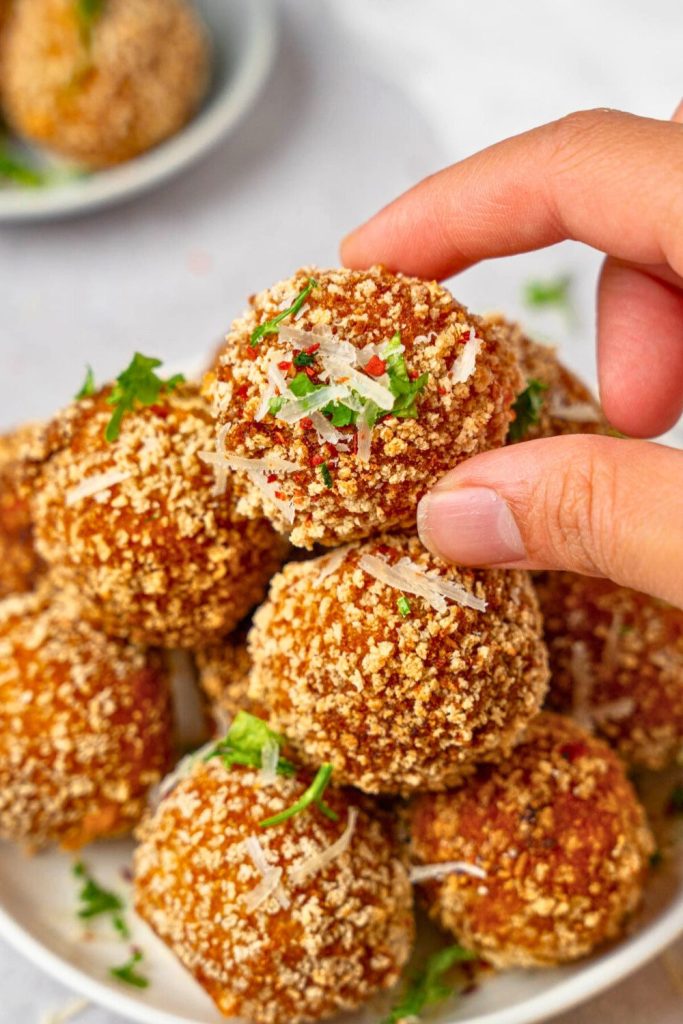
Crispy potato balls turn seasoned mashed potatoes into golden, bite-size snacks with a crunchy shell and soft center.
They are especially useful for leftover mash, which becomes more flavorful with Parmesan, roasted garlic, bacon, chives, and panko.
Offer them as an appetizer, party snack, or dinner side, and adjust the filling with the cheese, herbs, or spice you enjoy.
The method below follows the original order: boil, mash, season, shape, chill, coat, fry, and use the air-fryer variation if preferred.
Why You’ll Love This Potato Balls Recipe
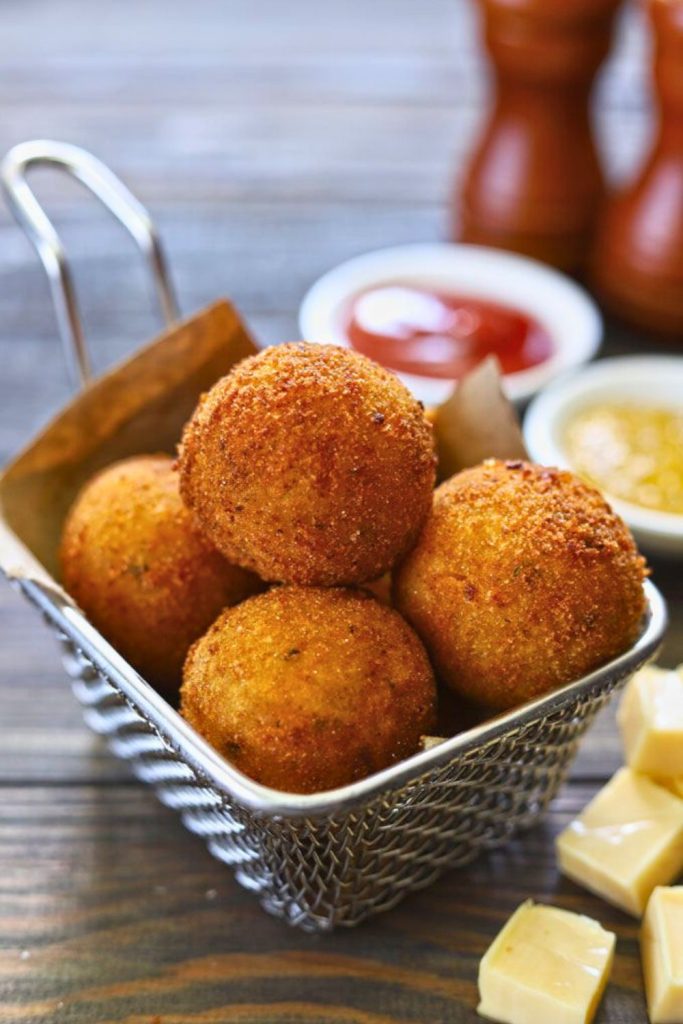
The appeal is all about contrast—a crisp coating gives way to a smooth, savory potato filling.
These bites fit a holiday platter, game-night table, casual gathering, or weekend snack.
The potato base uses familiar ingredients and accepts plenty of easy flavor changes.
Here are the main reasons this recipe works so well:
- Suitable for Leftovers: Got extra mashed potatoes from dinner? The method turns them into a brand-new dish that is even more exciting.
- Crisp shell, creamy center: Panko delivers the crunch while the seasoned potato remains soft.
- Layered savory flavor: Garlic, Parmesan, bacon, paprika, and chives make the filling more complex.
- Adaptable: Add a cheese center, change the herbs, increase the spice, or use the air-fryer method.
- Useful for several occasions: Present the balls as a party appetizer, dinner side, or warm snack.
Once you know the basic shaping and coating technique, the filling can be adapted without making the recipe complicated.
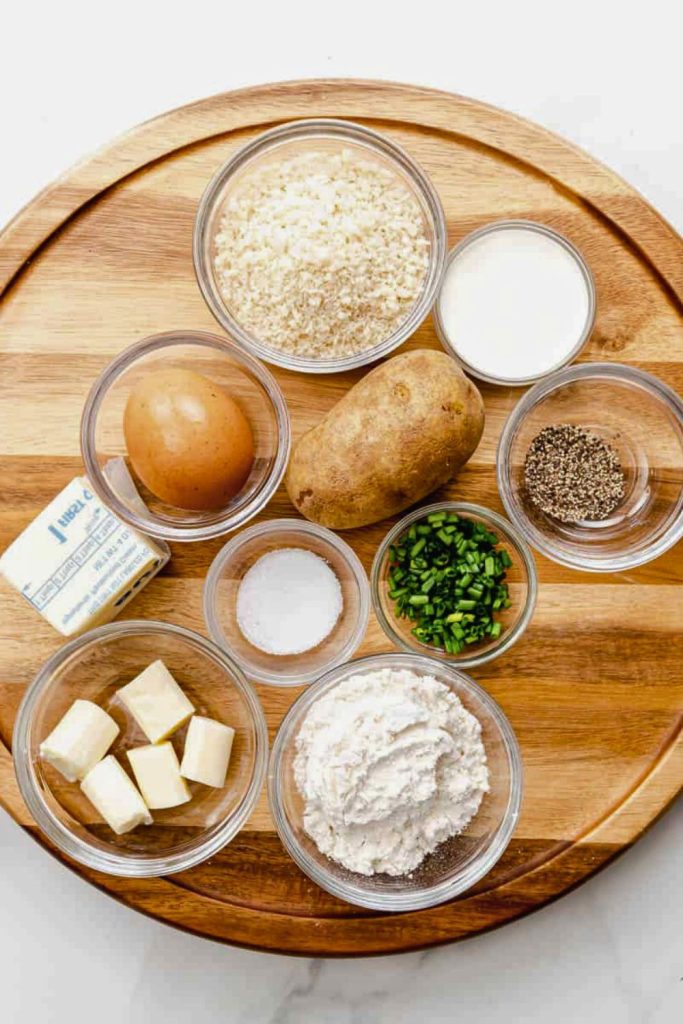
Ingredients You’ll Need
| Category | Ingredient | Notes / Tips |
|---|---|---|
| Main base | 1 pound yellow potatoes | Yellow potatoes are buttery; Russets also work. |
| Main base | 1 whole roasted garlic head | Roast until soft and golden for deeper flavor. |
| Flavor | 2 tablespoons chopped chives | Adds color and freshness. |
| Flavor | 1/2 teaspoon garlic powder | Reinforces the roasted garlic. |
| Flavor | 1/2 teaspoon paprika | Adds color and mild warmth. |
| Flavor | Salt and black pepper | Season the potato mixture to taste. |
| Mix-in | 2 slices crisp bacon, crumbled | Adds smoky crunch. |
| Mix-in | 1/2 cup grated Parmesan | Provides salty richness. |
| Mix-in | 1 tablespoon butter, optional | Makes the center creamier. |
| Optional center | Small sharp-cheddar cubes | Place one cube inside each ball. |
| Coating | 1/2 cup all-purpose flour | Forms the base of the wet coating. |
| Coating | 2 tablespoons cornstarch or potato starch | Improves crispness. |
| Coating | 1/2 teaspoon each garlic powder and paprika | Seasons the outer layer. |
| Coating | 1/3 cup cold water | Add enough for a thick, smooth batter. |
| Coating | 1 cup panko breadcrumbs | Creates the crunchy shell. |
| Coating | 1/4 cup Parmesan | Mix into the breadcrumbs for extra flavor. |
| Frying | Vegetable, canola, or avocado oil | Choose a high-smoke-point oil and maintain 350°F. |
| Serving | Sour cream, spicy mayo, or ketchup | Serve the cooked potato balls warm with a dip. |
How to Make Potato Balls
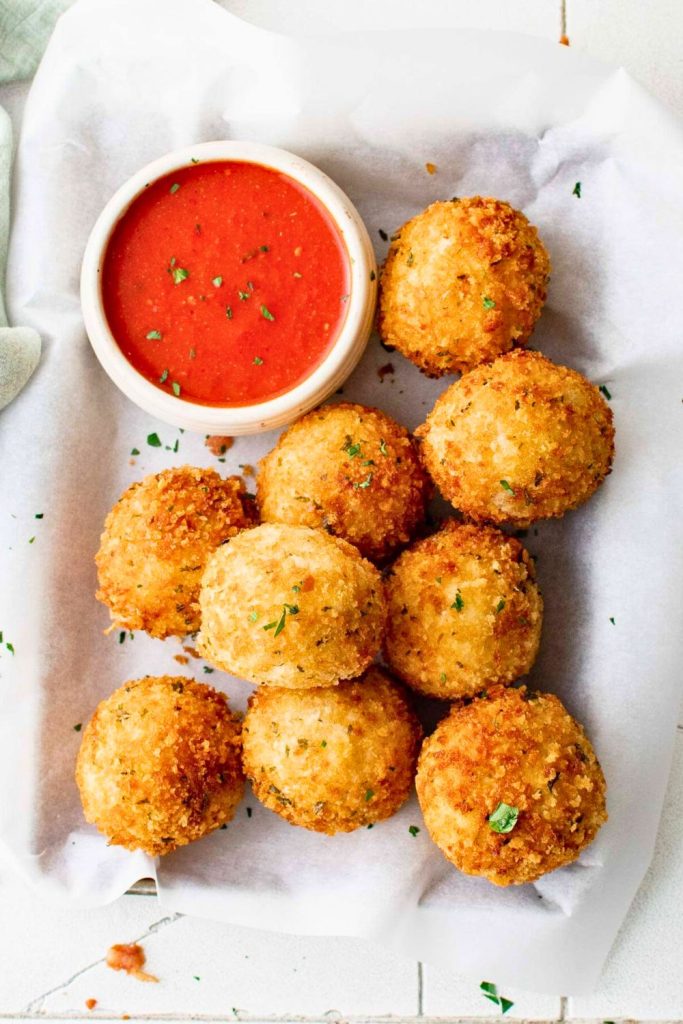
Good potato balls depend on three things: a firm mash, a well-sealed coating, and properly heated oil or air.
Complete each stage in order and the finished bites will brown evenly while staying creamy inside.
Follow the process one step at a time.
Step 1: Boil the Potatoes the Right Way
Begin with potatoes that cook up creamy but not watery, because excess moisture makes the balls difficult to shape.
Yellow potatoes such as Yukon Gold are a dependable choice for their naturally buttery texture.
They contain enough starch to hold together while remaining moist and smooth in the center.
- Rinse your potatoes completely, but do not peel them yet. Keeping the skin on while boiling helps create a natural barrier that prevents the potatoes from soaking as long aso much water.
- Cover the chunks with cold water in a large pot and season the water generously with salt.
- Bring to a boil over medium-high heat and cook for 15–20 minutes, depending on size, until a fork passes through without resistance.
- Drain the potatoes immediately and allow them to cool just enough to handle. Then, gently remove the skins; they’ll slip off easily.
Peeling creates a finer filling, but clean skins may be left on for a more rustic texture.
Step 2: Mash and Season to Perfection
Mash the cooked potatoes while warm, then add the seasonings before the mixture cools and firms.
Use a masher or fork until no large chunks remain. Warm potatoes blend easily with the garlic, cheese, bacon, and herbs.
Mix in the following seasonings and add-ins:
- Roasted garlic: Roast a whole head at 400°F for approximately 50 minutes, using olive oil, salt, and pepper to taste. Once soft, squeeze out the cloves. They are sweet, buttery, and add impressive depth.
- Fresh chives: Provide color and a clean onion-herb note.
- Garlic powder and paprika: Reinforce the garlic and add mild smoky warmth.
- Crispy bacon bits: Because who does not love that savory crunch?
- Grated Parmesan: Helps bind the mixture while supplying salty, nutty flavor.
- Optional butter: Makes the potato center smoother and richer.
Fold gently until evenly combined, then taste the mixture and correct the salt or pepper before shaping.
Season confidently, but remember that Parmesan and bacon already contribute salt.
Step 3: Shape Your Potato Balls
Scoop the mixture into equal portions and roll them gently between your palms.
- Portion about 1 tablespoon of potato mixture with a cookie scoop or measuring spoon so the balls remain similar in size.
- Roll it gently between your palms until uniform and round, aiming for 1-inch balls.
- For a melted center, press a cheddar cube into each portion and close the potato mixture around it without leaving cracks.
- Continue shaping until the mixture is used; one pound of potatoes should produce approximately 16–18 balls.
Arrange the shaped balls on parchment and chill for 15 to 20 minutes. A cold surface is easier to coat and less likely to split during cooking.
Step 4: Make the Crispy Coating
A two-layer coating creates the sturdy, crunchy exterior.
Whisk flour, cornstarch, garlic powder, paprika, salt, and about ⅓ cup cold water into a smooth batter that clings to a spoon.
In a second shallow bowl, combine panko with grated Parmesan for extra color, flavor, and crunch.
Japanese-style panko has larger flakes than standard crumbs, so it produces a lighter, craggier crust.
Step 5: Coat Like a Pro
Dip and crumb each chilled ball only after the entire coating station is ready.
- Dip one chilled potato ball into the batter and coat its entire surface.
- Lift it out with a fork or slotted spoon and allow excess batter to fall back into the bowl.
- Transfer the battered ball to the panko-Parmesan mixture and press the crumbs lightly over the surface.
Cover every spot with batter and crumbs so the soft filling stays protected as the outside browns.
Coat the full batch first, then begin heating the oil; this keeps the cooking pace controlled.
Step 6: Time to Fry!
Once the coating is set and the oil is hot, fry in small batches so the temperature stays steady.
- Bring enough high-smoke-point oil for deep frying to 350°F (175°C).
- Test the temperature by dropping in a breadcrumb. If it sizzles instantly, you are good to go.
- Carefully lower several potato balls at a time into the oil. Avoid overcrowding the pan; this helps maintain the right temperature.
- Fry for 6–7 minutes, turning occasionally, until they are evenly lightly browned.
- Move the golden balls to a paper-towel-lined plate or rack so excess oil can drain.
For an especially crisp shell, use the optional double-fry method:
- Complete the first fry at 350°F for about 6 minutes.
- Allow them to cool slightly.
- Raise the oil to 375°F (190°C) and fry for another 2 minutes for a firmer crust.
The second brief fry firms the crust so it stays crunchy longer after leaving the oil.
Step 7: Air Fryer Option (Healthier Twist)
For less oil, use the same coated balls in a preheated air fryer.
- Heat the air fryer to 375°F (190°C).
- Apply a light coating of oil to the basket.
- Place the coated balls in one layer with open space around each one.
- Air-fry for 15–17 minutes, turning halfway through so both sides brown.
The air-fried version becomes golden and crisp, although its shell will be slightly lighter than deep-fried potato balls.
Step 8: Serve and Enjoy
Serve as soon as the surface is deeply golden and the centers are hot.
Freshly cooked potato balls have their best texture: a crackly coating around a warm, creamy middle.
Set out one or more of these dipping sauces:
- Sour cream offers a cool, tangy contrast.
- Garlic aioli reinforces the savory filling.
- Ketchup or spicy mayonnaise adds sweetness or heat.
- Warm cheese sauce creates the richest serving option.
Add chopped chives or a little Parmesan while the balls are still warm.
They work equally well as a small appetizer, a side dish, or a movie-night snack.
After mastering the base recipe, try different cheeses, herbs, spices, or fillings while keeping the shaping method the same.
Crisp crumbs, creamy potato, salty cheese, smoky bacon, and mellow garlic make each small serving satisfying.
Extra Tips for the Best Potato Balls
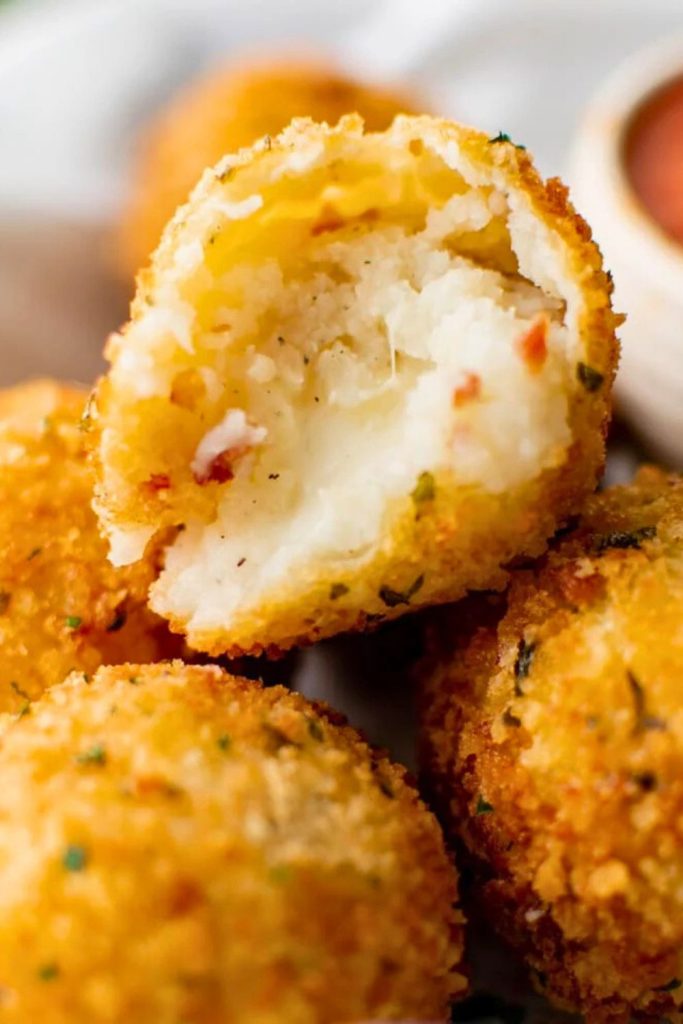
The best results come from a few practical details rather than complicated cooking techniques.
- Keep the Mixture Cold Before Frying. Chilling your shaped potato balls for at least 15–20 minutes helps them firm up. When cold, they hold their shape better, fry evenly, and will not fall apart in the oil.
- Maintain the oil temperature: Vegetable, canola, peanut, or avocado oil works well at 350°F; cooler oil is absorbed, while overheated oil browns too quickly.
- Season Generously. Potatoes naturally have a mild flavor, so do not be shy with salt, garlic powder, herbs, or cheese. Taste your mashed mixture before rolling it should already be flavorful even before frying.
- Double-fry for extra crunch: Cook once at 350°F, drain briefly, then return the balls to 375°F oil for 1–2 minutes.
- Customize Fearlessly. The beauty of potato balls is their flexibility. Add bacon for smokiness, chili flakes for heat, or mozzarella cubes for melted centers. Make them yours and experiment until you find your well-balanced version.
Pay close attention to chilling time, complete coating, batch size, and cooking temperature.
Flavor Variations You’ll Love
| Variation | What to Add | Flavor / Texture |
|---|---|---|
| Cheese center | Sharp cheddar or mozzarella cubes | Creates a melted center. |
| Loaded potato | Bacon, sour cream, and extra cheddar | Resembles a loaded baked potato. |
| Spicy | Chili flakes, jalapeño, or cayenne | Adds adjustable heat. |
| Herb | Parsley, rosemary, dill, or thyme | Provides a fresh aromatic note. |
| Extra garlic | Roasted garlic, garlic powder, and butter | Produces a bold savory filling. |
| Masala | Garam masala, turmeric, and cumin | Adds warm Indian-inspired spice. |
| Italian | Oregano, Parmesan, and mozzarella | Creates a cheesy herb flavor. |
| Vegan | Nutritional yeast, vegan cheese, and herbs | Keeps the bites plant-based. |
Use the variation table to change the flavor or cooking style without losing the dependable potato base.
Final Thoughts
Crispy potato balls are an easy way to turn a basic mash into a party-ready appetizer.
Roasted garlic, Parmesan, bacon, and chives build savory depth, while an optional cheese center makes them richer.
Prepare a platter for guests, add them beside dinner, or cook a small batch for snacking.
The same framework works for spicy, herb-forward, extra-cheesy, or plant-based versions.
Drain briefly, season while warm, and serve with your preferred sauce.
Crispy Potato Balls

More Cozy Potato Recipes You’ll Love
Explore another cozy potato recipe from FeastBears:
- 🥔 Sweet Potato Hash: A hearty skillet breakfast with crisp edges and savory seasoning.
- 🍞 Sweet Potato Cornbread: Soft, lightly sweet cornbread finished with optional honey butter.
- 🥞 Sweet Potato Pancakes: Fluffy pancakes with warm spice and natural sweetness.
All three recipes provide another practical way to serve potatoes in a comforting meal.

Dana Brooks is a home-cooking writer at Feastbears, where she shares easy family recipes, cozy dinners, quick desserts, and beginner-friendly kitchen tips. Her goal is to make everyday cooking feel simple, warm, and enjoyable for busy home cooks.


