A warm apple cider donut with a cinnamon-sugar coating makes a welcoming treat on a cool morning.
Reduced cider, a soft cake-style center, and a crisp fried surface give these donuts their familiar autumn flavor.
This guide explains how to make apple cider donuts at home, with time set aside for reducing the cider and chilling the dough.
Follow the process from the saucepan to the frying pot, then finish the warm donuts with cinnamon sugar.
Gather your ingredients and plan ahead for the chilling stage before you begin.
🍎 Why Apple Cider Donuts Are the Ultimate Fall Treat

Apple cider donuts are closely associated with fall, but you can enjoy their spiced apple flavor whenever cider is available.
This homemade version combines concentrated cider, warm spices, and a freshly fried finish. Here is what each part contributes:
🍂 1. Concentrated Apple Cider Flavor
The cider is more than a small flavoring addition; it forms an important part of the dough’s liquid.
Simmering 2½ cups of apple cider down to 1 cup concentrates its sweetness and tartness before it is mixed into the dough.
That reduction gives the apple flavor a stronger presence alongside the flour, butter, and spices.
🍂 2. A Warm Spice Blend
Cinnamon, cardamom, and freshly grated nutmeg season the dough without replacing the cider’s flavor.
Together, the spices add a fragrant, warming note that suits a fresh donut and a hot drink.
🍂 3. A Tender Cake-Donut Center
These are cake donuts rather than yeast-raised donuts. Frying gives the outside a golden crust while the inside stays tender.
Brown sugar, eggs, and melted butter contribute to the dough. Chilling firms it enough to roll and cut without adding excessive flour.
🍂 4. A Simple Cinnamon-Sugar Finish
Rolling the warm donuts in cinnamon sugar adds a sweet coating that catches on the crisp surface.
🍂 5. Best Enjoyed Fresh
Serve the donuts soon after frying and coating, once they are cool enough to handle and eat. This is when the contrast between the crisp edges and soft center is most noticeable.
📋 Apple Cider Donuts Ingredients
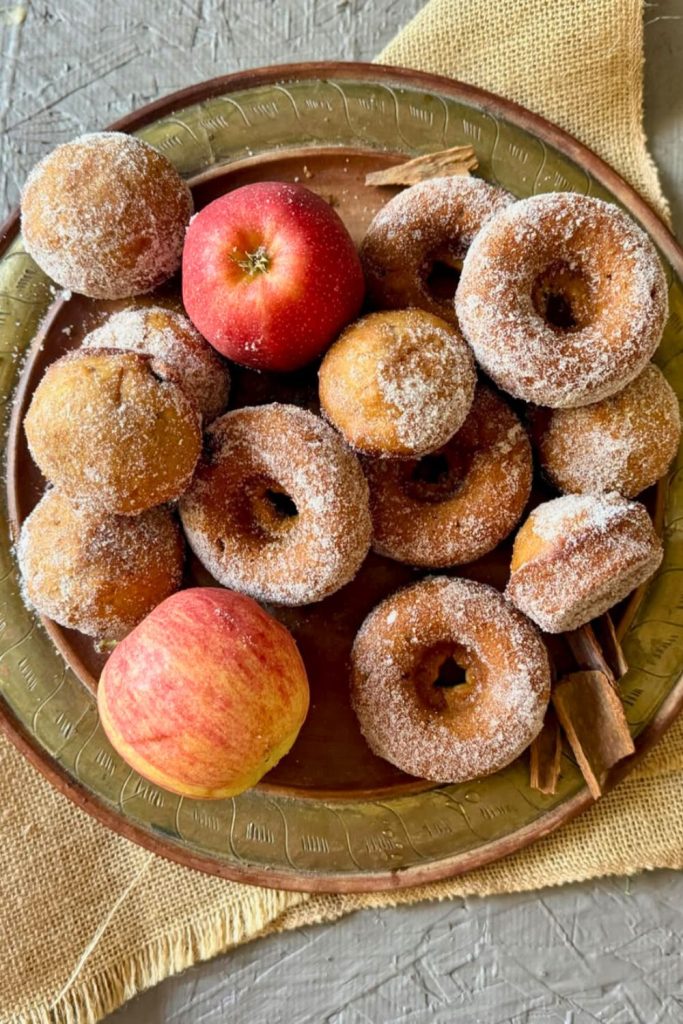
The ingredient table groups everything into wet ingredients, dry ingredients, and the frying and coating ingredients.
| Category | Ingredient | Quantity | Notes |
|---|---|---|---|
| 🧴 Wet Ingredients | Apple cider | 2½ cups (600 ml) | Reduce to 1 cup and cool before mixing. |
| Granulated sugar | ¼ cup (50g) | Sweetens the dough. | |
| Brown sugar | ½ cup (110g) | Adds sweetness and moisture. | |
| Eggs | 2 large | Mix into the cooled cider reduction. | |
| Unsalted butter (melted) | 6 tbsp (85g) | Let the melted butter cool slightly before adding. | |
| 🥣 Dry Ingredients | All-purpose flour | 3½ cups (420g) | Provides the dough’s structure; have extra for dusting. |
| Salt | 1 tsp | Seasons the dough. | |
| Baking powder | 2 tsp | Helps the cake-style donuts rise. | |
| Baking soda | ½ tsp | Works alongside baking powder in the dough. | |
| Ground cinnamon | ½ tsp | Adds a warm spice note. | |
| Ground cardamom | ¼ tsp | Optional aromatic spice. | |
| Freshly grated nutmeg | ¼ tsp | Grate and measure before mixing. | |
| 🍩 For Frying | Vegetable oil | ~3 inches deep in pot | Use a deep, roomy pot and monitor the oil with a thermometer. |
| 🍯 Cinnamon Sugar Coating | Granulated sugar | 1 cup | Roll the warm donuts in this coating. |
| Ground cinnamon | 1 tbsp | Mix evenly with the coating sugar. | |
| Optional spices (cardamom, allspice) | A pinch | Optional additions for a more varied spice coating. |
🍩 How to Make Apple Cider Donuts (Step-by-Step)
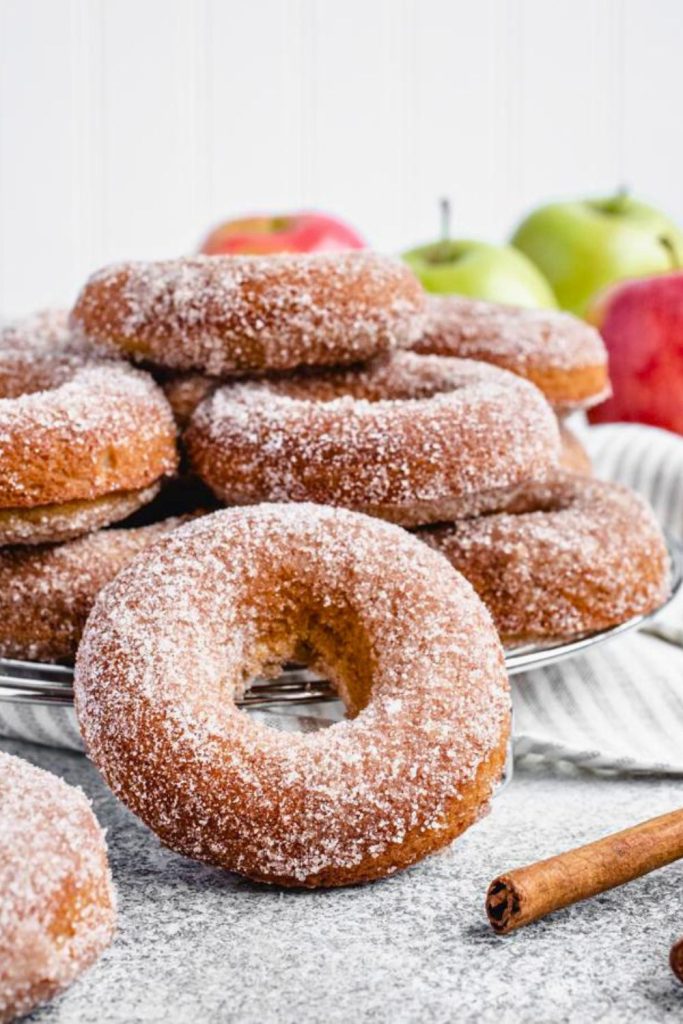
The following apple cider donut method takes you through reducing, mixing, chilling, shaping, and frying.
Read through the frying steps before starting and have a thermometer and draining rack ready.
Work through each stage in order, allowing enough time for the cider to cool and the dough to chill.
🥣 Step 1: Reduce Your Apple Cider for Max Flavor
Begin by reducing the cider to concentrate its flavor.
You will simmer 2½ cups of cider until 1 cup remains. Measure the reduced amount rather than relying only on its appearance.
Once cooled, that measured reduction becomes part of the wet mixture.
Reduce the Cider:
- Pour 2½ cups (600ml) apple cider into a medium saucepan.
- Bring it to a simmer over medium-high heat.
- Stir occasionally and continue until the volume is reduced to about 1 cup.
- Allow approximately 15–20 minutes, checking the amount as it reduces.
Helpful Checks:
- Watch the pan so the cider does not reduce too far or catch on the bottom.
- If less than 1 cup remains, add a little more cider to reach the measured amount.
- Cool the reduction before mixing it with the eggs. You can refrigerate it to help it cool.
🧈 Step 2: Mix the Wet Ingredients
When the cider reduction is cool, prepare the wet ingredients.
For the Wet Mixture:
- The 1 cup of cooled, reduced apple cider.
- ¼ cup (50g) granulated sugar.
- ½ cup (110g) brown sugar.
- 2 large eggs.
- 6 tablespoons (85g) melted unsalted butter, cooled slightly.
Mix Together:
Whisk the cider reduction, both sugars, and eggs in a large bowl until evenly combined. Add the melted butter and mix again.
🔥 Temperature Note: The butter should not be hot when it meets the eggs. Let it cool until just warm first.
If using salted butter, reduce the salt in the dry mixture by ¼ teaspoon.
Set the wet mixture aside while you combine the flour and seasonings.
🥄 Step 3: Mix Up the Dry Ingredients
The dry ingredients provide the dough’s structure, leavening, and spice blend.
For the Dry Mixture:
- 3½ cups (420g) all-purpose flour.
- 1 teaspoon salt.
- 2 teaspoons baking powder.
- ½ teaspoon baking soda.
- ½ teaspoon ground cinnamon.
- ¼ teaspoon ground cardamom, optional.
- ¼ teaspoon freshly grated nutmeg.
Combine the Dry Ingredients:
Whisk everything in a separate large bowl, breaking up any clumps so the spices and leaveners are distributed evenly.
🧂 Why Are There Two Leaveners?
The recipe uses both baking powder and baking soda to help the cake-style dough rise as it cooks.
🌰 About the Nutmeg:
Freshly grated nutmeg adds a fragrant spice note; measure it before adding it to the flour.
🧁 Step 4: Combine Wet and Dry Mixtures
Bring the wet and dry mixtures together next.
Make the Dough:
- Pour the wet ingredients into the bowl of dry ingredients.
- Fold gently until combined, stopping when the dry flour is incorporated.
The dough will be soft and sticky at this stage. It is not yet ready for rolling.
💡 Resist adding large amounts of extra flour to stiffen it immediately; chill the dough as directed first.
❄️ Step 5: Chill That Dough Like a Pro
Refrigeration firms the dough and makes it easier to shape.
Chill as Follows:
- Cover the bowl securely, or wrap the dough.
- Refrigerate for at least 2 hours and up to 12 hours.
🕓 Can You Prepare It the Night Before?
Yes. Mix the dough in the evening and keep it covered in the refrigerator within the suggested 12-hour chilling window.
The chilled dough should be firmer, though you will still need a floured work surface.
🍽 Step 6: Prep Your Workstation for Rolling
Prepare your rolling and cutting area before taking the dough from the refrigerator.
Have Ready:
- A clean countertop or pastry board.
- Extra flour for the surface, hands, and cutters.
- A rolling pin, or use your hands to pat out the dough.
- Round cutters measuring 3 inches and 1 inch.
Prepare the Dough for Cutting:
- Dust the work surface with flour.
- Turn out the chilled dough and flour your hands.
- Gently roll or pat it to an even ½-inch thickness.
⚖️ Keep the Thickness Even:
The suggested ½ inch helps the donuts cook at a similar rate. Much thicker pieces may brown outside before their centers cook.
🍩 Step 7: Cut Out the Donuts
Cut the donuts once the dough is evenly shaped.
Shape Each Donut:
- Cut a round with the 3-inch cutter.
- Remove the center with the 1-inch cutter.
- Dip the cutters in flour as needed to reduce sticking.
- Move the cut donuts to a parchment-lined baking sheet.
❗ Avoid leaving the shaped dough in a warm room for a long time. If it softens noticeably, return it to the refrigerator while you prepare the oil.
Use the Scraps:
Gently gather and reroll the scraps for more donuts, or cut them into donut holes. Smaller pieces need less frying time.
🔥 Step 8: Heat the Oil for Frying
Set up the frying pot and a safe draining area.
You Will Need:
- A roomy Dutch oven or heavy-bottomed pot.
- Vegetable oil, or a suitable neutral frying oil.
- A frying thermometer for checking the oil.
Heat the Oil:
- Add about 3 inches of oil to a pot deep enough to leave generous space above it.
- Heat the oil to 350°F (175°C).
⚠️ The oil cools when dough is added. Adjust the heat between batches to keep it close to 350°F, and never leave the hot oil unattended.
🍥 Step 9: Fry Like a Donut Boss
Once the oil is at temperature, begin frying in small batches.
Fry the Donuts:
- Lower the dough carefully into the oil with a slotted spoon or spider, keeping your hands away from splashes.
- The donuts may sink briefly before rising to the surface.
- Cook for about 1–2 minutes per side, until golden brown and cooked through.
- Small donut holes may take about 1 minute total; check a cooled test piece and adjust the time for their size.
- Lift the cooked donuts out with a slotted utensil and place them on a wire rack over paper towels to catch excess oil.
🍁 Let the first donut cool enough to check its center before committing the rest of the batch to the same timing.
Manage the Oil:
- Fry only about 2–3 donuts at once, leaving enough space for them to move.
- Check the thermometer between batches and bring the oil back close to 350°F before adding more dough.
🧂 Step 10: Make and Toss in Cinnamon Sugar
Coat the donuts while they are warm but no longer too hot to handle.
For the Cinnamon Sugar:
- 1 cup granulated sugar.
- 1 tablespoon ground cinnamon.
- Optional: a small pinch of cardamom or allspice.
Apply the Coating:
- Turn each warm donut in the cinnamon sugar until evenly covered.
- Use tongs or another suitable utensil to lift and turn the donuts if they are still warm.
✨ The coating adheres most readily before the donuts cool completely. If necessary, warm them briefly in a low oven for 1–2 minutes, then try coating again.
✅ Tips for Apple Cider Donuts Success
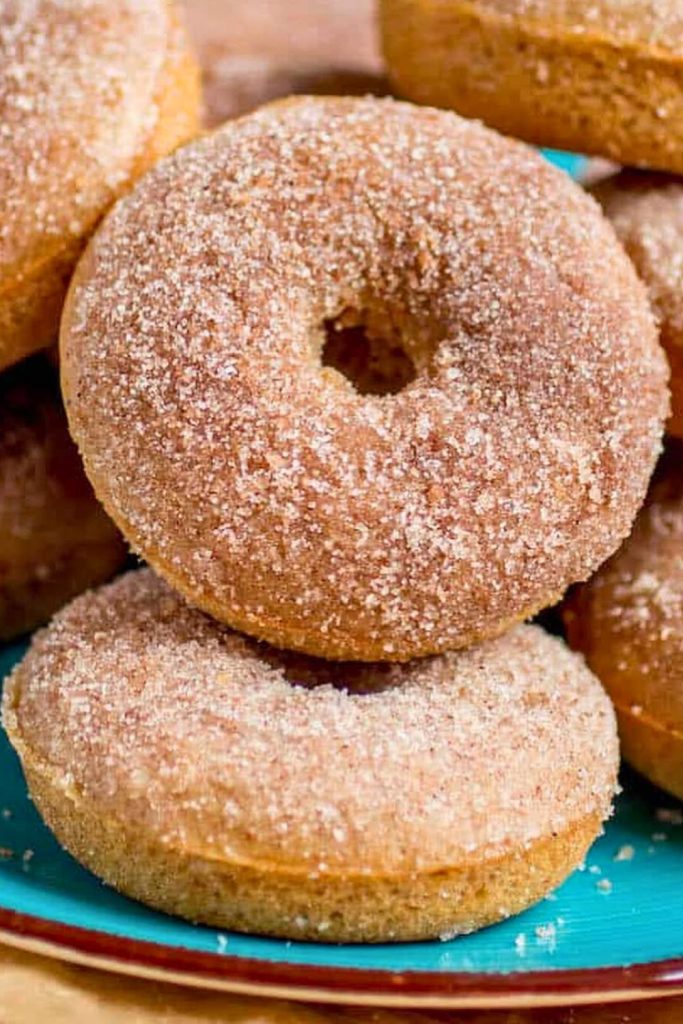
These preparation tips help avoid common problems with the soft dough and concentrated cider.
1. Start with Unfiltered Apple Cider
Use cloudy apple cider for this recipe rather than clear, filtered apple juice. The cider is reduced before being added to the dough.
The flavor of the cider you choose becomes part of the finished donut.
2. Measure the Cider Reduction
Simmering the cider down concentrates its flavor. Make sure you have 1 cup of reduced cider before proceeding so the dough receives the intended amount of liquid.
If you reduce it too far, add more cider to bring the volume back to 1 cup.
3. Cool the Cider Before Adding Eggs
Do not pour hot reduction into the eggs. Allow it to cool to room temperature, using the refrigerator to speed cooling if needed.
4. Allow Enough Chilling Time
Give the dough 2–12 hours in the refrigerator. Chilling makes the soft mixture more manageable for rolling and cutting.
For morning donuts, prepare the dough the evening before and keep it covered and chilled.
🔄 Variations to Try
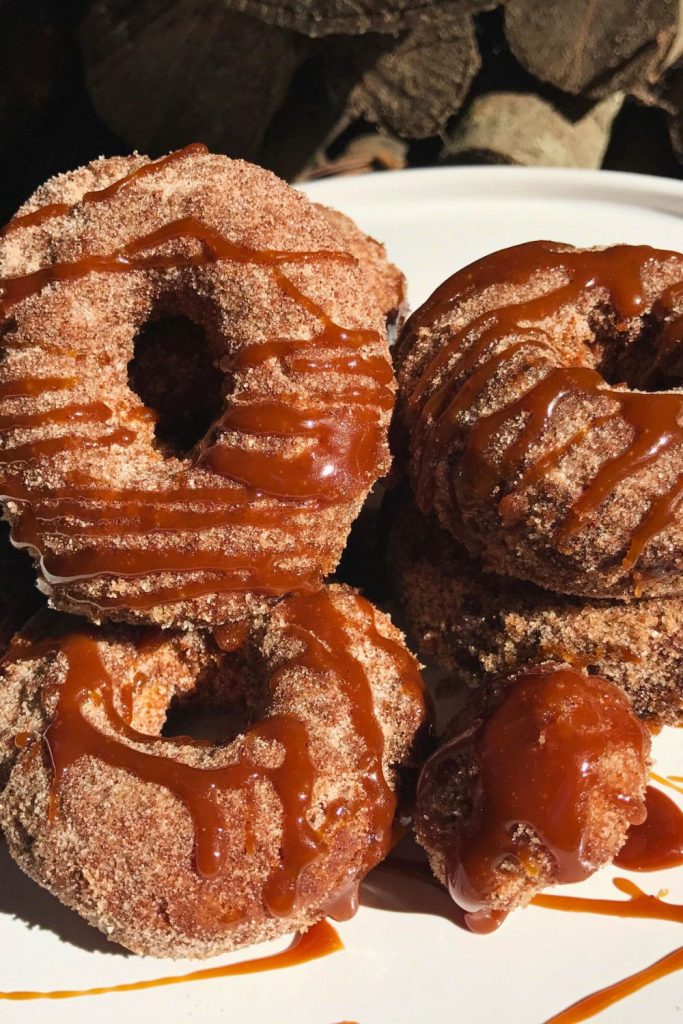
After trying the basic version, you can experiment with different coatings and flavorings. Changes to the flour or cooking method may need additional adjustment.
Use this variation table for ideas:
| Variation | What to Do | Why You’ll Love It |
|---|---|---|
| Maple Glaze | Replace the cinnamon sugar with a glaze made from powdered sugar, maple syrup, and cream. | Adds a sweet maple finish instead of a dry sugar coating. |
| Apple Butter Filled | Leave out the center hole, fry until cooked through, then pipe apple butter into the cooled donuts. Check a test piece to adjust the frying time for this shape. | Gives the donuts a spiced apple center. |
| Caramel Dipped | Dip half of each cooled donut in warm caramel sauce and add a little sea salt. | Pairs caramel sweetness with a small salty finish. |
| Pumpkin Spice Sugar | Add ginger, nutmeg, and cloves to the sugar coating along with cinnamon. | Changes the coating to a broader warm-spice blend. |
| Chai Spice Donuts | Include ground ginger and allspice in the dough and finish with chai-spiced sugar. | Adds a chai-inspired spice profile. |
| Baked Donuts | For a baked variation, use a donut pan at 350°F and begin checking around 15–18 minutes. Baking changes the result; adjust until the centers are cooked. | Produces a different texture from frying; check the centers before serving. |
| Gluten-Free | Try a 1:1 gluten-free baking flour blend in place of the all-purpose flour. Check all other ingredients for gluten and expect possible handling adjustments. | Accommodates a gluten-free variation when every ingredient is suitable; texture may differ. |
| Mini Donuts | Cut smaller rounds, keeping the pieces evenly sized, and reduce the frying time while checking a test donut. | Makes smaller portions for sharing. |
| Spiked Cider Donuts | Add 1 tablespoon bourbon or spiced rum to the cider reduction if desired. | Adds optional spirit flavor for those who want it. |
| Chocolate Dipped | Dip one side of each cooled donut in melted semisweet chocolate. | Adds a rich chocolate coating to the apple-flavored donut. |
🍂 Final Thoughts: A Donut That Tastes Like Fall
Apple cider donuts combine a crisp fried exterior, tender center, and cinnamon-sugar finish in a warming homemade treat.
Plan them for a weekend breakfast or a relaxed gathering, allowing time for the cider reduction and chilled dough.
The fresh-fried texture is part of their appeal, so serve them soon after coating when possible.
With the dough chilled and the frying station ready, you can finish the batch a few donuts at a time. 🍎🍩
Apple Cider Donuts

🔥 More Fall Recipes to Cozy Up With
For a comforting meal before your sweet treat, consider these related recipes:
👉 Best 40-Min Prep Roast Beef Recipe for Holiday
A roast beef dinner offers a hearty main course for a family gathering or a relaxed weekend meal.
👉 Healthy Chicken Enchilada Soup Recipe for Fall
Chicken, tomatoes, chilies, and cheese come together in a warming enchilada-inspired soup.
👉 Best Beef Barley Soup Recipe for Fall Comfort
Tender beef, vegetables, and chewy barley make a substantial soup for a cool evening.


Dana Brooks is a home-cooking writer at Feastbears, where she shares easy family recipes, cozy dinners, quick desserts, and beginner-friendly kitchen tips. Her goal is to make everyday cooking feel simple, warm, and enjoyable for busy home cooks.


