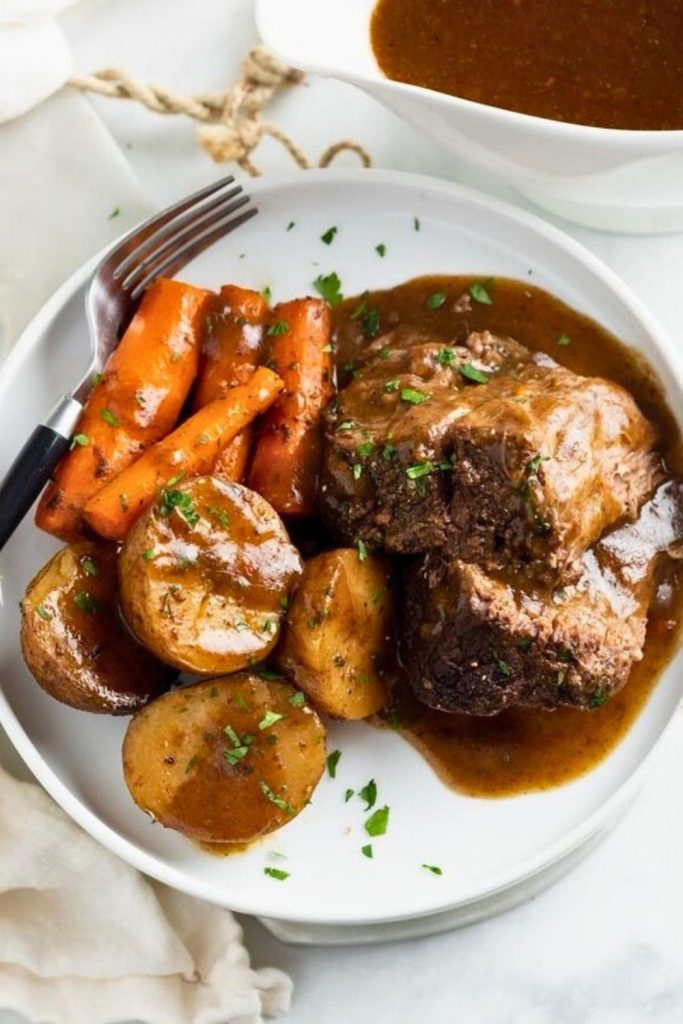
A garlic-herb roast filling the kitchen with savory aromas can make an ordinary evening feel special. This roast beef recipe brings that familiar comfort to the table with a simple preparation and a rich pan gravy.
Serve the roast as the centerpiece of a holiday meal or carve it for a relaxed family dinner. Any extra slices can become sandwiches and other easy meals the next day.
Top round is a lean cut that benefits from careful temperature checks, a proper rest, and thin slicing. Those small details matter more than complicated equipment or an elaborate ingredient list.
Below, you’ll find the ingredients, the complete roasting method, and instructions for turning the pan drippings into gravy.
Why You’ll Love This Roast Beef Recipe
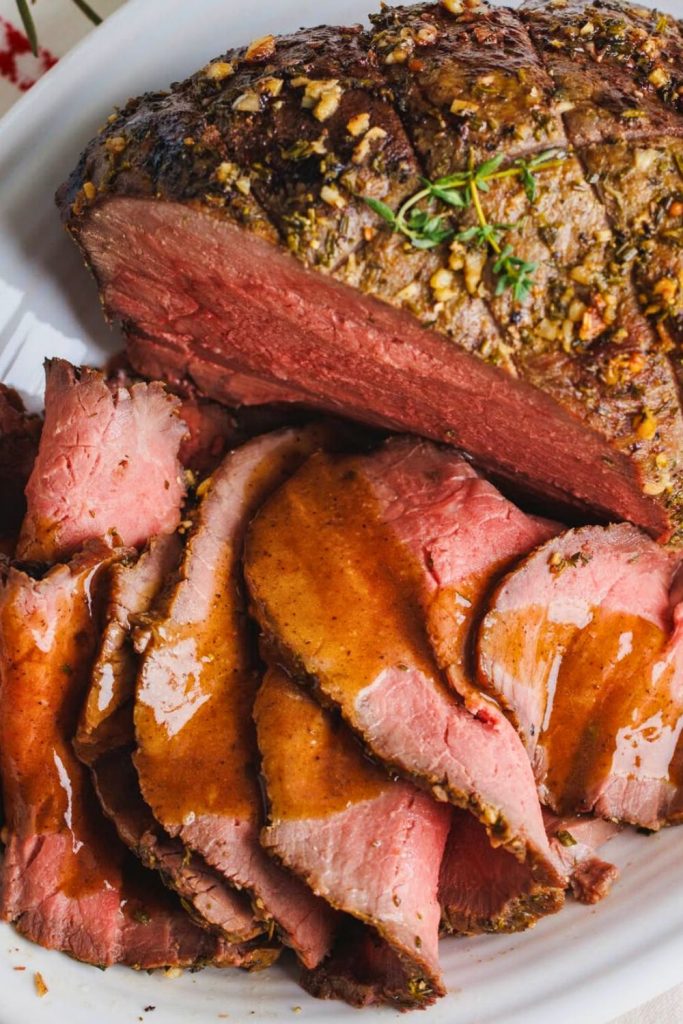
This recipe combines a substantial beef roast with fresh herbs and a savory sauce, making it a useful choice for a special dinner or Sunday supper.
The method is approachable even if you do not roast large cuts of beef often. Prepare the seasoning first, keep a thermometer handy, and work through the steps in order.
Here are the details that make this roast worth trying:
- Straightforward Preparation. The beef is coated with a garlic-herb mixture and roasted in two temperature stages. Most of the hands-on work happens before the pan goes into the oven.
- A Simple Cut with a Special-Dinner Feel. Top round is an alternative to richer cuts such as tenderloin or rib roast. Neat tying and thin carving give it an appealing presentation without changing the basic recipe.
- A Fragrant Garlic-Herb Coating. Rosemary, thyme, and minced garlic season the surface as it roasts. Finely chopping the herbs helps distribute their flavor across each slice.
- Gravy Made from the Drippings. Red wine loosens the browned bits in the roasting pan, while beef stock and a little butter turn them into a smooth, savory sauce.
- Useful Leftovers. Thin slices work well in sandwiches with mustard, horseradish, or cheese. Keep leftover gravy for dipping or spooning over reheated beef.
- A Versatile Dinner Centerpiece. Pair the roast with potatoes and vegetables for a holiday table, or keep the sides simple for a weekend meal.
Ingredients You Need
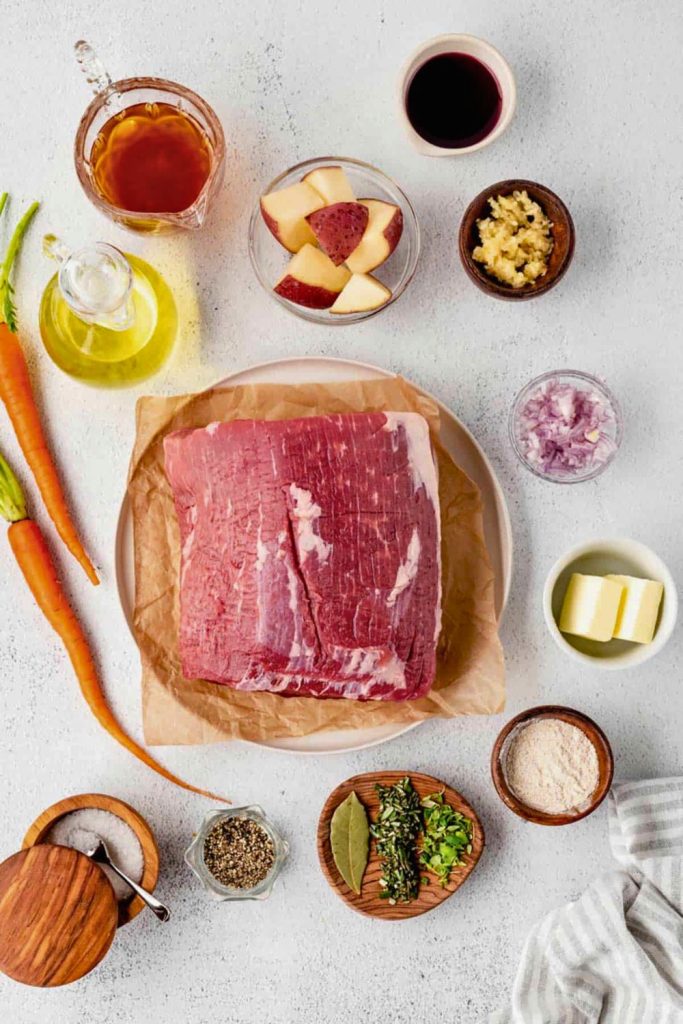
Gather the following ingredients for the beef, its herb coating, and the pan gravy before you begin:
| Ingredient | Amount | Notes |
|---|---|---|
| Top round beef roast | 3½ pounds | A lean cut; carve thinly across the grain after resting. |
| Fresh rosemary | 1 tablespoon (chopped) | Finely chop the leaves for an even coating. |
| Fresh thyme | 2 teaspoons (chopped) | Use fresh leaves, or the listed dried substitute. |
| Garlic | 1 tablespoon (minced) | Peel and mince; about 3 cloves makes 1 tablespoon. |
| Extra light olive oil | ⅓ cup | Combines with the herbs and garlic to coat the roast. |
| Kosher salt | 1 teaspoon | Seasons the beef before roasting. |
| Freshly cracked black pepper | ½ teaspoon | Mix into the herb coating. |
| Red wine | ½ cup | Simmer in the drippings to deglaze the pan. |
| Beef stock | 1½ cups | Adds liquid and savory flavor to the gravy. |
| Onion powder | ½ teaspoon | Stir into the gravy base. |
| Garlic powder | ½ teaspoon | Adds garlic flavor to the gravy. |
| Corn starch | 1 tablespoon | Whisk with cold water before adding to hot gravy. |
| Cold water | 2 tablespoons | Used only for the cornstarch slurry. |
| Unsalted butter | 1 tablespoon | Stir in off the heat to finish the sauce. |
Helpful Equipment:
- Kitchen twine, if you want to tie the roast into an even shape.
- A food thermometer to check the center of the meat.
- An oven-safe roasting rack or a suitable metal trivet rated for the oven temperature.
🥩 Step-by-Step Guide: How to Make the BEST Roast Beef

Roast beef is easier to manage when you separate the work into preparation, roasting, resting, and carving. The same pan drippings then become the base for the gravy.
Follow the sequence below, using the thermometer rather than appearance or a fixed time to judge when the beef is ready.
Step 1: Prepare the Roast Safely
Begin with a fully thawed roast. There is no need to leave a large piece of meat on the counter until its center reaches room temperature.
Keep the beef refrigerated while you gather the herbs, prepare the pan, and preheat the oven. Take it out when you are ready to dry and season it.
This recipe uses a 3½-pound top round roast. Keep preparation outside the refrigerator brief; do not leave perishable food out for more than 2 hours total, or 1 hour above 90°F.
A practical preparation routine is to:
- Have the roasting pan and oven ready before handling the meat.
- Mix the herb coating while the roast stays refrigerated.
- Use a thermometer to account for differences in roast shape and starting temperature.
✅ Preparation Tip: Set the raw roast on a rimmed plate to contain its juices. Wash your hands and clean any surfaces or utensils that touch the raw beef.
Step 2: Find the Grain Direction
Before covering the meat with seasoning, look for the grain: the direction in which its long muscle fibers run.
Remembering that direction will help when you carve. Slicing across the grain shortens the fibers and makes a lean roast easier to chew.
🔍 Here’s how to spot the grain:
- Look closely at the exposed surface of the raw beef.
- Find the parallel lines of muscle running along the cut.
- Make a note of their direction, or take a quick photograph to refer to after roasting.
✅ Carving Tip: Cut across the visible fibers rather than following them lengthwise. Combine that direction with thin slices for the best texture from top round.
Step 3: Make the Garlic-Herb Marinade
The seasoning mixture is quick to prepare while the oven heats.
Fresh rosemary and thyme give the coating an herbal aroma, and minced garlic adds a savory note. Oil helps spread the mixture evenly over the beef.
🧄 Ingredients for the Coating:
- 1 tablespoon fresh rosemary, chopped finely.
- 2 teaspoons fresh thyme, chopped finely.
- 1 tablespoon minced garlic, about 3 cloves.
- ⅓ cup extra light olive oil.
- 1 teaspoon kosher salt.
- ½ teaspoon freshly cracked black pepper.
👩🍳 Prepare the Mixture:
- Remove the herb leaves. Pull the rosemary and thyme leaves away from their woody stems, then discard the stems.
- Chop the leaves finely. Small pieces are easier to distribute throughout the coating.
- Peel and mince the garlic. Lightly crush each clove to loosen its skin, then chop it with a knife. Small minced pieces work well in this coating; avoid leaving large chunks on the surface.
- Combine the ingredients. Stir the herbs, garlic, oil, salt, and pepper in a small bowl and leave for 5–10 minutes while preparing the roast.
✅ Variation Tip: The same garlic-and-herb combination can season other roasts, but use cooking instructions and safe temperature targets appropriate to the meat you choose.
Step 4: Tie the Roast (Optional, but Pretty!)
Tying is optional, but it can help a loosely shaped roast hold together more neatly. A fairly even shape also makes carving easier.
Kitchen twine can help you:
- Keep the roast in a more uniform shape.
- Reduce large differences in thickness along the cut.
- Hold the meat steady for neat carving after resting.
- Create a tidy presentation on the serving board.
🧵 Tie the Roast:
- Loop kitchen twine around the beef at roughly 1-inch intervals.
- Take each loop all the way around the roast.
- Tie snugly enough to hold the shape without digging deeply into the meat.
- Trim the loose ends so they do not hang against the hot pan.
✅ Choosing the Cut: Top round is naturally lean. A small fat cap can add richness to the pan drippings, though the roast still needs careful temperature monitoring.
If you do not have kitchen twine, leave the roast untied and pay attention to its thickest area when checking the temperature.
Step 5: Rub It Down
With the grain direction noted and the seasoning mixed, coat the roast just before it goes into the oven.
Here’s how to do it:
- Dry the surface with paper towels so the herb mixture adheres more easily.
- Spread the garlic-herb mixture over the top, sides, and underside of the beef.
- Work the coating into an even layer, checking that no large areas are left unseasoned.
Use clean hands or a suitable utensil to spread the mixture, then wash thoroughly after handling the raw meat.
The coated roast is now ready for the prepared roasting pan.
Step 6: Roast the Beef
The roast starts in a hot oven to brown the outside, then finishes at a lower roasting temperature.
Set an oven-safe rack in a roasting pan. A metal trivet can work if it is rated for the oven temperature; avoid pressure-cooker accessories with heat-sensitive parts.
🔥 Prepare the Oven and Pan:
- Heat the oven to 450°F (230°C).
- Set the beef on the rack, with any fat cap facing upward.
- Place an oven-safe thermometer probe in the thickest part, following the thermometer manufacturer’s instructions.
✅ Check the Center: Keep the probe away from large pockets of fat and use the temperature reading to guide cooking. Color alone does not confirm that beef is safely cooked.
⏱️ Roast in Two Stages:
- Cook at 450°F for 15 minutes to begin browning the herb-coated surface.
- Lower the oven setting to 325°F (165°C) and continue roasting. This updated method follows USDA guidance to roast meat in an oven set no lower than 325°F.
- Monitor the internal temperature as the roast cooks. Its shape, starting temperature, and your oven will affect the remaining cooking time.
For the 3½-pound roast used here:
- Treat time estimates as a planning aid, not a doneness test. Continue until the center reaches at least 145°F (63°C) before removing it from the oven.
🎯 Temperature and Resting Guide:
| Check | Temperature | Resting Guidance |
|---|---|---|
| Minimum safe endpoint | 145°F (63°C) before removing from the oven | Rest for at least 3 minutes. |
| This recipe’s resting step | After the center reaches at least 145°F | Rest loosely covered for 15 minutes before carving. |
| More cooked, if preferred | Above 145°F according to preference | Still rest before slicing; avoid unnecessary overcooking of this lean cut. |
⛔ Avoid unnecessary overcooking. Once the beef reaches the recommended safe temperature, remove it promptly unless you prefer it more cooked. Lean top round can become dry with extended roasting.
Step 7: Rest the Roast
Transfer the cooked roast to a clean carving board after checking that its center has reached at least 145°F.
Loosely cover with foil and rest for 15 minutes. This is longer than the USDA minimum 3-minute rest for whole beef roasts.
Resting gives the meat time to settle before carving and helps limit the juices lost when you cut into it.
Use this resting time to make the pan gravy from the drippings, following the instructions below.
🔪 Post-Rest Slicing Tips:
When the resting time is complete:
- Cut away and discard all kitchen twine.
- Check the grain direction you identified before cooking.
- Carve thin slices across the grain with a sharp knife.
Thin carving is especially important with top round. Serve the slices with a little warm gravy to complement the lean meat and herb coating.
🥣 Making the Ultimate Pan Gravy
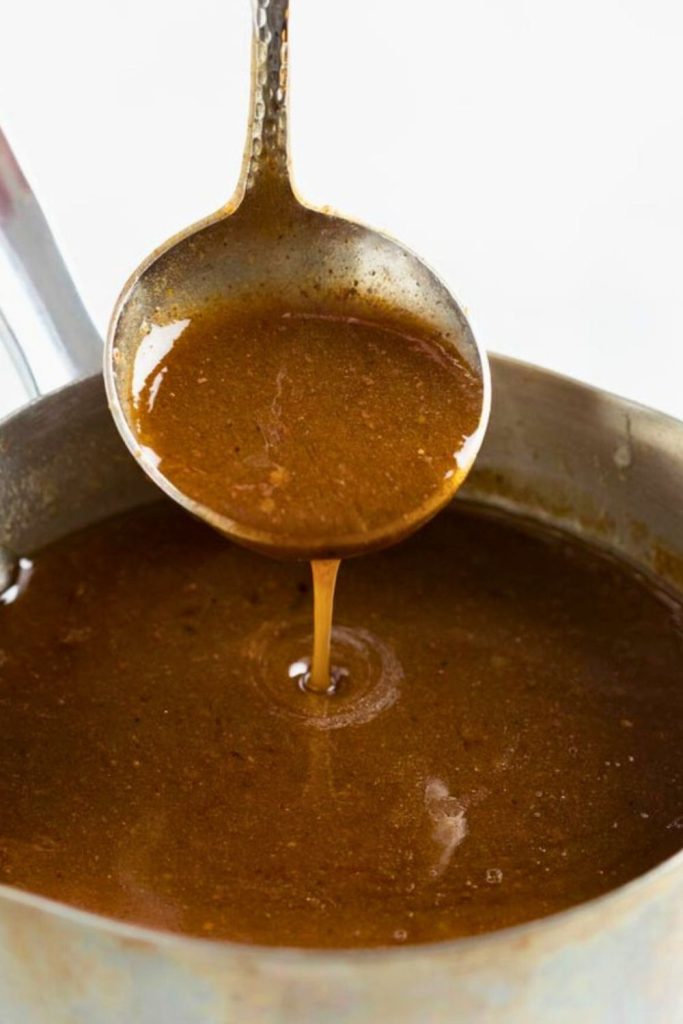
A good pan gravy carries the flavor of the roast into the rest of the meal. Here, wine, beef stock, and seasonings turn the browned drippings into a smooth sauce.
Keep the flavorful browned residue in the pan, but avoid using any burnt, blackened bits that could make the gravy bitter.
Start with the Drippings
Once the beef is resting, remove the rack and check the roasting pan. The juices and browned bits left underneath are the starting point for your gravy.
- Lift out the rack and set it aside safely.
- Place a stovetop-safe roasting pan over medium heat. If yours is not suitable for a burner, transfer the drippings and loosened browned bits to a saucepan.
- Pour in ½ cup red wine.
Bring the wine to a simmer and scrape the bottom with a wooden spoon. This deglazing step releases the browned residue into the liquid.
Simmer until the wine has reduced by about half, concentrating its flavor before adding the stock.
Add Stock & Seasoning
Stir in 1½ cups beef stock once the wine has reduced.
Season the gravy base with the following:
- ½ teaspoon onion powder.
- ½ teaspoon garlic powder.
- Salt and black pepper, adjusted to taste.
Taste before adding much salt, since both the drippings and stock contribute seasoning. Add small amounts and check again.
Thicken the Gravy
Mix a cornstarch slurry separately so the thickener disperses smoothly into the hot gravy.
- In a small bowl, whisk together:
- Measure 1 tablespoon cornstarch into a small bowl.
- Add 2 tablespoons cold water.
- Stir until no dry cornstarch remains.
- Pour the slurry slowly into the gently simmering gravy, stirring the entire time.
Simmer for 2–3 minutes, stirring until the sauce thickens. Keep the heat controlled rather than letting it boil vigorously.
Finish with Butter
Remove from the heat and stir in 1 tablespoon unsalted butter for a smooth finish.
For a finer texture, strain through a fine-mesh sieve. Leave it unstrained if you enjoy a more rustic sauce.
Pour the finished gravy into a serving jug and spoon it over the beef, potatoes, or vegetables at the table.
🥪 Leftover Heaven: What to Do with Extra Roast Beef
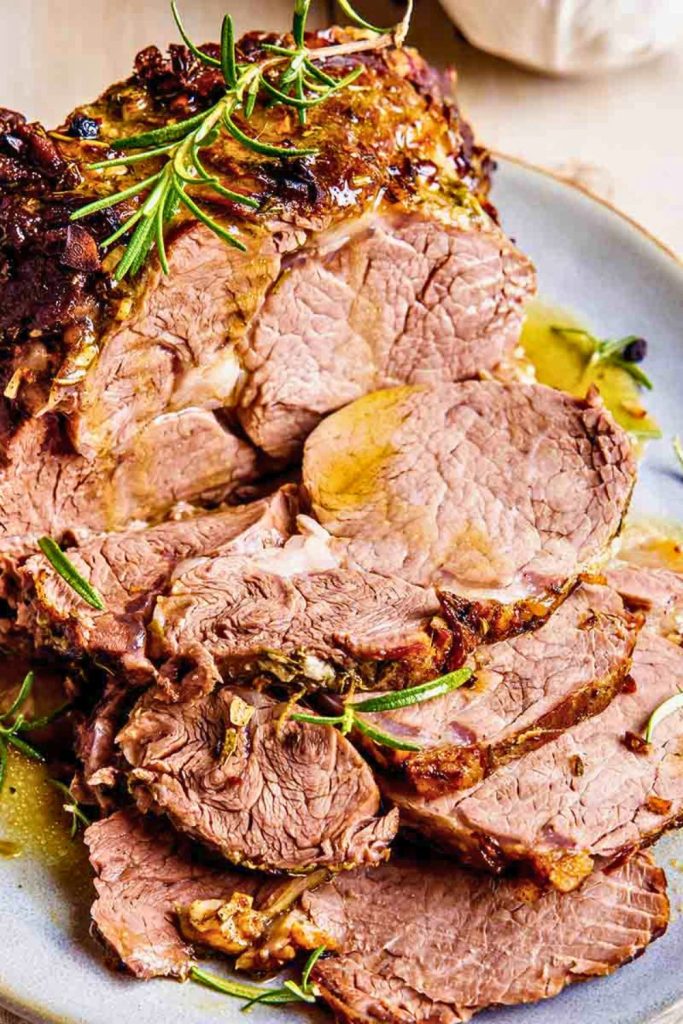
Extra roast beef gives you a useful head start on another meal.
Refrigerate leftovers promptly in shallow, covered containers and use cooked beef within 3–4 days, or freeze it for longer storage. Slice only what you need for each meal.
Here are several ways to use those extra slices:
1. Sandwiches with Roast Beef
Fill a toasted hoagie or slices of sourdough with thin beef and your choice of:
- Horseradish cream or a little spicy mustard.
- Sliced provolone or cheddar cheese.
- Pickled onions or fresh arugula.
If you want melted cheese, briefly place the assembled open sandwich under the broiler, watching closely. Serve warm gravy alongside.
2. A French Dip-Style Lunch
Serve a beef-and-cheese sandwich with a small dish of warm gravy for dipping. It is a convenient way to use both the roast and its sauce.
3. Breakfast Burritos with Beef and Eggs
Combine chopped roast beef with scrambled eggs, cheese, and avocado, then wrap the filling in a warmed tortilla.
4. Cheesesteak-Inspired Wraps
Cook sliced onions and peppers until softened, add thin beef slices and provolone, and tuck the mixture into a tortilla or hoagie roll.
5. Beef and Noodle Bowls
Add sliced beef to ramen or stir-fried noodles, seasoning with soy sauce and a little sesame oil. Heat refrigerated leftovers thoroughly before serving.
💡 Top Tips for Roast Beef Success
These practical details help you get the most from a lean roast:
1. Check with a Food Thermometer
Use a thermometer to confirm at least 145°F in the center before taking the roast out. An oven-safe probe lets you watch the temperature without repeatedly opening the door.
Place the probe correctly and follow its care and use instructions for reliable readings.
2. Allow Time for Resting
Give the roast 15 minutes under a loose foil tent before carving. Make the gravy during this interval so both are ready together.
3. Carve Across the Grain
Notice the direction of the fibers before the meat is covered with herbs.
Cutting across those fibers shortens them. It is one of the most useful ways to improve the eating texture of a lean roast.
4. Keep the Slices Thin
Top round is best served in thin slices, rather than thick steak-like pieces. Use steady strokes with a sharp carving knife.
5. Keep a Small Fat Cap if Available
A roast with a thin layer of fat on top can contribute richer drippings. It does not replace careful cooking, so still watch the internal temperature.
Final Thoughts: Roast Beef Magic Made Easy
Garlic, fresh herbs, and a pan gravy give this roast beef the familiar character of a special home-cooked dinner.
The method comes down to a few manageable tasks: season evenly, monitor the center temperature, rest the meat, and carve across the grain. Finish with the gravy made while the roast rests.
Serve it for a holiday, a Sunday meal, or another occasion when you want a roast that also leaves useful ingredients for tomorrow’s lunch.
Keep the carving and temperature tips handy whenever you make it again.
Garlic Herb Roast Beef with Pan Gravy

📌 You’ll Also Love These Comforting Recipes:
👉 Cheesy Lasagna Soup Recipe Gen Z Loves
Beef, tomato broth, tender pasta, and creamy cheese toppings bring familiar lasagna flavors to a comforting pot of soup.
👉 Delicious Beef Stew Recipe You’ll Make Weekly
Chunks of beef simmer with vegetables and herbs in a savory, thickened broth for a substantial cool-weather meal.
👉 Easy 15-Min Prep Lemon Chicken Orzo Soup Recipe
Chicken, orzo, lemon, and fresh herbs come together in a bright soup with an egg-thickened broth.

Dana Brooks is a home-cooking writer at Feastbears, where she shares easy family recipes, cozy dinners, quick desserts, and beginner-friendly kitchen tips. Her goal is to make everyday cooking feel simple, warm, and enjoyable for busy home cooks.


