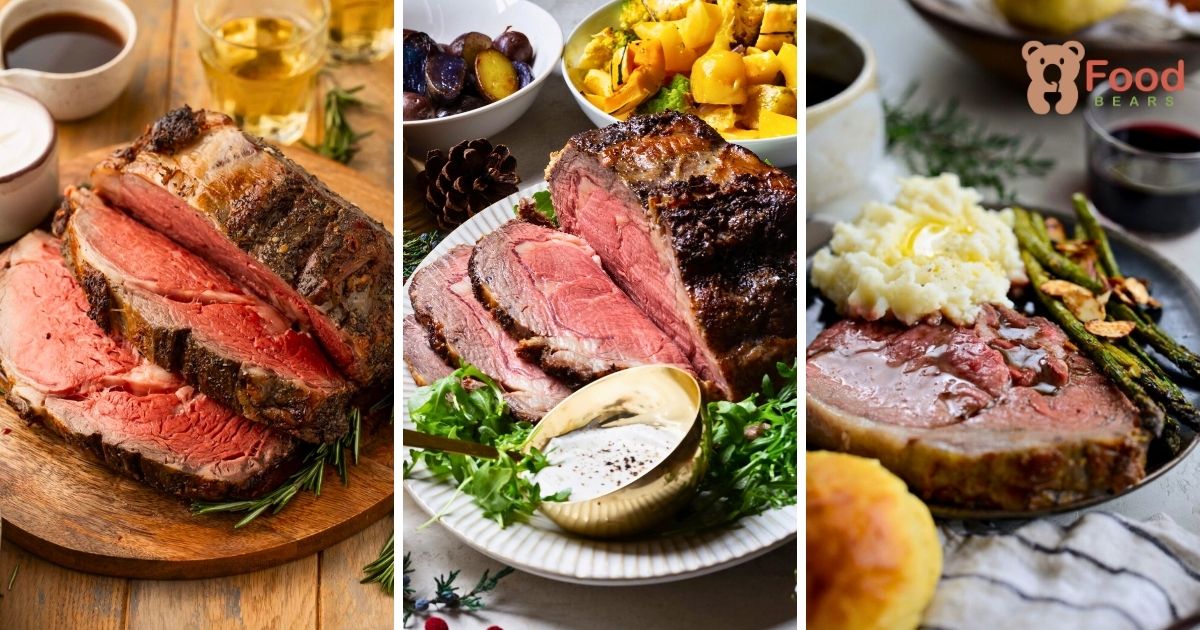
Cutting into prime rib should feel exciting, not uncertain. Juiciness, an even rosy center, and a properly browned exterior all come down to using a dependable cooking method.
This approach takes the anxiety out of the process.
The roast warms gently for consistent doneness, stays succulent, and finishes with a deeply browned crust. The method is straightforward and guided by temperature rather than guesswork.
Advanced knife skills and specialty equipment are unnecessary. Start with a well-marbled roast, season it properly, and follow the temperature cues.
The result is a centerpiece that looks celebration-worthy, delivers bold beef flavor, and is much more manageable than its reputation suggests.
Here is how to make it.
Why Prime Rib Roast Deserves a Spot on Your Table
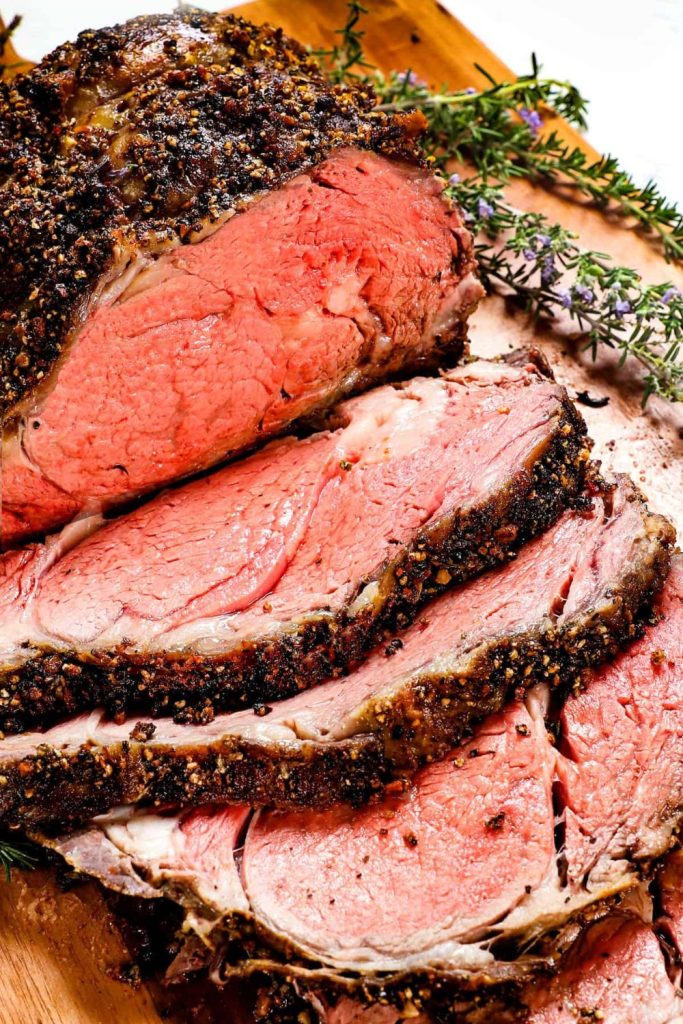
Prime rib earns its place at holiday dinners and special gatherings because it combines generous marbling with deep beef flavor. Cooked carefully, the meat becomes exceptionally tender.
More Than a Main Course
A rib roast does more than provide dinner; it turns the meal into an occasion. As the internal fat slowly renders, it bastes the meat and gives every serving a rich, juicy texture.
An Approachable Method With Impressive Results
Reverse searing keeps the technique approachable. A low oven cooks the interior evenly, a resting period protects the juices, and a brief burst of intense heat creates the browned exterior.
Evenly Cooked Slices
Because the roast cooks gradually, each carving can stay rosy from the outer edge toward the center instead of developing a thick gray band. It is an excellent choice for entertaining or a memorable family meal.
Prime Rib Roast Ingredients
| Ingredient | Details / Notes |
|---|---|
| Bone-in prime rib roast | About 7 pounds with 3 ribs; choose the well-marbled chuck end when available |
| Kosher salt | Use generously for the uncovered dry brine |
| Freshly ground black pepper | Seasons the roast and contributes to the crust |
| Clarified butter | Brush on before roasting; avocado oil also works |
| Dried herbes de Provence | Optional aromatic seasoning; dried herbs tolerate the final high heat better than fresh |
| Unsalted butter, softened | Apply lightly before the 500°F finish for richer browning |
How to Make Prime Rib Roast (Step-by-Step Guide)
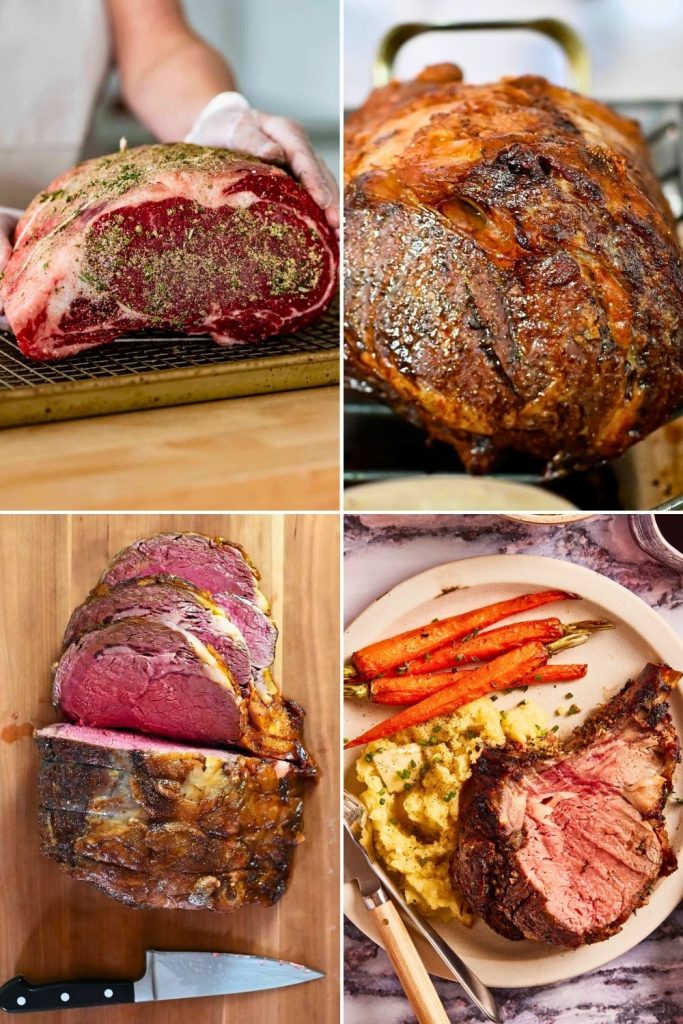
Prime rib often appears to be a restaurant-only project, but the essential technique is easier to manage than many home cooks expect.
Begin with the right cut, season it ahead, and rely on a thermometer. Those choices produce juicy beef with even doneness and a crisp, savory crust.
The instructions below explain both the action in each stage and the reason it improves the finished roast.
The central technique is a reverse sear: slow roasting first, followed by a short high-temperature finish.
Step 1: Choosing the Right Cut
Success begins at the butcher counter. The roast you select influences tenderness, flavor, and how evenly it cooks.
Two rib roasts can look alike, yet differences in grade, marbling, bones, and which end of the rib they come from can noticeably affect the result.
1. Buy the Best Grade Available
Choose USDA Prime when it fits your budget. Its abundant fine marbling melts as the meat cooks, enriching the roast from within.
USDA Choice is also a very good option and is much easier to find. Select the most evenly marbled piece available; the gentle reverse-sear method will help it remain tender.
2. Choose Bone-In for Better Protection
A bone-in roast of about seven pounds with three ribs suits this method well. The rib bones lift and shield the meat during roasting, helping it retain moisture before they are removed for carving.
3. Ask for the Chuck End
The location of the cut along the rib section matters as well.
When possible, ask for the chuck end. It is usually broader, contains more of the flavorful spinalis muscle, and carries richer marbling than the leaner loin end.
Look for a roast with one noticeably fuller, more marbled side; that is a useful visual clue that you are seeing the chuck end.
Taking time to choose a good roast makes every later step easier and gives the recipe its strongest starting point.
Step 2: Dry Brining: The First Step to Big Flavor
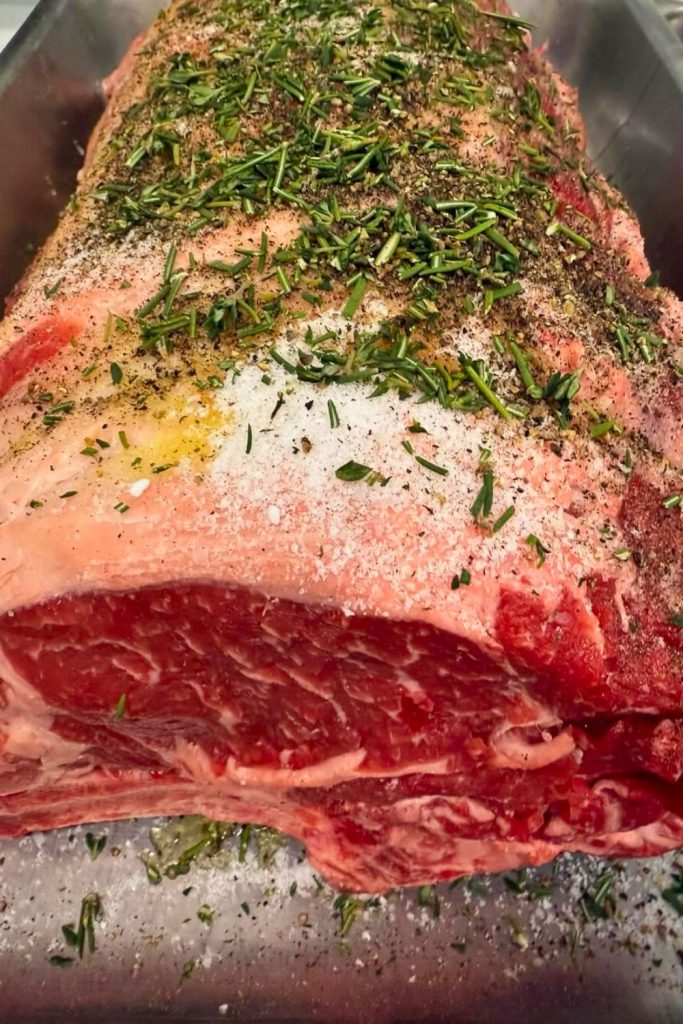
Do not rush straight from seasoning to the oven. Prime rib benefits from a dry brine: coat it with salt and pepper, then refrigerate it uncovered so the seasoning can work into the meat.
What Does Dry Brining Improve?
A dry brine provides three important benefits:
- Seasoning that reaches below the surface
- A less-moist exterior that browns more readily
- Balanced flavor across every slice
Dry-Brining Instructions
- Blot the entire roast with paper towels until the exterior feels dry.
- Season all sides liberally with kosher salt and freshly ground black pepper. A large, thick roast needs more seasoning than a steak, so cover it evenly.
- Refrigerate the roast uncovered for up to 24 hours for the best result.
- If time is limited, allow at least 4 hours.
While the roast rests, salt draws out moisture and then moves back into the meat. Meanwhile, the uncovered surface dries, setting the stage for a darker, crisper finish.
Step 3: Adding Herbs & Fat for an Aromatic Crust
On cooking day, coat the seasoned surface with a thin layer of heat-tolerant fat and dried herbs. This adds fragrance and encourages a polished, evenly browned exterior.
Choose a High-Heat Fat and Dried Herbs
- Clarified butter gives traditional buttery flavor and tolerates high heat.
- Avocado oil is a dependable dairy-free alternative.
- A modest amount of dried herbes de Provence lends floral, savory notes.
Why Use Dried Rather Than Fresh Herbs?
Fresh herbs can scorch during the final high-temperature stage and taste bitter. Dried herbs adhere more securely and flavor the crust without burning as quickly.
How to Coat the Roast
- Brush clarified butter or avocado oil in a light, even film over the roast.
- Scatter a small amount of herbes de Provence over the coated surface.
Keep this layer restrained. The herbs should complement the beef rather than hide its natural flavor beneath a heavy coating.
Step 4: Slow Roast at 250°F
The low-temperature roast is the foundation of reverse searing. Cooking at 250°F brings the center up to temperature gradually instead of overcooking the exterior first.
Why Begin With Low Heat?
Gentle heat narrows the difference between the outside and center of the meat. That is how you avoid a wide gray band and achieve more consistent medium-rare doneness.
Slow-Roasting Instructions
- Heat the oven to 250°F.
- Push a leave-in meat thermometer into the thickest part of the roast without touching bone, ideally toward the chuck end.
- Set the thermometer alarm for about 116°F so you have time to check the roast before it reaches the final pull temperature.
- Set the roast on a rack in a roasting pan, or elevate it on a bed of sturdy vegetables.
Plan on roughly 3 to 3½ hours for a seven-pound roast, but treat that only as a guide. Internal temperature, not the clock, determines when it is ready.
Internal Temperature Guide
- For medium-rare, take the roast from the oven at about 120°F.
- For a more cooked center, let it reach approximately 125–130°F before removing it.
The exterior may still look light at this point. That is normal—the deep browning happens during the final blast of heat.
Step 5: Resting Is Not Optional: Let It Breathe
When the roast reaches its target temperature, remove it from the oven and leave it whole. Cutting now would release juices that need time to settle back through the meat.
The Benefits of Resting
- Moisture redistributes instead of running onto the board.
- Carryover heat becomes more predictable and the internal temperature steadies.
- Carved portions hold their juices and feel more tender.
Skipping this pause can turn the cutting board into a puddle and leave the servings drier.
How Long and How to Rest
- Let the roast rest for 45 minutes to 1 hour.
- Drape foil loosely over the top; a tight wrap can soften the surface.
- Keep it in a draft-free place on the counter while you finish the rest of the meal.
Use this window to complete the side dishes or prepare au jus. The rest is an active part of the cooking method, not idle time.
Step 6: 500°F Blast for the Perfect Crust
After resting, expose the roast to very high heat for a short time. This rapidly browns the exterior and creates the crisp, steakhouse-style crust.
High-Heat Finishing Method
- Increase the oven temperature to 500°F.
- Coat the outside lightly with softened butter.
- Return the roast to the oven for 10–15 minutes, watching for a richly browned, crisp surface.
Because the interior has rested and the finish is brief, most of the heat works on the exterior. You gain color and texture without significantly pushing the center past its target.
Optional Extra Seasoning
For a little extra aroma and color, add a light final dusting of herbes de Provence before the high-heat finish.
Step 7: Optional Add-On
If you do not own a roasting rack, arrange sturdy vegetables beneath the beef. They elevate the roast, collect flavorful drippings, and can become the base for gravy.
Vegetables That Work Well
- Carrots
- Leeks
- Celery stalks
- Quartered onion
Allow the vegetables to brown beneath the roast. Afterward, loosen the caramelized bits with wine or beef broth and strain the liquid for a flavorful au jus.
Step 8: How to Cut Prime Rib Like a Pro
Once the exterior is browned and the roast is ready for the table, carving it correctly will preserve both its appearance and tenderness.
Carving Instructions
- First remove the rib section by following the curve of the bones with a sharp knife. The bones should separate cleanly; reserve them for anyone who enjoys the flavorful meat attached to them.
- Turn the boneless roast and slice across the grain. Cut about ½-inch pieces for lighter portions.
- For generous servings, make each slice about ¾ to 1 inch thick.
- Arrange the meat on a platter and offer warm au jus or horseradish cream alongside.
A properly reverse-seared roast shows an even rosy interior from edge to edge with only a thin browned perimeter.
How to Serve Prime Rib Roast
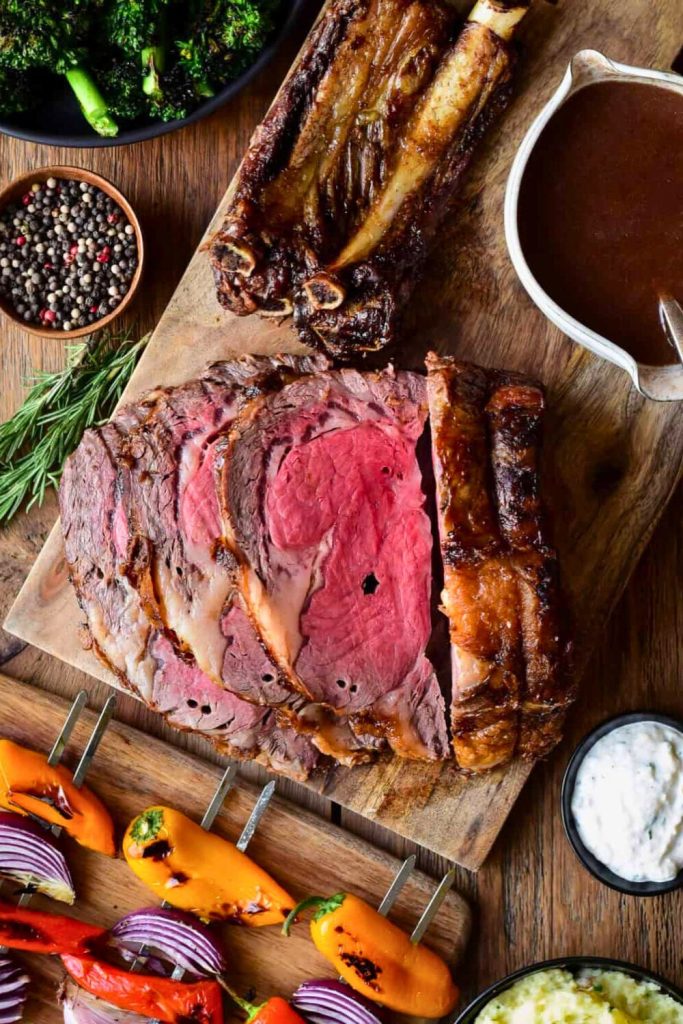
Serving prime rib is an opportunity to build a complete meal around a rich, tender centerpiece.
The finishing sear reheats the exterior and forms the crust, so the roast can be carved soon afterward without another long resting period.
Transfer the slices to a warmed platter to help them stay comfortable at the table.
Spoon only a little au jus over the beef so it stays moist without losing its crust. Horseradish cream supplies a cool, sharp contrast to the richness.
Round out the plate with sides that offer creamy, crisp, or fresh textures:
- Caramelized roasted vegetables
- Smooth mashed potatoes
- Golden roasted or fried potatoes
- A bright leafy salad
- Crusty bread for catching the juices
- Green beans tossed with butter
Place the separated ribs on another platter if you plan to serve them. Keep the presentation uncomplicated and bring the beef to the table while the slices are warm.
5 Tips for Prime Rib Roast
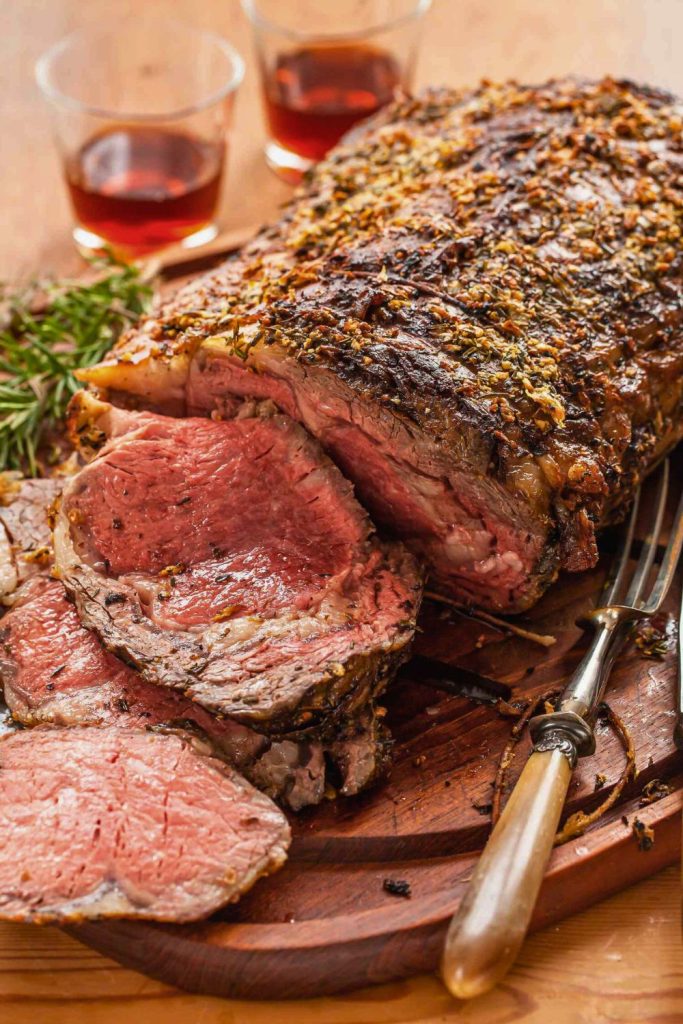
Prime rib relies on a simple technique, but a few details make the difference between acceptable results and a roast you will want to repeat.
1. Choose Marbling Before Size
Prioritize fine, abundant marbling instead of buying the largest roast. Visible streaks of fat improve juiciness, tenderness, and flavor in either Prime or Choice beef.
2. Allow at Least Four Hours for Dry Brining
Salt needs time to season a roast this thick. A full day uncovered gives the deepest flavor and driest surface, although four hours still provides a worthwhile improvement.
3. Measure Doneness With a Thermometer
A probe thermometer removes the uncertainty from this expensive cut. For the medium-rare method described here, pull the roast near 120°F before the resting and searing stages.
4. Rest Before the Final Sear
Resting for 45–60 minutes keeps more juice in the meat and prevents the final sear from overcooking the center. Once the hot finish is complete, you can carve without repeating the long rest.
5. Finish With High Heat
The 500°F stage is responsible for the dramatic transformation. Butter browns, dried herbs become fragrant, and the pale surface develops an appetizing crust.
Variants to Try
| Variation | How to Make It |
|---|---|
| Garlic-Herb Prime Rib | Mix finely grated garlic with the butter and dried herbs before coating the roast. |
| Mustard-Crusted Prime Rib | Spread a thin layer of Dijon mustard on the roast before its 500°F finish. |
| Peppercorn Prime Rib | Press coarsely cracked peppercorns over the exterior for a bolder steakhouse-style crust. |
| Smoky Prime Rib | Add smoked paprika to the herb mixture for a subtle smoky note without a smoker. |
| Vegetable-Pan Au Jus | Roast over carrots, celery, onion, and leeks, then deglaze the browned vegetables with broth or wine. |
Final Thoughts
With the method in hand, a prime rib roast is no longer reserved for professional kitchens. It works equally well for a holiday centerpiece or any dinner that calls for something special.
Slow heat, an adequate rest, and a fast sear produce tender meat, consistent doneness, and robust flavor in every slice.
Adjust the pull temperature to match the doneness you and your guests prefer. The thermometer targets are a guide, and the best roast is the one cooked to your table’s taste.
Prime Rib Roast
More Recipes You’ll Love
After planning a prime rib dinner, keep these hearty main dishes in mind for another comforting meal.
These FeastBears recipes offer different flavors while keeping the same welcoming, shareable spirit:
- 🍝 Best Homemade Lasagna Recipe for Dinner Night: Layers of pasta, robust meat sauce, and creamy cheese make this a dependable family favorite.
- 🐔 Quick 25-Minute Chicken Alfredo Recipe for Dinner: Tender chicken and pasta come together in a garlicky Parmesan sauce for an easy weeknight option.
- 🥩 Easy Beef Wellington Recipe for Busy Nights: Beef, savory mushroom duxelles, and crisp puff pastry turn dinner into an impressive occasion.
Choose any of these recipes when you want another satisfying dinner worthy of gathering everyone around the table.

Dana Brooks is a home-cooking writer at Feastbears, where she shares easy family recipes, cozy dinners, quick desserts, and beginner-friendly kitchen tips. Her goal is to make everyday cooking feel simple, warm, and enjoyable for busy home cooks.


