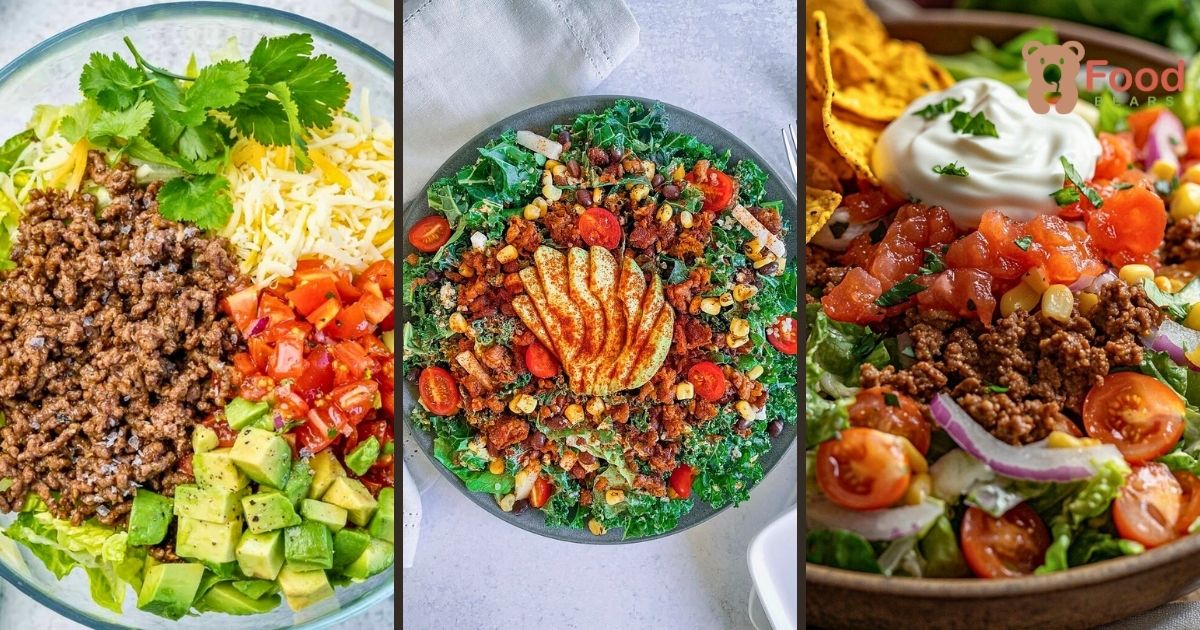
A taco salad feels like a full dinner when it is piled into a crisp, edible tortilla bowl.
This version suits a weeknight or a casual gathering: the shell, seasoned beef, fresh toppings, and lime crema can be prepared as separate components.
Build each bowl just before eating so the lettuce stays crunchy and the tortilla does not soften under the warm meat and dressing.
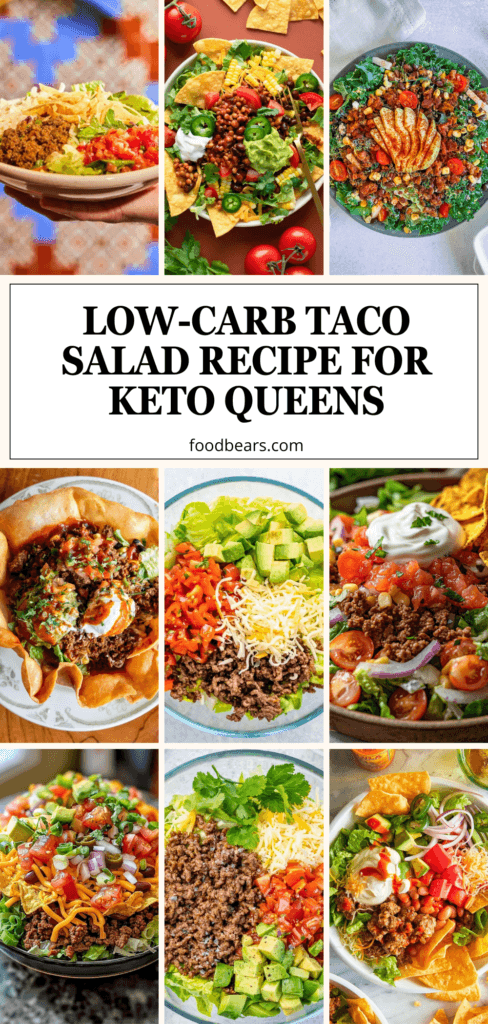
🛒 What You’ll Need to Make a Taco Salad Bowl
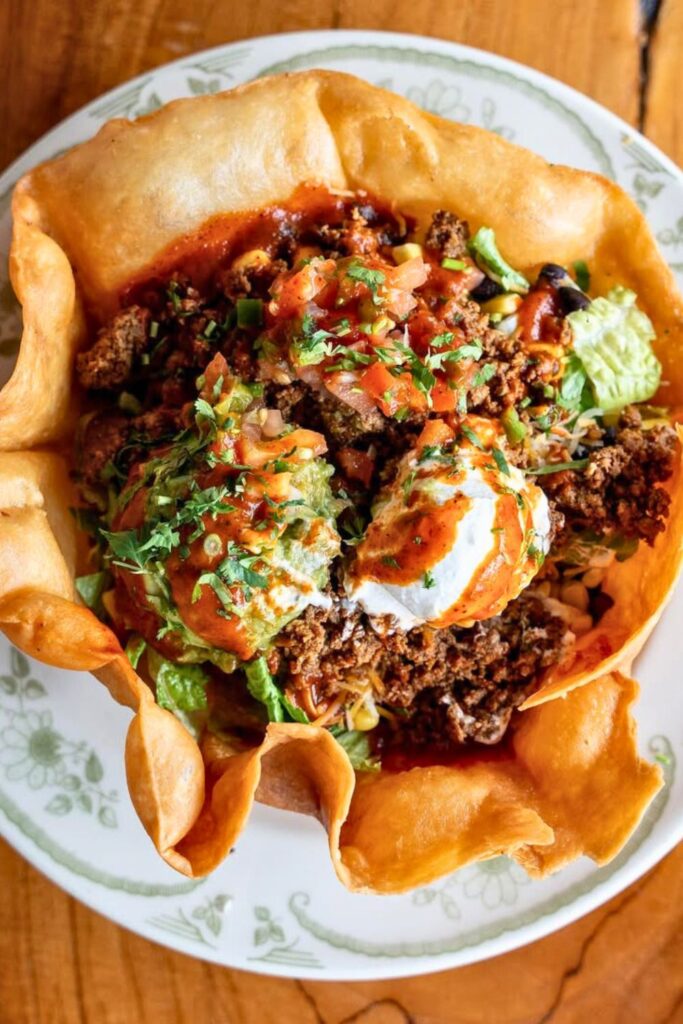
Begin with the tortilla shell, which provides the bowl and much of the crunch. The original method uses a brief fry followed by baking.
Ingredients:
| Ingredient | Amount | Purpose |
|---|---|---|
| Flour tortillas | 10-inch size (1 per bowl) | A 10-inch tortilla makes one bowl and is large enough to mold around an oven-safe dish. |
| Light olive oil | 2 tbsp per tortilla (for frying) | A little oil helps the tortilla brown before it bakes crisp. |
Why a 10-inch tortilla? It gives enough surface to mold a deep shell that can hold the salad.
Tools to have ready:
- Large non-stick skilletLarge nonstick skillet — warms and lightly fries each tortilla.
- Tongs or spatulaTongs or a spatula — lets you turn the hot tortilla safely.
- Oven-safe bowl (with flat bottom)Flat-bottomed oven-safe bowl — serves as the mold.
- Baking sheetBaking sheet — supports the molded shells in the oven.
- Wire rackWire rack — allows steam to escape while shells cool.
Mold tip: A broad, flat-bottomed oven-safe bowl helps the finished shell sit steadily on a plate.
🔥 How to Make a Crispy Tortilla Bowl (Step-by-Step Guide)
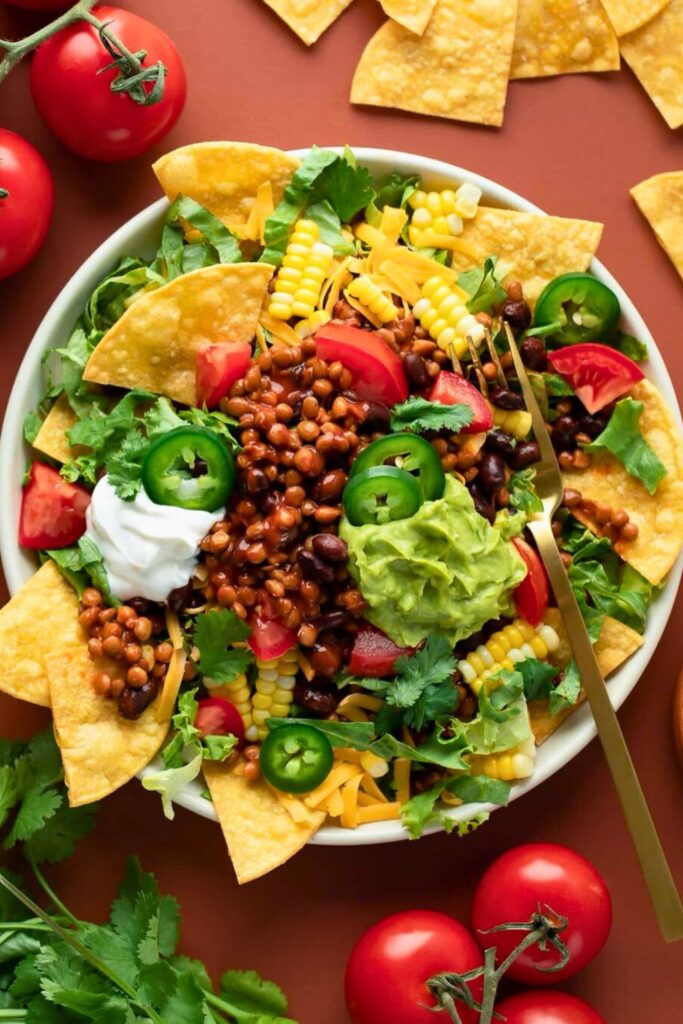
A soft flour tortilla becomes a sturdy, golden shell after a quick turn in the skillet, shaping over a bowl, and a short bake.
Step 1: Heat the Oil and Fry the Tortilla
- Warm two tablespoons of oil in a nonstick skillet over medium heat.
- Lay one tortilla in the hot, non-smoking oil.
- Cook about 30–45 seconds per side, until lightly golden and bubbled.30 to 45 seconds per side, until light golden spots appear and the tortilla starts to puff and bubble.
Light golden patches and small bubbles show that the tortilla is pliable and ready to shape; do not wait for it to become brittle.
Step 2: Shape the Bowl While It’s Still Hot
- Lift the warm tortilla from the skillet and place it over the back of an oven-safe bowl.over the back of an oven-safe bowl.
- Press gently with a ladle or smaller bowl.
- Form the tortilla around the mold without tearing it.
Shape the tortilla while it is warm. Once it cools, it is more likely to crack when pressed over the mold.
Step 3: Bake for Ultimate Crunch
- Heat the oven to 350°F (175°C).350°F (175°C).
- Set the molded tortillas on a baking sheet.
- Bake for 12–14 minutes, until the shells are golden, crisp, and hold their shape.12 to 14 minutes until the shell is crispy, light golden, and holds its shape.
Step 4: Cool on a Wire Rack
- Carefully transfer the baked shells to a wire rack, upside down.
- Allow them to cool completely before filling.
Cool the shell on a rack so trapped steam cannot soften its base.
Optional Tips for Extra Crispiness:
- Brush lightly with additional oil before baking if you want more browning.
- Add a small pinch of salt for seasoning.
- For a baked-only shell, skip the skillet and bake the molded tortilla for about 15–18 minutes; its texture will differ.
🌮 How to Make Perfectly Seasoned Taco Meat
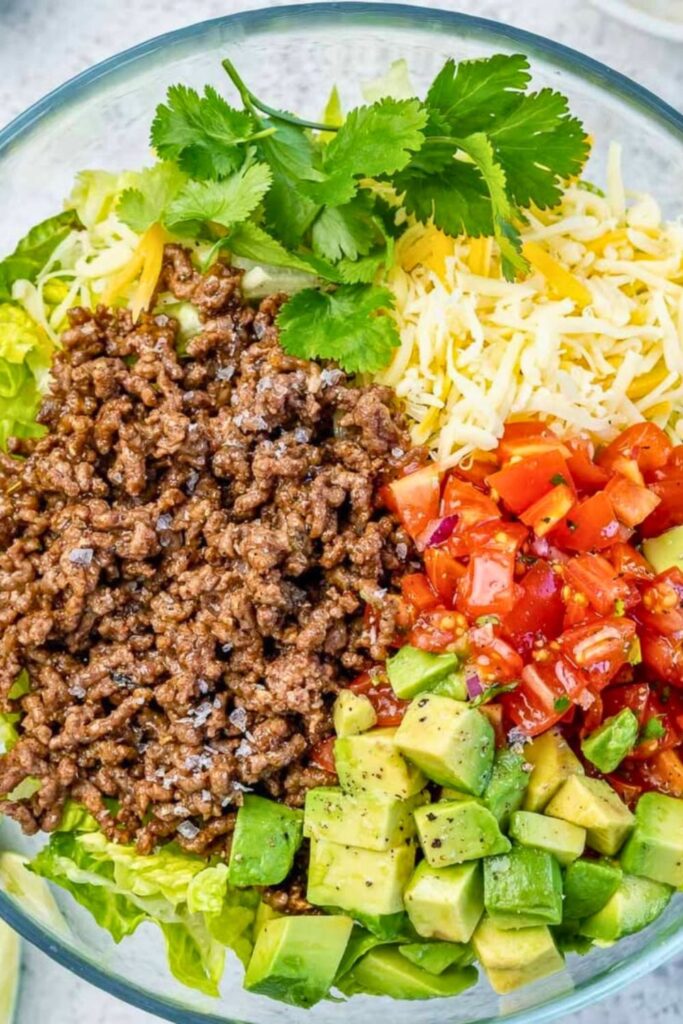
Seasoned ground beef is the warm center of this salad. Brown it thoroughly, then simmer briefly with seasoning and water so the pieces stay coated but not wet.
Ingredients You’ll Need:
| Ingredient | Amount | Purpose |
|---|---|---|
| Ground beef | 1 lb (85% lean preferred) | Ground beef is the savory filling; 85% lean leaves enough richness without too much grease. |
| Taco seasoning | 1 packet or 2-3 tbsp homemade | Taco seasoning supplies the warm, savory spice blend. |
| Water | ½ cup | Water helps distribute the seasoning and forms a coating as it reduces. |
Optional: Add a little tomato paste, brown sugar, or hot sauce while the beef simmers if you want a different balance of flavor.
Step-by-Step Instructions:
1. Brown the Ground Beef
- Put the ground beef in a skillet over medium heat.
- Break it into small pieces with a spatula as it cooks.break it up with a spatula as it cooks.
- Stir until fully browned and no pink remains.no pink remains and the beef is fully browned.
Browning tip: Let the beef sit briefly between stirs to develop a little color before breaking it up further.
2. Drain the Excess Fat
- Carefully drain excess fat into a heat-safe container, or lift the meat out with a slotted spoon.spoon any extra grease using a slotted spoon or carefully drain it into a heat-safe container.
- Leave a small amount of fat if needed for moisture and flavor.
3. Add Taco Seasoning and Water
- Scatter taco seasoning over the cooked beef.
- Add ½ cup water and stir so every piece is coated.
- Simmer for 3–5 minutes, stirring, until the liquid thickens and the meat remains moist.simmer for 3 to 5 minutes, stirring occasionally, until the water reduces and forms a slightly thick sauce.
Moisture check: Stop simmering when the sauce coats the meat but does not pool in the skillet.
Why This Taco Meat Works:
- Balanced flavor:Seasoning gives the beef savory, gently spicy flavor.
- Moist but not soggy:A reduced sauce coats the meat without soaking the tortilla shell.
- Customizable:Cooked turkey or chicken can replace beef if you prefer.
🌿 Make the Creamy Lime Crema (The Secret Sauce!)
This lime crema adds a cool, tart finish that balances the seasoned meat and crisp tortilla.
Ingredients You’ll Need:
| Ingredient | Amount | Purpose |
|---|---|---|
| Sour cream | ½ cup | Sour cream provides the tangy base. |
| Real mayo | ½ cup | Mayonnaise makes the sauce smooth and rich. |
| Fresh lime juice | 2 tbsp | Fresh lime juice gives the creamy mixture brightness. |
| Garlic powder | ½ tsp | Garlic powder seasons it without the bite of raw garlic. |
| Optional: Sriracha or hot sauce | To taste | Hot sauce is optional for extra heat. |
Why both? Sour cream brings tang while mayonnaise gives the crema a smoother body.
Step-by-Step Instructions:
1. Mix the Base
- Measure ½ cup sour cream and ½ cup mayonnaise into a bowl.Combine ½ cup sour cream and ½ cup mayo in a medium bowl.
- Stir until the base is completely smooth.
2. Add the Flavor
- Stir in 2 tablespoons freshly squeezed lime juice.2 tablespoons of fresh lime juice.
- Add ½ teaspoon garlic powder and mix thoroughly.½ teaspoon of garlic powder.
3. Spice it Up (Optional)
- Add sriracha or another hot sauce a little at a time if you want heat.a squirt of sriracha or a dash of your favorite hot sauce for heat.
- Stir, taste, and adjust before chilling.
4. Chill for Best Flavor
- Refrigerate the crema for at least 10 minutes.10 minutes before serving.
- This brief rest gives the lime and garlic time to blend with the creamy base.
For a neat presentation at a taco bar, transfer the chilled crema to a squeeze bottle just before serving.
Ways to Use Lime Crema Beyond Taco Salad:
- Drizzle on fish or shrimp tacos.
- Serve as a dip for nachos or fries.
- Spread lightly in a sandwich or wrap.
- Spoon over roasted vegetables.
Storage:
- Keep the crema in a sealed container in the refrigerator.
- Lasts 3 to 5 daysUse it within a few days and keep it chilled between servings.
🥗 Prep Your Taco Salad Toppings Like a Pro
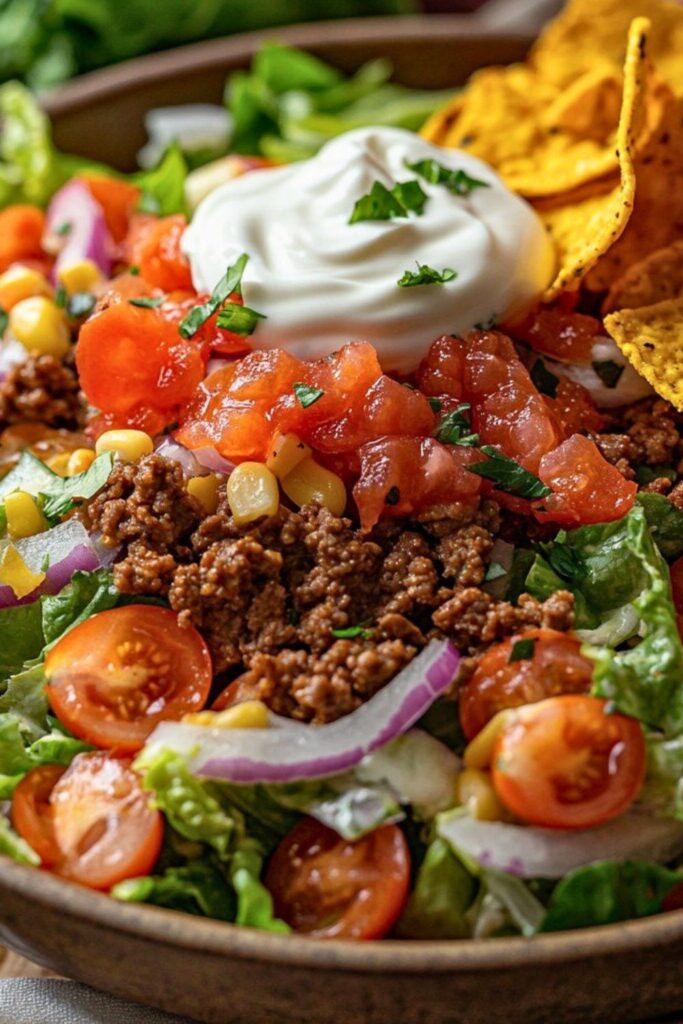
Fresh toppings provide the contrast to the beef and shell. Wash, dry, and cut them before assembly so every bowl can be built quickly.
1. Lettuce (The Crunch Base)
- What to use:Choose crisp iceberg lettuce as the main base.
- How to prep:
- Wash the leaves and dry them thoroughly.
- Cut into bite-size pieces or thin strips.
- Keep chilled until you assemble the bowls.
Keep iceberg as the main crunchy layer; a little romaine or spring mix can add color if you like.
2. Tomatoes (Juicy & Bright)
- What to use:Choose ripe Roma tomatoes or cherry tomatoes.
- How to prep:
- Dice small enough to spread through the salad.
- Drain any extra juice before adding to the tortilla shell.
- Use pico de gallo instead for a more seasoned tomato topping.pico de gallo instead—it brings freshness and zest.
A little salt can make diced tomatoes taste brighter, but drain excess liquid so the bowl stays crisp.
3. Onions (Kick of Sharpness)
- What to use:Use red onion for a sharper bite, or scallions and chives for a milder one.
- How to prep:
- Finely dice red onion so it does not dominate each forkful.
- Soak briefly in cold water if you want to soften its bite.
Pickled red onion is an easy way to add both tang and color in place of raw onion.
4. Avocado (Creamy Perfection)
- What to use:Select avocados that are ripe yet still firm.
- How to prep:
- Halve, pit, and quarter each avocado carefully.
- Peel the quarters, then dice the flesh.
- Add a little lime juice and fold gently to limit browning.
Cut avocado close to serving time and handle it gently so the cubes hold their shape.
5. Cheese (Melty or Shredded Goodness)
- What to use:Pick mild or sharp cheddar, or a shredded Mexican-style blend.
- How to prep:
- Grate fresh cheese if possible for a softer texture.
- Refrigerate until serving, then scatter it over the warm beef.
Cotija or queso fresco can replace shredded cheddar when you want a crumbly, salty finish.
6. Extras for a Restaurant-Quality Finish
- Tortilla strips or crushed chipsTortilla strips or crushed chips add extra crunch.
- Fresh cilantroChopped cilantro brings a fresh herbal note.
- Black olivesSliced black olives add mild brininess.
- Corn kernelsCharred corn gives sweet, smoky bites.
- Black beansRinsed black beans add substance and texture.
- Lime wedgesServe lime wedges for a final squeeze.
For guests, set the extras in separate bowls and let each person finish their own salad.
🍴 Assembling Your Restaurant-Style Taco Salad (Step-by-Step)
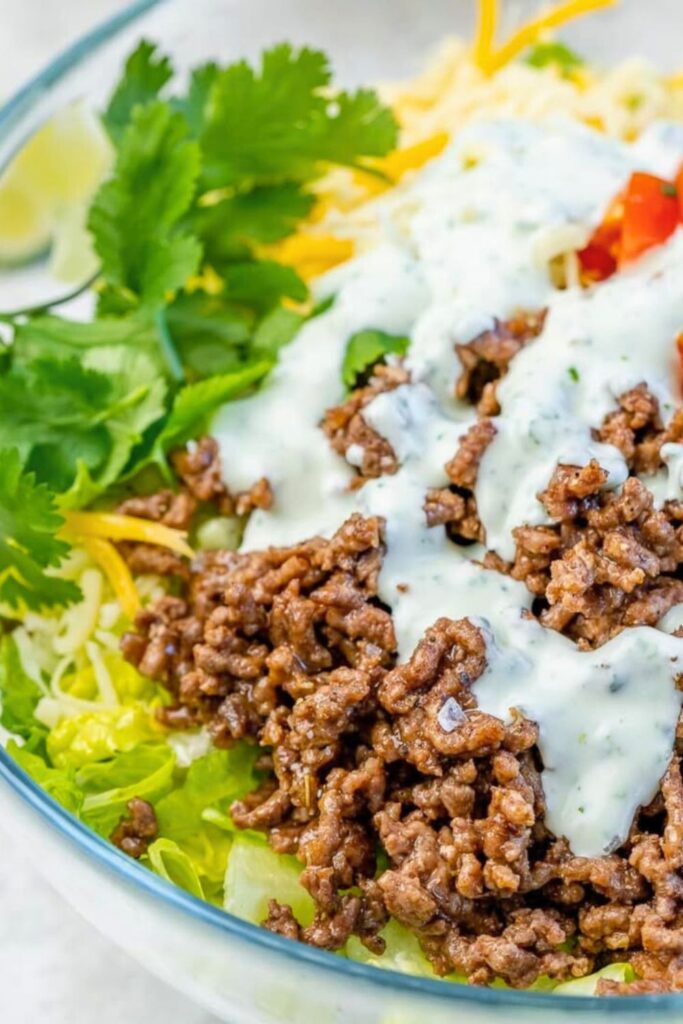
Once the shell, meat, crema, and vegetables are ready, assemble in layers. Putting the wetter ingredients on last helps preserve the tortilla’s crunch.
Step 1: Start with the Crispy Tortilla Bowl
- Set a cooled tortilla shell on a wide plate.
- The plate supports the shell and catches stray toppings.
If the shell has a sharp edge, break away the point carefully before filling it.
Step 2: Add the Lettuce Base
- Fill roughly half the shell with chopped, dry iceberg.
- The greens create a barrier between the tortilla and the meat.
Dry lettuce is essential here; moisture from wet leaves can soften the bottom of the tortilla.
Step 3: Layer on the Taco Meat
- Spoon warm, fully cooked taco beef over the lettuce.generous scoop of seasoned taco meat on top of the lettuce.
- Spread it out so the meat reaches more than one part of the bowl.
For buffet service, hold the fully cooked meat warm and let guests add it when they build a bowl.
Step 4: Sprinkle on the Cheese
- Scatter shredded cheese over the warm meat.
- Allow it to soften slightly before adding the cold toppings.
Step 5: Load Up the Fresh Toppings
Add the fresh toppings in this order:
- Tomatoes or pico de galloDiced tomatoes or pico de gallo
- OnionsOnion
- Avocado cubesFresh avocado cubes
- Corn or beansCorn or beans, if using
Aim for a little of each ingredient rather than piling one topping so high that the shell becomes difficult to eat.
Step 6: Add the Finishing Touches
- Tortilla strips or crushed chipsAdd a few tortilla strips or crushed chips.
- Fresh cilantroSprinkle chopped cilantro over the top.
- Offer a lime wedge alongside each bowl.lime wedge on the side for those who love a citrusy kick.
Step 7: Drizzle with Lime Crema
- Spoon or drizzle the prepared crema over the toppings.
- A squeeze bottle makes a narrow, even drizzle if you prefer.
The lime crema is the dressing, so drizzle it across the finished toppings where each bite can pick up some.
Step 8: Serve and Dig In
- Serve immediately with a fork or spoon.
- Break pieces from the shell as you eat and use them to scoop toppings.break off parts of the bowl and use them as edible scoops.
- Enjoy the edible bowl before it loses its crunch.eat the bowl—it’s the best part!
Pro Party Tip:
For a group, make the components into a self-serve station:
- A stack of cooled tortilla bowls
- Separate bowls of prepared toppings
- Lime crema in a squeeze bottle or small pitcher
- Hot sauce for anyone who wants more heat
Guests can build their bowls as they are ready to eat, which also keeps the shells crisp.
❤️ Why You’ll Love This Taco Salad Recipe
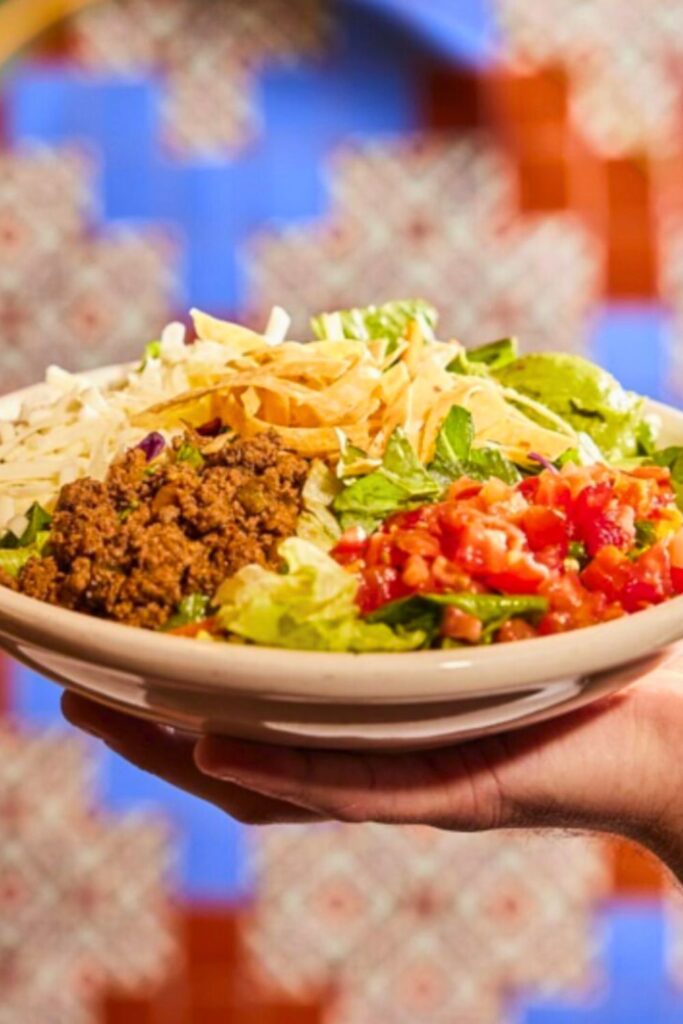
This salad combines a warm, savory filling with fresh vegetables, creamy sauce, and an edible crunchy bowl.
1. It’s a Whole Meal in One Bowl
It can be a complete meal rather than a side because it includes:
- Protein:Seasoned ground beef supplies protein.
- Fiber:Vegetables and optional beans add freshness and substance.
- Crunch & Creaminess:Lettuce, shell, and crema bring crisp and creamy textures.
Adjust the portions to the people you are serving and offer beans or extra vegetables if desired.
2. It’s a Showstopper—Perfect for Guests
The golden tortilla shell makes a striking serving bowl without complicated plating. Set it on a plate to catch any toppings that fall over the edge.
3. Completely Customizable
The core assembly works with several substitutions:
- Different proteinsTry beef, cooked chicken, tofu, or shrimp as the main protein.
- Veggies you loveUse corn, bell pepper, or black beans among the vegetables.
- Spice levelsOffer hot sauce or jalapeños separately so heat is optional.
4. Budget-Friendly & Accessible
The components rely on common tortillas, ground meat, produce, and a few pantry seasonings. Choose seasonal toppings to keep the bowl practical for your budget.
5. The Lime Crema Is Life-Changing
Sour cream, mayonnaise, and lime produce a smooth dressing with enough acidity to cut through the beef and cheese.
6. It’s Fun to Eat (and Yes, You Eat the Bowl!)
As you eat, break off pieces of the crisp shell and use them to scoop up the last toppings. That edible bowl is part of the appeal.
✨ Tips to Make It Even Better
A few small preparation choices make the assembled salad easier to eat and help it stay crisp.
1. Dry the lettuce
After washing, spin or pat the leaves thoroughly dry before chopping. Excess water can soften the tortilla.
2. Season in stages
- Lightly season tomato and avocado as you prepare them.
- Adjust the cooked meat with cumin or smoked paprika if it needs more depth.
3. Make your own tortilla strips
Slice a spare tortilla, brush lightly with oil, and bake or fry until crisp for a fresh crunchy topping.
4. Put the crema in a squeeze bottle
A squeeze bottle helps you drizzle evenly, especially when several people are building their own salads.
🌮 Pro Taco Salad Variations to Try
The same layered method can be adapted to different proteins and preferences. Try one of these versions:
1. Chicken taco salad
Replace beef with cooked grilled or shredded chicken, seasoned with taco spices and a squeeze of lime.
2. Vegetarian or vegan taco salad
Use these swaps in place of meat and dairy:
- Replace meat with seasoned black or pinto beans.seasoned black beans or pinto beans.
- Add grilled zucchini, pepper, or mushrooms.
- Choose plant-based cheese and sour cream for a vegan bowl.dairy-free cheese and vegan sour cream for a plant-based option.
Optional: Add cooked quinoa or brown rice to make a heartier variation.
3. Shrimp taco salad
Cook shrimp with garlic, chili powder, and lime, then add them to the fresh toppings.
4. Crunchy chip taco salad
Add a handful of crushed nacho-cheese chips shortly before eating for a different kind of crunch.
5. Lower-carb taco salad
Leave out the tortilla shell and build the other ingredients over shredded romaine; adjust the toppings to your needs.
6. Taco pasta salad
Use cooked, cooled rotini instead of the tortilla bowl and toss it with taco-seasoned beef, vegetables, and crema.
7. Taco jar salad
Pack the ingredients in this order:
- Crema at the bottom
- Cooked taco meat or beans
- Cheese
- Tomatoes
- Onions
- Dry lettuce on top
Keep the lettuce at the top and pour the jar into a bowl when it is time to eat. Pack crunchy tortilla pieces separately.
🌟 Final Thoughts
This taco salad brings crisp, creamy, fresh, and savory elements together in one bowl.
The lime crema cools the seasoned beef, while lettuce and a properly dried tortilla shell contribute crunch.
Keep the components separate until serving and let everyone choose their own toppings and heat level.
It is a useful option for taco night when you want all the familiar flavors in a fork-friendly meal.
🥗 More Fresh & Flavorful Recipes You’ll Love
For more salad ideas, these related FeastBears recipes keep the meal fresh and flexible:
👉 Tuna Salad Recipe
A cool, quick option for lunch or a warm-weather meal.
👉 Creamy Chicken Salad Recipe
Tender chicken and crisp vegetables work in sandwiches or on greens.
👉 Mexican Street Corn Salad
Sweet corn, lime, creamy dressing, and spice make a flavorful side.

Dana Brooks is a home-cooking writer at Feastbears, where she shares easy family recipes, cozy dinners, quick desserts, and beginner-friendly kitchen tips. Her goal is to make everyday cooking feel simple, warm, and enjoyable for busy home cooks.


