
A well-roasted turkey gives the table crisp skin, juicy meat, and the aroma of butter, lemon, garlic, and fresh herbs.
The process can look demanding, but it becomes manageable when thawing, seasoning, roasting, temperature checks, and resting are handled in order.
This original method uses herb butter and a shaped foil shield to protect the breast while the rest of the bird cooks.
Beginning with high heat develops color, then a lower temperature finishes the meat more gently for a moist result.
Follow each stage carefully, rely on a thermometer, and leave enough time for the turkey to rest before carving.
Why This Roasted Turkey Recipe Works
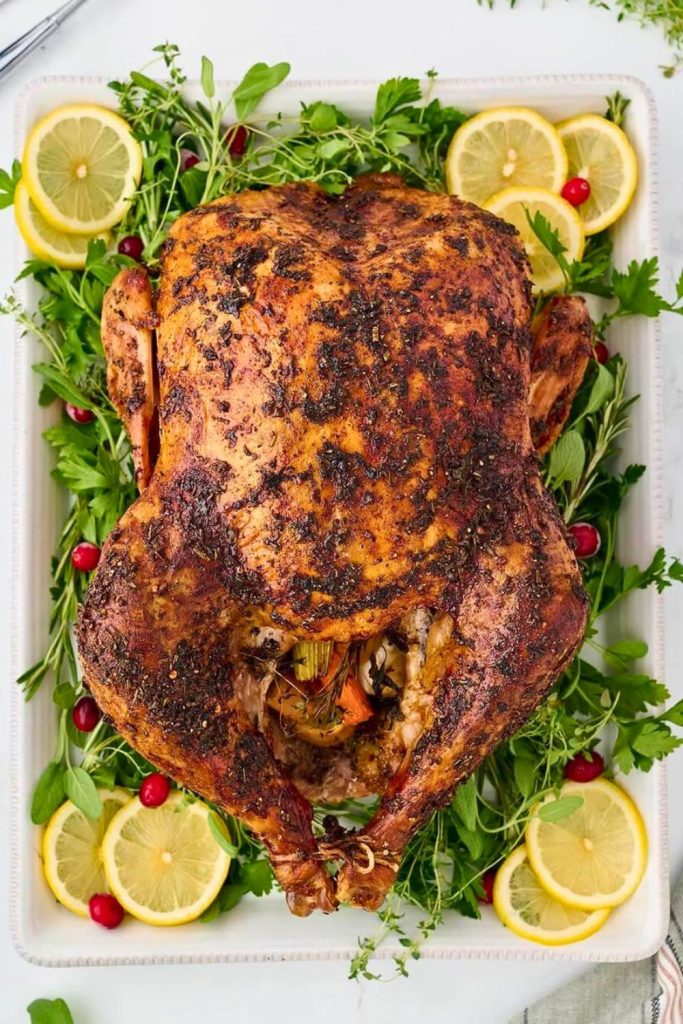
Before diving into the steps, let us talk about why this method is different from the hundreds of turkey recipes floating around the internet.
- Juicy breast meat: The foil shield protects the lean breast from excessive heat so it stays moist while the rest of the bird cooks.
- Herb butter: Lemon, garlic, and parsley butter placed beneath the skin seasons the breast meat directly.
- Simple prep: You won’t need to marinate for hours. The butter does the heavy lifting, making the turkey taste like it is been soaking in flavor overnight.
- Two-temperature roast: An initial burst of high heat browns the skin, and a lower oven temperature finishes the turkey more steadily.
Ingredients for Roasted Turkey Recipe

The table below gives a detailed table summarizing all the key ingredients used in this recipe, including the bird itself, the seasoned butter, and the aromatic stuffing.
| Category | Ingredients | Quantity | Purpose |
|---|---|---|---|
| Turkey | Whole turkey (fully thawed, about 12 lbs used in this method) | 1 bird | Main protein, centerpiece of the dish. |
| Salt | 1 teaspoon (for cavity) | Base seasoning inside the turkey. | |
| Black pepper | ¼ teaspoon (for cavity) | Enhances flavor with mild heat. | |
| Flavored Butter | Unsalted butter (softened) | 1 cup | Base for moisture and flavor infusion. |
| Olive oil | 2 tablespoons | Adds crispiness to the skin. | |
| Garlic cloves (pressed) | 2 cloves | Infuses aromatic depth into butter. | |
| Fresh parsley (chopped) | ¼ cup | Provides fresh, herby flavor. | |
| Salt | ½ tablespoon | Seasoning for the butter mix. | |
| Black pepper | ½ teaspoon | Mild seasoning balance. | |
| Lemon juice (freshly squeezed) | 4 tablespoons | Brightens flavor, cuts richness. | |
| Lemon zest | ½ tablespoon | Adds citrus aroma and freshness. | |
| Aromatics (Cavity) | Lemon (quartered) | 1 lemon | Adds fresh, tangy steam inside the bird. |
| Fresh parsley (whole bunch or handful) | 1 bunch | Adds a fresh herbal aroma inside the turkey. | |
| Onion (quartered) | ¼ onion | Provides sweetness and depth. | |
| Garlic cloves (whole) | 4 cloves | Adds mild garlicky aroma inside the turkey. | |
| Extra for Roasting | Olive oil (for drizzling on skin before roasting) | As needed | Helps crisp up the skin. |
| Kitchen twine (or strong string) | For tying legs and wings | Secures the turkey for even cooking. | |
| Foil sheet (folded into a triangle and oiled) | 1 piece | Protects the breast from overcooking. |
🦃 How to Make Roasted Turkey (Step-by-Step)
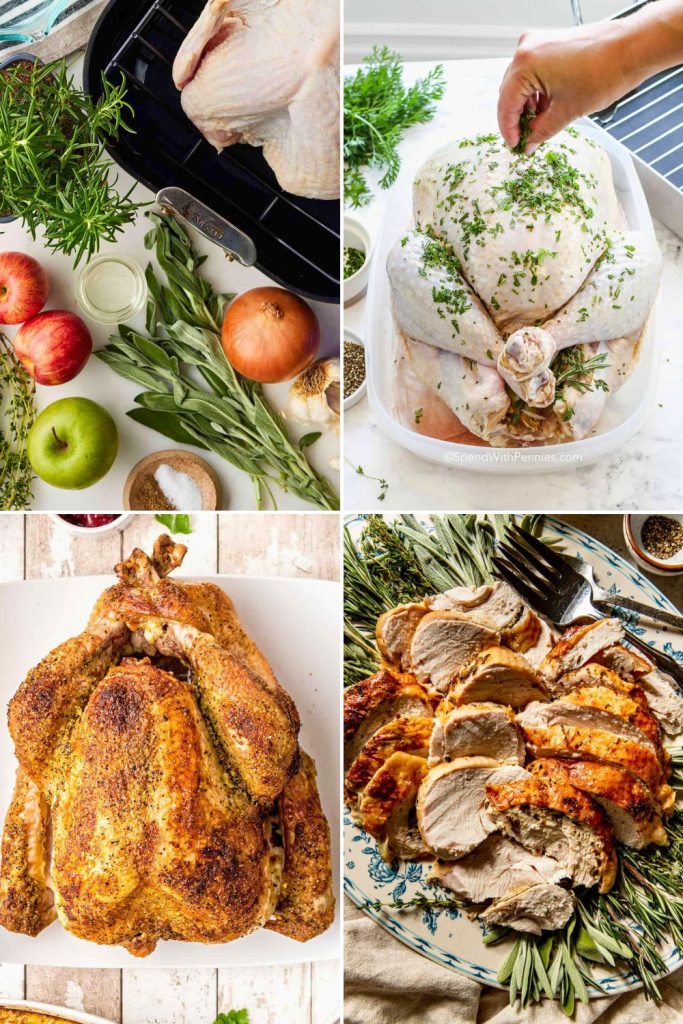
This section takes you through the whole roasting process from start to finish. Whether it is your first time roasting a turkey or you are looking to refine your method, follow these steps and you will get delicious, juicy results every time.
Step 1: Thawing and Prepping Your Turkey
Begin with a completely thawed turkey. A frozen bird needs to thaw fully in the refrigerator before seasoning; allow approximately:
- 24 hours in the fridge per 4–5 pounds of turkey.
So for a 12-pound turkey, you will need about 3 full days to thaw it properly.
Once thawed:
- Remove the neck and giblet packet from the body and neck cavities, reserving them for stock or gravy if desired.
- Do not rinse the raw turkey, because splashing water can spread bacteria around the sink and work surfaces. Remove the packaging and giblets, then keep the bird separate from ready-to-eat food.
- Blot the turkey thoroughly with paper towels; a dry surface helps the skin brown and become crisp.
- Set the turkey on clean paper towels while preparing the remaining ingredients so surface moisture can be absorbed.
Step 2: Seasoning the Turkey Cavity
Do not overlook the inside of the bird. The cavity is like a flavor chamber; it steams from the inside as the turkey roasts.
Sprinkle the following inside the cavity:
- 1 teaspoon salt
- ¼ teaspoon black pepper
That’s it! Simple, but it makes a big difference. The salt penetrates the inside of the meat, and the pepper gives just a hint of warm character.
Step 3: Making the Flavored Butter
This flavored butter is what gives this turkey its standout taste. It is zesty, herby, garlicky, and packed with fresh flavor.
In a mixing bowl, combine:
- 1 cup softened unsalted butter
- 2 tablespoons olive oil
- 2 garlic cloves, pressed or minced
- ¼ cup fresh parsley, chopped
- ½ tablespoon salt
- ½ teaspoon black pepper
- 4 tablespoons fresh lemon juice
- ½ tablespoon lemon zest
Instructions:
Choose a fork or spatula to mash everything together. Take your time so the lemon juice and olive oil fully incorporate into the butter. It should become smooth and creamy. The smell? Absolutely fantastic, bright, fresh, and savory all at once.
Step 4: Buttering Under the Skin
This stage is KEY to juicy, flavorful white meat.
- Begin by gently separating the skin from the turkey breast. You can use your fingers to slide under the skin from both the neck and base end. Be patient and work slowly to avoid tearing the skin.
- After the skin is loosened, take two-thirds of the herb butter and slide it under the skin.
- Choose your hands to massage the butter around. Press and rub it so the butter spreads evenly across the breast underneath the skin.
This helps taste the meat directly and locks in moisture during roasting.
Step 5: Buttering the Outside
Now it is ready to season the outside of the turkey.
- Blot away any moisture that has collected on the skin before applying the outside seasoning.
- Spread the remaining one-third of the herb butter over the top and sides of the turkey. Do not be concerned about getting it perfect; be sure it is mostly covered.
- Drizzle a light coating of olive oil over the bird to encourage browning and crisp skin.
- Finish by seasoning generously with salt and pepper.
At this stage, the turkey should be evenly coated and ready for the aromatics.
Step 6: Stuffing the Turkey
Skip the heavy bread stuffing and go with fragrant aromatics that infuse the turkey with gentle taste.
Stuff into the cavity:
- 1 lemon, quartered
- ¼ onion, chunked
- 4 whole garlic cloves
- A handful of fresh parsley
During roasting, the lemon, onion, garlic, and parsley steam gently inside the cavity and perfume the meat.
Step 7: Tying the Turkey
Trussing the turkey makes it easier to it cook evenly and keeps the bird looking tidy on your platter.
- Use food-safe kitchen twine to secure the turkey; it is commonly sold with cooking supplies.
- Tie the base of the bird to hold everything in place.
- Cross the drumsticks and tie them firmly so the legs remain close to the body and cook more evenly.
Do not worry if your twine isn’t fancy. Be sure it is oven-safe. Fun note: even a basic string from the craft section works in a pinch (be sure it does not burn!).
Step 8: The Secret Foil Shield
This simple foil technique protects the breast from drying while the thighs continue cooking.
Here is how to make it:
- Tear a large piece of foil and fold it into a triangle.
- Oil one side of the foil so it does not stick to the turkey skin.
- Shape the foil triangle closely over the turkey breast to form a protective shield.
- Remove it for now, but keep it nearby.
You will place this shield back on the turkey partway through roasting to protect the delicate breast meat while the dark meat continues to cook.
Step 9: Roasting the Turkey
Now we roast! Preheat your oven to 430°F (220°C).
Two-Stage Roasting Process:
- Begin hot: Roast at 430°F (220°C) for 20 minutes to start browning and crisping the skin.
- Baste promptly: Spoon melted butter from the roasting pan over the turkey after the first high-heat stage.
- Add the shield: Set the prepared foil triangle over the breast.
- Reduce heat: Lower the oven temperature to 350°F (175°C).
- Continue roasting: A 12-pound bird will need roughly another 2½ hours, but temperature is the final guide.
Keep the roasting pan uncovered apart from the foil shield placed over the breast.
Step 10: Checking the Temperature
When is your turkey ready? Do not guess, use a meat thermometer.
- Insert an instant-read thermometer into the thickest part of the thigh without touching bone.
- The thickest part of the thigh should reach 170°F (77°C).
- The thickest part of the breast must reach at least 165°F (74°C).
The turkey’s temperature will continue rising slightly after it leaves the oven because of carryover cooking.
Step 11: Resting the Turkey
Do not carve just yet! Resting is essential.
- Place a loose foil tent over the roasted turkey and leave it undisturbed on the counter.
- Rest for at least 1 hour.
This gives the juices ready to redistribute, keeping every bite moist and flavorful. If you carve too early, the juices will run out and leave the meat dry.
Step 12: Making Gravy with Pan Drippings
After all that roasting, you will have flavorful drippings in the bottom of the pan. Do not waste them, make gravy!
Here is a quick overview:
- Strain the pan drippings into a bowl through a fine mesh sieve to remove the solids.
- For gravy, cook 2 tablespoons butter with 2 tablespoons flour in a saucepan to form a roux.
- Gradually whisk in the pan drippings, adding turkey stock or broth until the gravy reaches the desired consistency.
- Simmer until thickened, season to taste, and serve warm.
This gravy is rich, savory, and enhanced with every bit of taste from your roasted turkey.
📝 5 Tips for a Perfect Roast Every Time
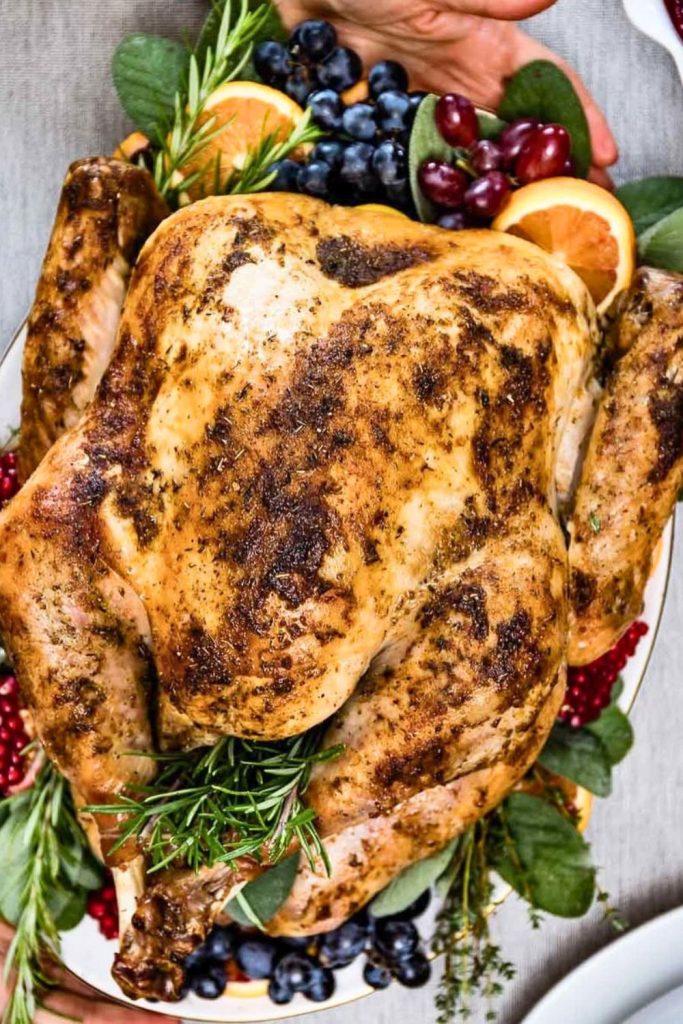
Roasting a turkey can feel intimidating, but once you understand the little details that make the most significant difference, you will never go back to guessing.
These points summarize the main details behind deeply golden skin and moist meat.
1. Always Use a Meat Thermometer
Roasting charts are estimates because ovens and birds vary. A properly placed food thermometer is the dependable way to confirm doneness.
- Check both the deepest part of the thigh, avoiding the bone, and the thickest part of the breast.
- Confirm at least 165°F (74°C) in the breast and 170°F (77°C) in the thigh without touching bone.
- Allow for a small amount of carryover cooking while the turkey rests, but confirm a safe final temperature.
Treat the thermometer as your best protection against both undercooking and dry meat.
2. Do not Skip the Flavored Butter
Some cooks rub the skin with just oil and salt, but that leaves the meat under-seasoned. This recipe’s herb, garlic, and lemon butter is what makes the turkey taste like it is been marinating for hours. By tucking butter under the skin, you season the meat directly and guarantee moist, flavorful bites.
The butter also melts as the turkey roasts, basting the bird naturally. In short, the butter is the flavor hero; do not skimp on it.
3. Resting is Non-Negotiable
It is tempting to carve immediately, especially when everyone is hungry and waiting. But if you slice into the turkey too soon, all those flavorful juices will spill out onto the cutting board.
Tent the turkey loosely with foil and rest it for at least 1 hour so the juices settle throughout the meat before carving.
4. Size and Time Matter
After the initial high-heat stage, a 12-pound turkey may need about 2½ hours; larger birds require additional time. Use this only as an estimate:
- Include about 15 minutes per pound after the initial 20-minute high heat stage.
- Always confirm with your thermometer, not the clock.
This ensures your turkey is fully cooked without being dry.
5. Keep It Simple
With all the elaborate stuffing ideas and spice blends out there, it is easy to overcomplicate turkey. But the truth? You do not need much.
Fresh parsley, garlic, lemon, onion, and a good butter rub do all the heavy lifting. They create a turkey that’s fragrant, flavorful, and satisfying without overwhelming the natural taste of the bird. Sometimes less truly is more.
🏁 Final Thoughts on Roasted Turkey
Roasting a turkey becomes much more manageable with complete thawing, well-seasoned herb butter, a breast shield, and reliable temperature checks.
The method works for Thanksgiving, another holiday meal, or a family gathering where a juicy turkey with crisp skin belongs at the center.
Plan the thaw and resting time in advance, follow the temperature rather than the clock alone, and carve only after the juices have had time to settle.
Herb Butter Roasted Turkey
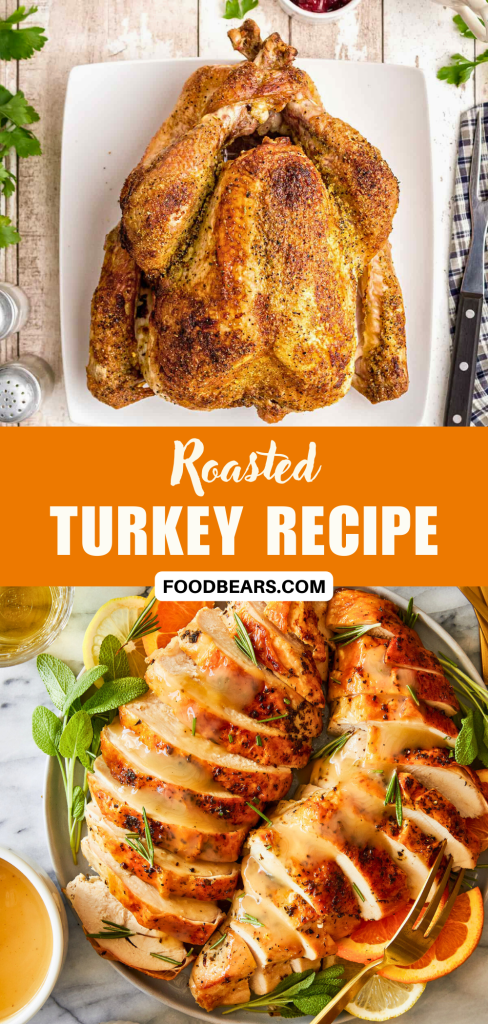
📌 Keep Cooking with These Ideas
If you enjoyed this roasted turkey recipe, here are a few more turkey-inspired dishes you will love. They are quicker, lighter, and well suited to weeknights or leftover holiday turkey.
- Quick 45-Min Turkey Chili Recipe for Moms
This hearty, flavorful chili made with ground turkey, beans, and spices, ready in under an hour for busy moms and families. - Cozy Turkey Noodle Soup Recipe for Thanksgiving
Warm, comforting, and well suited to using up leftover turkey. A bowl of this soup feels like a hug on a cold fall night. - Best Turkey Salad Recipe in Under 15 Minutes
This light, refreshing turkey salad with cranberries and pecans. Ideal for quick lunches, low-carb meals, or holiday leftovers.

Dana Brooks is a home-cooking writer at Feastbears, where she shares easy family recipes, cozy dinners, quick desserts, and beginner-friendly kitchen tips. Her goal is to make everyday cooking feel simple, warm, and enjoyable for busy home cooks.


