This classic pumpkin pie combines a crisp pastry shell with a smooth custard flavored by pumpkin and warm fall spices.
It is a natural choice for Thanksgiving and autumn gatherings, but the familiar flavor also suits any cool-weather family dinner.
The method focuses on the details that matter most: fitting the crust properly, mixing the filling until even, protecting the pastry edges, and baking the custard gently.
Homemade pastry is welcome, though a suitable ready-made shell can save time. Cool the finished pie fully before slicing so the filling can set cleanly.
🧡 Why You’ll Love This Pumpkin Pie Recipe
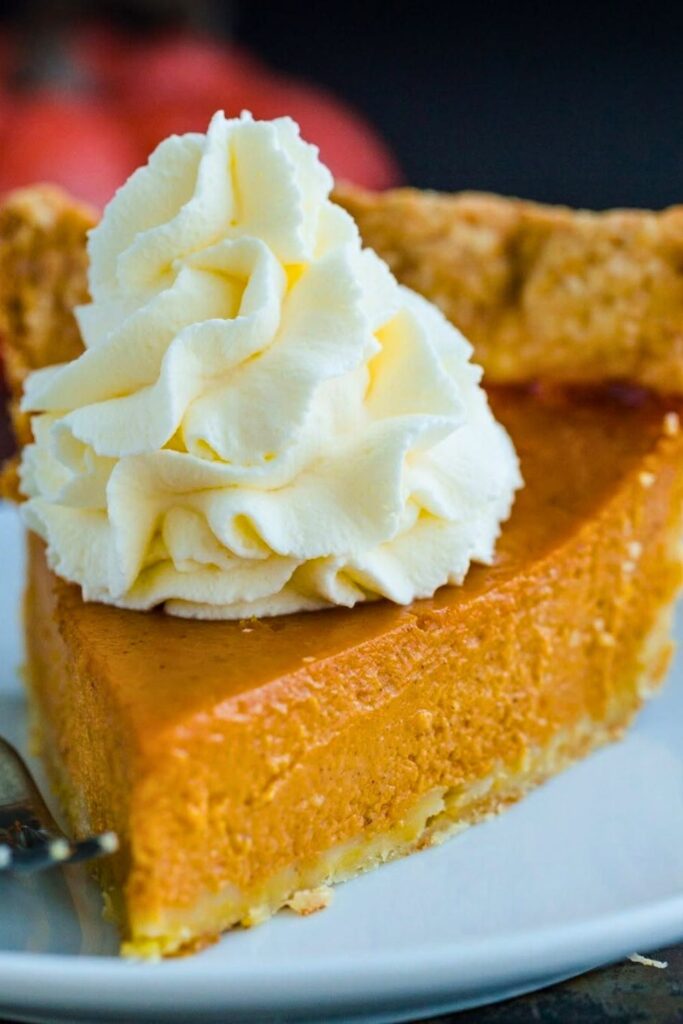
The contrast between flaky pastry and creamy spiced filling makes this pie a dependable seasonal dessert. Straightforward preparation steps help both layers bake properly without specialized equipment.
1. A Buttery Pastry Base
A homemade butter crust adds a flaky contrast to the soft filling. Blind baking gives the pastry a head start before the custard is added; a ready-made shell can also work when prepared according to its package directions.
Crust note: A lightly baked, dry-looking base is better prepared to hold the wet custard than a completely raw pastry shell.
2. A Smooth Pumpkin Custard
Pumpkin puree, eggs, brown sugar, and evaporated milk create the filling. Break up sugar clumps and whisk gently until the mixture is even, aiming for a smooth custard without a thick layer of foam.
3. A Warm Blend of Fall Spices
Cinnamon, ginger, cloves, and nutmeg give the pumpkin a rounded, aromatic flavor. A little allspice or cardamom is an optional way to shift the spice blend toward your own preference.
4. A Thoughtful Baking Method
Chilling the shaped shell, blind baking when appropriate, and watching the custard rather than just the clock all help. If the filling has surface bubbles, pop them with a clean toothpick before baking.
5. Straightforward Steps and Useful Options
The recipe separates the pastry, filling, and baking into manageable stages. Choose canned puree for consistency, or use thick, smooth homemade puree; watery pumpkin can change how the custard sets.
📋 What You’ll Need: Ingredients & Equipment
Measure the custard ingredients before mixing and choose a 9-inch pie shell deep enough to hold the filling. Keep the optional egg wash separate so it is ready when you finish shaping the crust.
🧂 Pumpkin Custard Ingredients
| Ingredient | Amount | Notes |
|---|---|---|
| Brown Sugar (packed) | 3/4 cup (160g) | Pack to measure, then break apart hard clumps before whisking. |
| Salt | 1/2 teaspoon | Balances the sugar and spice. |
| Ground Cinnamon | 1/2 teaspoon | Gives the filling its familiar warm base note. |
| Ground Ginger | 1/2 teaspoon | Adds a gentle ginger warmth. |
| Ground Cloves | 1/8 teaspoon (pinch) | Use a small measure because cloves are strong. |
| Ground Nutmeg | 1/4 teaspoon | Freshly grated or pre-ground both work. |
| Optional Spices | 1/4 teaspoon each | Choose allspice or cardamom if you want a different spice note. |
| Pumpkin Puree | 1 can (15 oz) | Use plain, unsweetened puree rather than pumpkin pie filling. |
| Eggs (room temperature) | 3 large | Whisk gently into the filling; keep perishable ingredients out only briefly. |
| Evaporated Milk | 1 can (12 oz) | Use evaporated milk, not sweetened condensed milk. |
🧰 Baking Tools
| Tool | Purpose |
|---|---|
| Pie Dish (9-inch) | Choose a deep 9-inch dish with enough capacity; check its temperature-change guidance. |
| Rolling Pin | Rolls chilled pastry to an even thickness. |
| Pastry Mat | Provides a lightly floured surface for shaping pastry. |
| Parchment Paper | Lines the crust beneath pie weights; it is not itself a weight. |
| Pie Weights or Dried Beans | Supports the base and sides during blind baking. |
| Foil (Reusable or Regular) | Shields a rim that is browning before the custard sets. |
| Mixing Bowl | Holds the filling ingredients while you mix. |
| Whisk | Combines the custard without leaving sugar or spice clumps. |
| Kitchen Scale | Measures the stated ingredient weights accurately. |
| Oven Thermometer (optional) | Checks whether the oven matches its temperature setting. |
| Small Saucepan (optional) | Gently warms the filling if you choose that optional step. |
| Brush | Applies a thin egg wash to the exposed pastry rim. |
| Clean Toothpick (optional) | Pops visible filling bubbles before baking; do not use a hair dryer. |
7 Steps to Make Homemade Pumpkin Pie
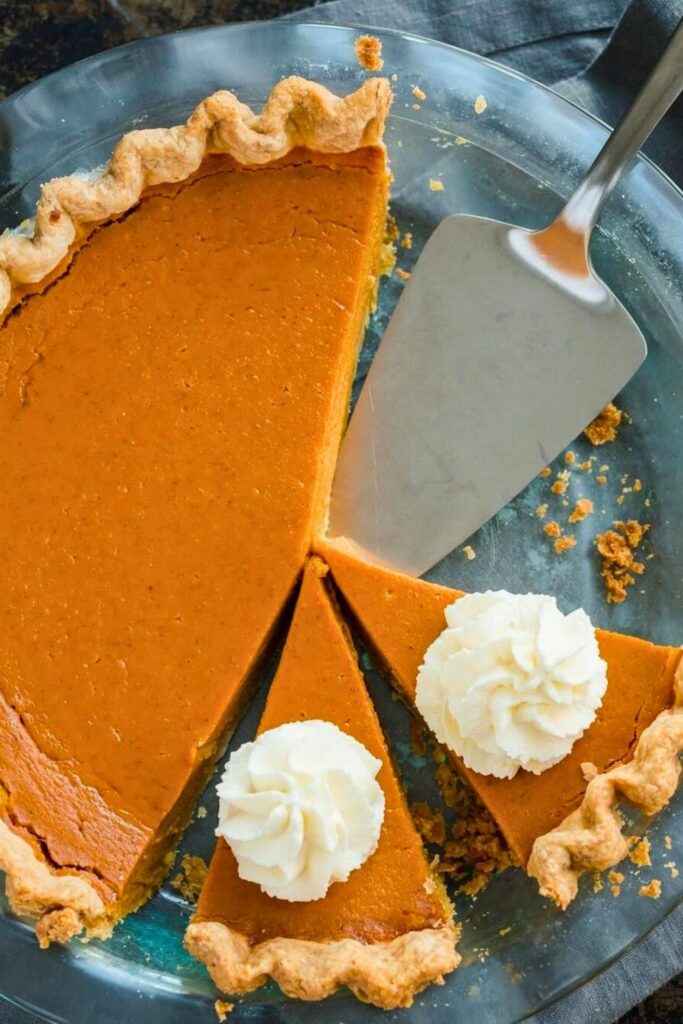
🥧 Step 1: Prepare the Perfect Pie Crust
Prepare and chill the pastry first, then mix the custard while the shell rests. Fill the crust carefully, shield the edges if they color too quickly, and bake until the center retains only a slight wobble.
For homemade pastry, roll chilled pie dough on a lightly floured surface to about ¼ inch thick. Work gently and add only enough flour to keep it from sticking.
Lift the dough over your rolling pin and ease it into a 9-inch pie dish. A deep dish is useful for this amount of custard.
Let the pastry settle into the bottom and corners without stretching it. Stretched dough tends to contract as it bakes.
Finish the rim before chilling the shaped shell:
- Leave about 1 inch of overhang when trimming the pastry.
- Tuck the extra dough underneath to form a sturdy rim.
- Shape the edge with your fingers or press it with a fork for a simple pattern.
Pastry tip: A tidy, folded rim gives you enough dough to crimp without leaving a thin edge that browns too quickly.
Freeze the shaped crust for at least 20 minutes to help it hold its shape. Use a metal pan or a dish specifically approved for this temperature change; do not move an unsuitable frozen glass dish into a hot oven.
🔥 Step 2: Blind Bake the Crust
For the homemade shell, preheat the oven to 425°F for blind baking. If using a ready-made crust, follow its preparation directions; the filled pie begins baking at 400°F.
To support the pastry during its first bake:
- Cut a piece of parchment large enough to cover the base and sides of the shell. Small snips around the edge can help it settle into the curves.
- Gently fit the parchment into the chilled crust without pressing down the decorative rim.
- Fill the lined shell with pie weights or dried beans, supporting the sides as well as the base. Foil can line or shield the pastry, but an empty foil ring is not a replacement for weights.
Blind-baking tip: Supporting the sides helps them stay upright while the base begins to firm up.
- Bake for 15 minutes, then carefully lift out the parchment and weights. Bake for about 5 more minutes, until the base looks dry rather than wet.
This partial bake reduces the chance of a soft bottom once the custard is added. If the rim is already well colored, protect it with foil during the filled bake.
🥄 Step 3: Make the Custard Filling
With the shell prepared, turn to the pumpkin filling. Start by combining the sugar, salt, and spices before adding the liquids.
Put the following into a large mixing bowl:
- ¾ cup (160g) packed brown sugar — break apart any firm clumps so they do not remain in the custard.
- ½ teaspoon salt — to balance the sweetness.
- ½ teaspoon ground cinnamon — for the base spice flavor.
- ½ teaspoon ground ginger — for a gently warming note.
- ⅛ teaspoon ground cloves — a small amount is enough.
- ¼ teaspoon ground nutmeg — freshly grated or pre-ground.
Whisk until the sugar and spices are evenly mixed. If desired, add ¼ teaspoon allspice or ¼ teaspoon cardamom for a different aromatic note.
Add the pumpkin, eggs, and milk to the spice mixture:
- One 15-ounce can plain pumpkin puree — not sweetened pumpkin pie filling.
- 3 large eggs — these help the custard set during baking.
- One 12-ounce can evaporated milk — not sweetened condensed milk. Keep evaporated milk for the base recipe; cream produces a richer adaptation.
Whisk until the filling is smooth and uniformly colored. Check the bottom of the bowl for sugar clumps, but avoid beating in unnecessary foam.
Custard note: The eggs provide structure, while the pumpkin and milk keep the filling soft and creamy once baked.
🌡️ Step 4: Warm the Filling (Optional but Awesome)
Gently warming the filling is optional. It changes the starting temperature of the custard, so keep an eye on the pie as it bakes.
A refrigerator-cold filling generally needs more time to heat through than a warm one. Neither starting temperature guarantees a crack-free top; overbaking and vigorous mixing can still affect the finish.
If you choose to warm it, use gentle heat:
- Transfer the mixed filling to a medium saucepan.
- Set the pan over low to medium-low heat.
- Stir continuously until gently warm, without letting it simmer or thicken into cooked egg. Remove it from the heat promptly and bake the pie right away.
Slow stirring lets some trapped air escape. Skim off visible foam rather than whisking it back into the filling.
Warming tip: Keep the spoon moving across the bottom of the pan so the custard does not catch or scramble.
Treat this as a preparation option, not a fixed time-saving promise. The pie still needs to bake until its center is properly set.
🍳 Step 5: Apply an Egg Wash (Optional)
For a little shine on the pastry rim, prepare an optional egg wash. You only need a thin coat.
Whisk together in a small bowl:
- 1 additional egg.
- 1 tablespoon milk, cream, or water.
Brush a light layer onto the exposed crust before filling the pie. Keep it from pooling, and discard leftover wash that has been used while handling the raw pastry.
Finishing option: A light brushing of cream alone can add color without making a separate egg wash.
🧁 Step 6: Fill and Bake the Pie
Now the crust and filling are ready to come together. Use a baking sheet underneath the pie to make it easier to move and to catch spills.
For the prepared homemade or ready-made shell:
- Set the oven to 400°F, allowing it to adjust after blind baking.
- Pour the filling into the crust, stopping just below the rim. Do not force in extra filling if your dish is smaller or shallower.
- Place the pie on a baking sheet and carefully transfer it to the oven.
- Bake at 400°F for 15 minutes, then lower the temperature to 350°F.
- Bake for about 35–45 minutes more, until the edges are set and the center has a soft, unified wobble rather than a liquid ripple. Shield the rim if it browns too quickly.
Doneness tip: The center should move slightly as one area when the pan is nudged; it should not look like uncooked batter.
Shallow frozen shells may need the filling divided between two crusts. Check their capacity and package directions, and judge each pie separately rather than assuming it needs the same baking time as a deep pie.
💡 Step 7: Cool, Slice, and Serve
Let the baked pie settle before cutting it. Pumpkin custard firms further as it cools and chills.
Finish the pie with these cooling and serving steps:
- Set the baked pie on a wire rack, away from direct heat.
- Cool briefly on the rack, then refrigerate within 2 hours; shorten that limit to 1 hour if the room is above 90°F.
- Chill until the custard is firm enough to slice. Refrigeration is required for storage, not merely an optional way to improve the texture.
Storage tip: Keep the pie covered in the refrigerator and use it within 3–4 days. Do not leave it out overnight to finish setting.
✨ Simple Toppings for Each Slice
- A spoonful of whipped cream.
- A light sprinkle of cinnamon or nutmeg.
- A small drizzle of caramel sauce.
- A scoop of vanilla ice cream on the side.
For future bakes, remove surface bubbles with a clean toothpick before the pie enters the oven. Keep bathroom appliances such as hair dryers away from food preparation.
🏁 Bonus: Cold vs. Warm Filling Bake-Off
Wondering how the filling temperature changes the baking process? The main difference is how much heating the custard needs before it begins to set.
Compare the two approaches this way:
- Warmed filling: Starts closer to baking temperature, but must be heated gently and transferred to the oven promptly.
- Cold filling: Can be baked without the saucepan step, although it may need more time for the center to set.
Both approaches still depend on the crust, oven, and depth of the dish. Watch for set edges and a softly wobbling center instead of relying on a promised difference in minutes.
Comparison note: A smoother-looking top is not proof that a pie is fully baked; check the center as well as the surface.
🎯 Tips for the Best Pumpkin Pie at Home
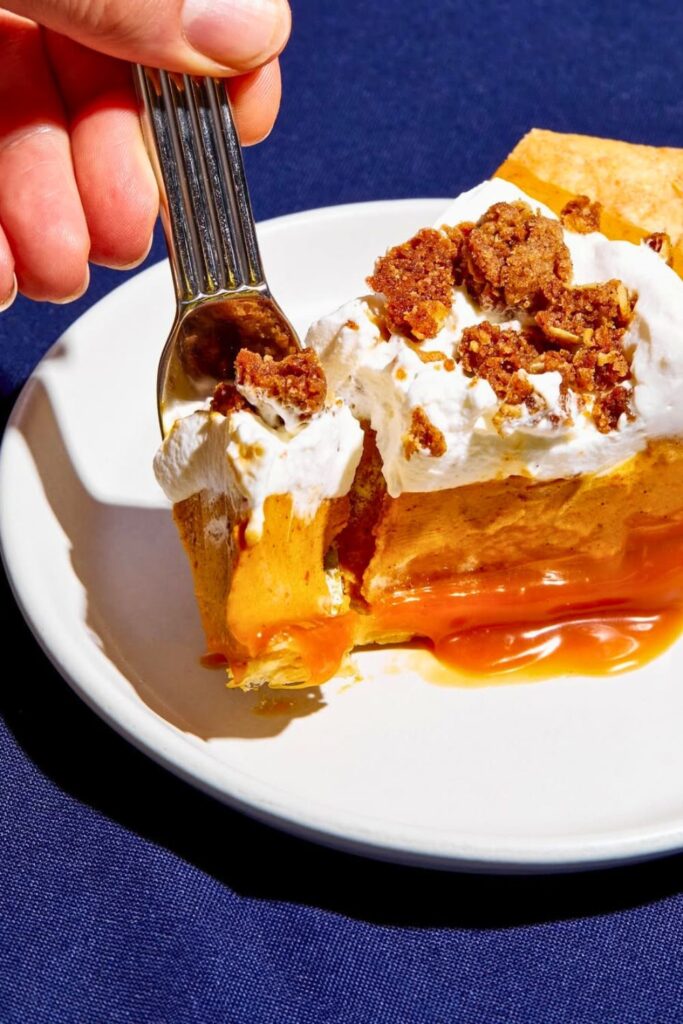
Keep the pastry cold, avoid whipping excess air into the filling, and judge doneness from the center rather than the crust color. Gradual cooling reduces the chance of cracks and improves slicing.
🔥 1. Give the Crust a Head Start
Blind bake the homemade butter shell with parchment and weights. A dry-looking base is ready for the filling, while a foil shield can protect an already golden rim during the second bake.
🧊 2. Chill the Shaped Shell
The 20-minute freezer rest helps firm the pastry before baking. Check that your pie dish is suitable for moving from cold conditions to the oven.
🥄 3. Warm the Custard Gently, If Desired
Low heat and continuous stirring are important if you use the warming step. Stop before the mixture simmers or thickens, then pour and bake without delay.
Temperature note: Warming the filling is optional; avoid treating it as a guarantee against cracks or uneven baking.
💨 4. Pop Surface Bubbles with a Clean Toothpick
Skim off foam or touch visible bubbles with a clean toothpick before baking. There is no need to blow air over the pie with a hair dryer.
🥚 5. Brush the Rim Lightly
A thin egg wash gives the exposed pastry a little color and shine. Too much can collect in the folds, so use a light hand.
Rim tip: Once the edge is golden enough, cover it loosely with foil while the custard finishes baking.
🍽️ Pumpkin Pie Serving Suggestions

Serve the pie at cool room temperature or lightly chilled. Whipped cream, toasted nuts, caramel, or a modest scoop of vanilla ice cream can complement the spices without covering them.
🧁 1. Whipped Cream
Add a soft dollop just before serving and finish with a pinch of cinnamon or nutmeg. The cream softens the spice without covering it.
🍦 2. Ice Cream on the Side
Vanilla bean or cinnamon ice cream works nicely with a chilled slice. Let the pie set fully before serving, even if you prefer to take the chill off an individual portion.
🍁 3. Maple-Flavored Cream
For a maple variation, gently mix about a tablespoon of pure maple syrup into a bowl of whipped cream, adjusting to the amount of cream and your preferred sweetness.
🍬 4. A Little Caramel
Drizzle a small amount of cooled caramel over each slice. Adding it at serving time keeps the surface of the pie tidy.
🥜 5. A Nutty Finish
Scatter toasted walnuts or candied pecans over the whipped cream for crunch. Keep nuts separate if guests need an allergen-free topping.
🌀 Pumpkin Pie Variants You Can Try
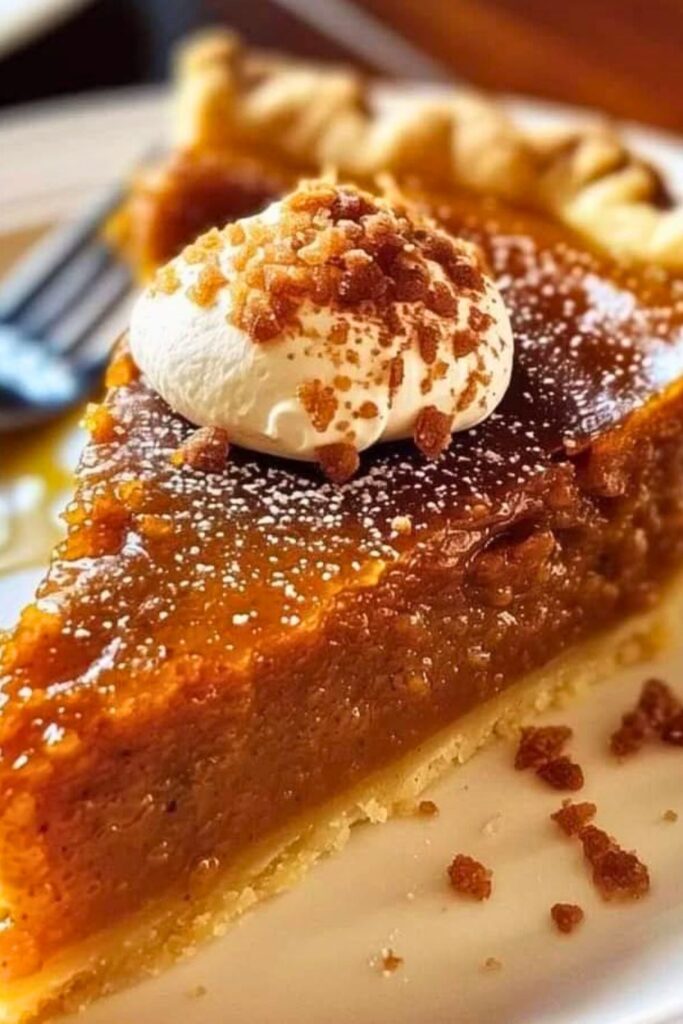
Flavor additions such as maple, extra ginger, or a different spice balance can personalize the pie. Changes to eggs, dairy, crust, or filling volume may affect setting time and should be made cautiously.
| Variant Name | Key Ingredients | Flavor Profile | Why You’ll Love It |
|---|---|---|---|
| Maple Pumpkin Pie | Replace part of brown sugar with maple syrup | Warm, rich, slightly earthy | Maple adds a different sweetness, but also liquid; use a tested maple-custard balance. |
| Pumpkin Cheesecake Pie | Add a layer of cheesecake filling beneath the pumpkin | Tangy and creamy | The tangy layer needs its own proportions and enough pan capacity, not simply extra filling in a full shell. |
| Spiced Chai Pumpkin Pie | Add chai spice mix (cardamom, black pepper, etc.) | Bold, spiced, aromatic | Cardamom and a small amount of black pepper give a chai-inspired spice profile. |
| Chocolate Pumpkin Pie | Stir in melted dark chocolate or top with ganache | Rich, bittersweet + earthy pumpkin | A cooled ganache topping is simpler than changing the custard with melted chocolate. |
| Coconut Pumpkin Pie | Use coconut milk instead of evaporated milk | Creamy with a tropical note | For a dairy-free pie, check the crust and toppings too; use a custard formula tested with coconut milk. |
| Bourbon Pumpkin Pie | Add a splash of bourbon or rum to the filling | Subtly boozy, deep caramel notes | A small splash changes the aroma. Baking does not guarantee complete removal of alcohol. |
| Gluten-Free Pumpkin Pie | Use a gluten-free pie crust with verified gluten-free ingredients | Classic pumpkin custard in a gluten-free crust | Use a verified gluten-free crust and ingredients; replacing sugar with syrup does not remove gluten. |
| Vegan Pumpkin Pie | Use a tested egg-free, dairy-free custard and vegan crust | Plant-based, creamy | Use a tested vegan pumpkin pie formula. Flax eggs are not a guaranteed replacement in this egg-set custard. |
| Pumpkin Pecan Pie Mash-Up | Half pumpkin custard, half pecan topping | Sweet, crunchy, spiced | A pecan topping adds crunch, but its quantity and timing need to suit the custard beneath it. |
| Pumpkin Pie Bars | Use a rectangular pan and a recipe balanced for pie bars | Easy to serve, portable | A bar version needs a suitable rectangular pan, crust quantities, and adjusted baking guidance. |
🍂 Final Thoughts: Bake, Slice, Savor
Pumpkin pie rewards careful preparation with a silky filling, warmly spiced flavor, and crisp pastry in every slice.
Allow enough cooling time, then cut with a clean knife and add your preferred topping just before serving.
Prepare the shell carefully and mix the filling until even, then let the oven do the gradual work of setting the custard.
Blind baking, an optional gentle warming step, and a lightly brushed rim each serve a purpose. A full chill is equally important when you want slices that hold their shape.
Make room in the refrigerator before you begin, choose a topping you enjoy, and save a slice for tomorrow.
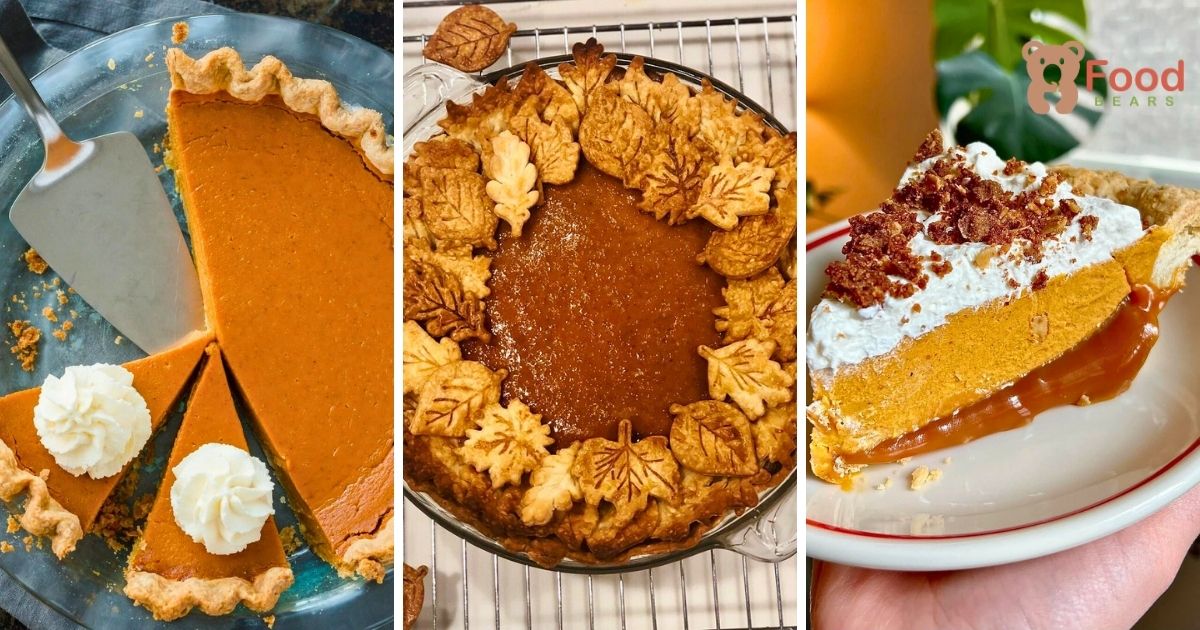
Homemade Pumpkin Pie
🔗 You May Also Love:
Continue your seasonal baking with one of these related recipes:
🥮 Best Southern Peach Cake Recipe You’ll Love
A buttery peach cake that brings juicy fruit and a soft crumb to a family dessert spread.
🎃 Best Pumpkin Bars Recipe for Fall
Pumpkin-spiced bars baked in a 10×15-inch jelly roll pan and finished with cream cheese frosting.
🧁 Delicious Pumpkin Muffins for Cozy Fall Days
Hand-mixed pumpkin muffins with a warm spice blend, ready for breakfast, brunch, or an afternoon coffee break.

Dana Brooks is a home-cooking writer at Feastbears, where she shares easy family recipes, cozy dinners, quick desserts, and beginner-friendly kitchen tips. Her goal is to make everyday cooking feel simple, warm, and enjoyable for busy home cooks.


