
Pumpkin pie cookies place a spiced pumpkin filling inside buttery thumbprint-style sugar cookies.
- A simple vanilla glaze completes the cookies after baking and cooling.
- The components are mixed separately, which keeps the dough firm and the filling smooth.
- Follow the twelve original steps below for shaping, chilling, filling, baking, and glazing.
Think: soft thumbprint cookies filled with a mini pumpkin pie center and finished with a sweet vanilla glaze.
These cookies offer the flavor of pumpkin pie in a smaller dessert that is easy to serve by hand.
The chilled thumbprints hold their wells during baking and keep the filling neatly centered.
Why You’ll Love These Pumpkin Pie Cookies
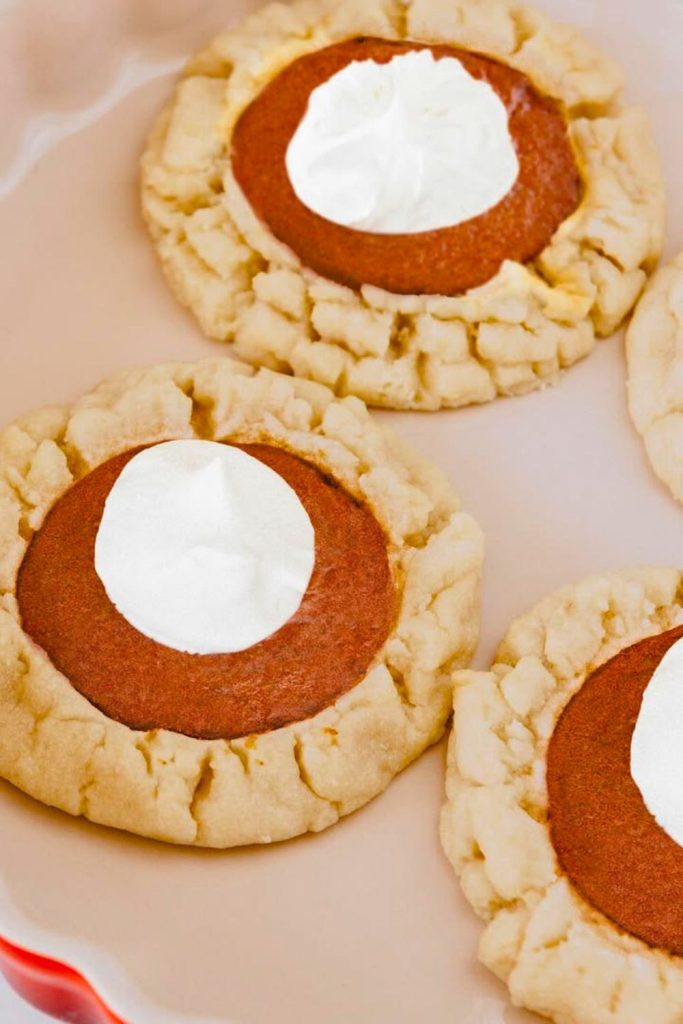
Make them for Thanksgiving, autumn gatherings, gifts, or a weekend baking project.
Here’s why they’ll become your new fall favorite:
- Mini Pumpkin Pies in Cookie Form: These are not just regular cookies. They have that signature spiced filling that makes pumpkin pie a holiday must-have. Except now, it is wrapped in a thumbprint cookie that is way easier to offer and share.
- Soft, Crumbly Cookie Base: The prepared dough is made from butter, sugar, and flour, resulting in a light texture similar to shortbread, but with a softer consistency. It melts in your mouth and balances beautifully with the rich filling.
- Fun for the Whole Family: From thumbprinting the cookies to helping with the glaze, this recipe is excellent for baking with kids or loved ones. It’s a cozy kitchen activity everyone can enjoy.
- Simple Ingredients, Big Flavor: You do not need any fancy tools or hard-to-find ingredients. Most of these are pantry staples, making this recipe as easy as it is comforting.
- Suitable for Any Occasion: Offer these at Thanksgiving, fall parties, Halloween gatherings, or simply as a weekend treat with a cup of coffee or chai. They are festive without the fuss!
When you are looking for a new fall baking tradition, this one checks all the boxes: easy, flavorful, and loved by both adults and kids.
Ingredients You’ll Need
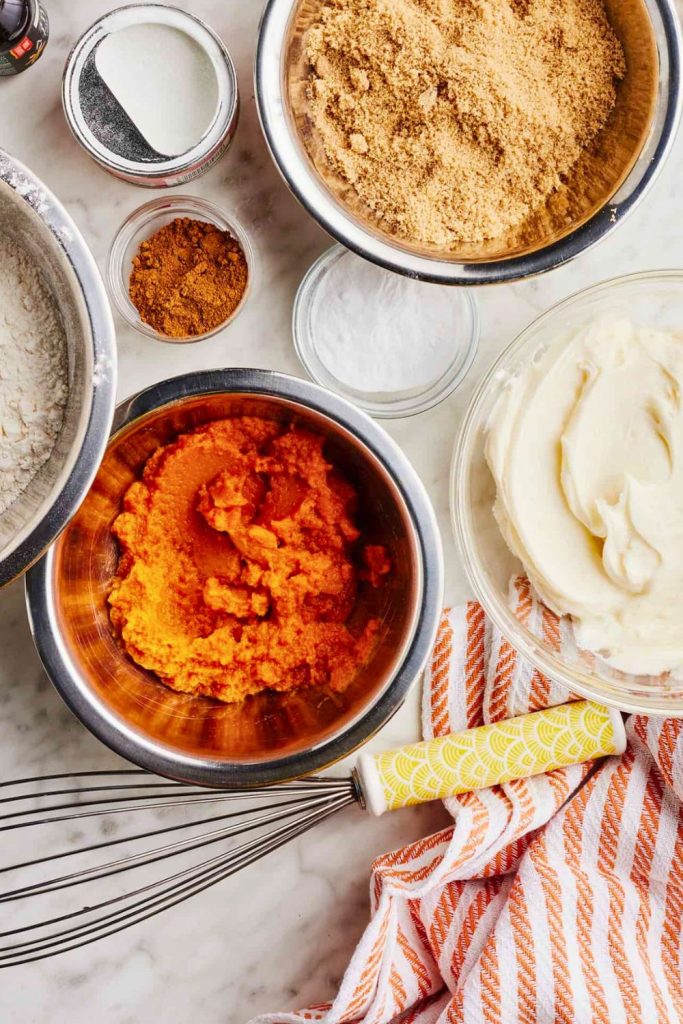
The method is broken into three simple parts: the prepared dough, the pumpkin pie filling, and the sweet vanilla glaze. Each section uses basic ingredients, many of which you probably already have in the kitchen.
1. For the Cookie Dough:
| Cookie-Dough Ingredient | Amount |
|---|---|
| Unsalted butter, softened | 1 cup |
| Granulated sugar | ⅔ cup |
| Egg yolks | 2 |
| Vanilla | 1 teaspoon |
| Baking powder | 1 teaspoon |
| Salt | ¼ teaspoon |
| All-purpose flour | 2¼ cups |
Note: Check that the butter is at room temperature to ensure smooth mixing.
2. For the Pumpkin Pie Filling:
| Pumpkin-Filling Ingredient | Amount |
|---|---|
| Canned pumpkin, not pie mix | ½ cup |
| Milk | 1 tablespoon |
| Granulated sugar | 2½ tablespoons |
| Ground cinnamon | ¼ teaspoon |
| Ground nutmeg | ¼ teaspoon |
| Ground cloves | ⅛ teaspoon |
| Salt | Pinch |
| Beaten egg | 1 tablespoon |
This filling is essentially a scaled-down version of classic pumpkin pie filling rich, creamy, and packed with autumn spices.
3. For the Glaze:
| Glaze Ingredient | Amount |
|---|---|
| Confectioners’ sugar | 1 cup |
| Vanilla | About ½ teaspoon |
| Milk | 1 to 2 tablespoons, as needed |
The glaze is used to drizzle over the cooled cookies, adding a sweet, decorative finish and a hint of creamy vanilla flavor.
Step-by-Step: How to Make Pumpkin Pie Cookies
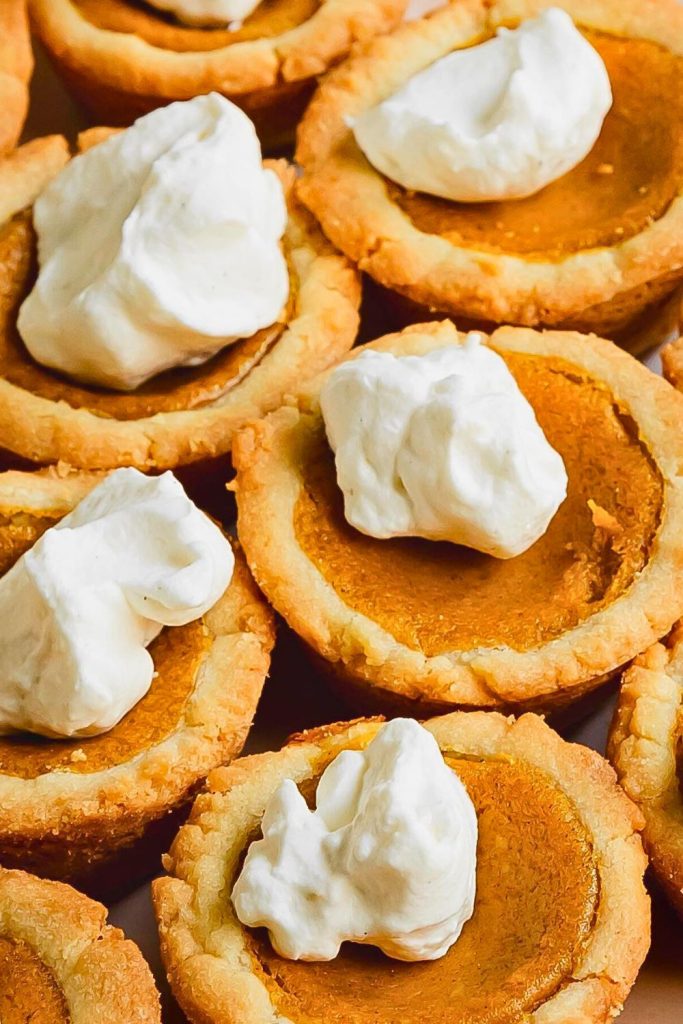
Let’s walk you through this cozy fall treat step by step so that you can feel confident and excited from start to finish.
Whether you are a seasoned baker or it’s your first time trying thumbprint cookies, this guide will help you bake the well-balanced batch of pumpkin pie cookies without any stress.
Step 1: Cream the Butter and Sugar
This is the start of building a rich, flavorful cookie base.
In a large mixing bowl, add 1 cup of softened butter and 2/3 cup of granulated sugar. Use a hand mixer or stand mixer and beat the two together on medium speed until the mixture becomes smooth and creamy. This takes about 2 to 3 minutes.
Why this matters: Creaming butter and sugar traps air in the mixture, which helps the cookies bake up light and tender. If you rush the step or use cold butter, the dough might turn out too dense.
You’ll know it is ready when it looks fluffy and has a pale yellow color.
Step 2: Add the Egg Yolks and Vanilla
After the butter and sugar are creamed together, it is time to add 2 egg yolks and 1 teaspoon of vanilla.
Continue mixing just until the yolks and vanilla are completely blended. Don’t overmix at this stage; blend until the mixture is smooth.
Tip: Use only the yolks, not the whites. Yolks add richness and give the cookies their soft, delicate texture.
Now your wet mixture should look silky and smooth, almost like a thick custard.
Step 3: Mix the Dry Ingredients Separately
Now let us take care of the dry team.
In a separate bowl, whisk together:
- 2 1/4 cups all-purpose flour
- 1 teaspoon baking powder
- 1/4 teaspoon salt
Use a fork or small whisk to combine the ingredients evenly. The step ensures that the baking powder and salt are evenly distributed throughout the flour and do not clump together in one spot when mixing the dough.
Once mixed, you are ready to combine wet and dry!
Step 4: Shape the Cookie Dough
Incorporate the dry ingredients to the wet mixture, working in two batches.
Pour in the first half of the flour mixture and with a light hand stir or beat on low until it starts to come together. Then incorporate the second half and continue mixing until the dough is formed.
The dough might feel soft and slightly crumbly, and that is evenly okay! It shouldn’t be sticky or runny. If it’s a bit too dry, press it together with your hands, and it should hold.
Note: Don’t overwork the dough! Stop mixing as soon as everything is combined.
At this stage, you are ready to start forming the cookies.
Step 5: Make the Thumbprints
This part is fun and an excellent task for kids to help with in the kitchen.
Using a tablespoon or small cookie scoop, scoop out equal portions of dough. Roll each one into a smooth ball between your hands and place it on a sheet pan lined with baking parchment. Leave about 1 inch of space between each cookie ball to give them room to spread.
Now, use your thumb to press down with a light hand in the center of each dough ball, creating a small well. Press straight down and lift your thumb straight as long as avoid tearing the dough.
Pro Tip: Don’t press too deep! Leave some prepared dough at the bottom to support the filling.
Once all the thumbprints are made, you are halfway there!
Step 6: Chill the Cookies
Before you fill the cookies, allow them chill.
Place the baking tray in the refrigerator for 15 minutes. This helps firm up the dough, preventing the cookies from spreading too much during baking.
Why it matters: Chilling the dough before baking gives you that lovely, puffy cookie shape. If you skip the step, the cookies may flatten and lose that beautiful thumbprint shape.
While they are chilling, it is the well-balanced time to make the filling!
Step 7: Mix the Pumpkin Filling
This filling is a mini version of your classic pumpkin pie filling.
In a small bowl, combine:
- 1/2 cup canned pumpkin (not pumpkin pie mix)
- 1 tablespoon milk
- 2 1/2 tablespoons granulated sugar
- 1/4 teaspoon cinnamon
- 1/4 teaspoon nutmeg
- 1/8 teaspoon cloves
- A pinch of salt
- 1 tablespoon beaten egg
Mix all the ingredients until you have a smooth, golden-orange filling that smells like fall in a bowl.
Flavor tip: The combination of cinnamon, nutmeg, and cloves gives this filling that signature pumpkin-spice warmth. Feel free to adjust the spice levels if you want a stronger kick!
After the filling is ready, remove the cookies from the fridge.
Step 8: Fill in the Thumbprints
The next task is to incorporate the pumpkin filling to each cookie.
Use a small spoon or 1/2 teaspoon measure to scoop just a bit of filling into each thumbprint. You want the filling to sit inside the indentation, not overflow out of it. Too much filling can cause it to bubble over or not appropriately set during baking.
Pro Tip: Less is more here, these are cookies with a hint of pie, not the other way around!
Once each cookie has a neat little scoop of filling, you are ready to bake.
Step 9: Bake the Cookies
Preheat the oven to 350°F (175°C).
Transfer the sheet of cookies during baking and bake for 12-15 minutes. You’ll know they are done when:
- The edges of the cookies are a light lightly browned
- The pumpkin filling looks set but not dry
- The bottoms are firm to the touch
Baking tip: Every oven is different, so check them at the 12-minute mark. You can always add a minute or two if needed.
Once baked, allow them sit on the tray for several minutes before transferring to a cooling rack.
Step 10: Cool on a Rack
Gently move the cookies to a wire rack using a spatula. Allow them reach room temperature for at least 15 minutes before adding the glaze.
Helpful tip: Place baking parchment or foil under your cooling rack. This catches the extra glaze that drips down, making cleanup a breeze.
At this stage, the cookies should feel firm on the outside but remain soft when bitten into.
Step 11: Mix the Glaze
While the cookies are cooling, let us make the sweet vanilla glaze.
In a small bowl, mix:
- 1 cup confectioners’ sugar
- A splash of vanilla
- 1 tablespoon milk
Whisk it until uniform. If it is too thick, add a small amount more milk, just 1/2 tablespoon at a time. Take care, though, a small amount milk goes a long way!
You want the glaze to be pourable, but not runny. It should easily drizzle off a spoon or piping bag, yet still retain its shape.
Tip: If the glaze becomes too thin, just add a bit more confectioners’ sugar until the consistency is just right.
Step 12: Drizzle the Glaze
Now comes the fun, artsy part: drizzling the glaze!
Spoon the glaze into a small zip-top bag, squeeze it into one corner, and snip off a tiny hole in the corner with scissors. Gently squeeze the glaze over the cooled cookies in a zigzag motion.
You can also use a spoon or a piping bag if you prefer.
Don’t stress about well-balancedion, homemade glaze drizzles always look rustic and charming.
Once glazed, allow the cookies sit at room temperature until the glaze sets. This may take 15–20 minutes, depending on the humidity level.
Tips for Perfect Pumpkin Pie Cookies
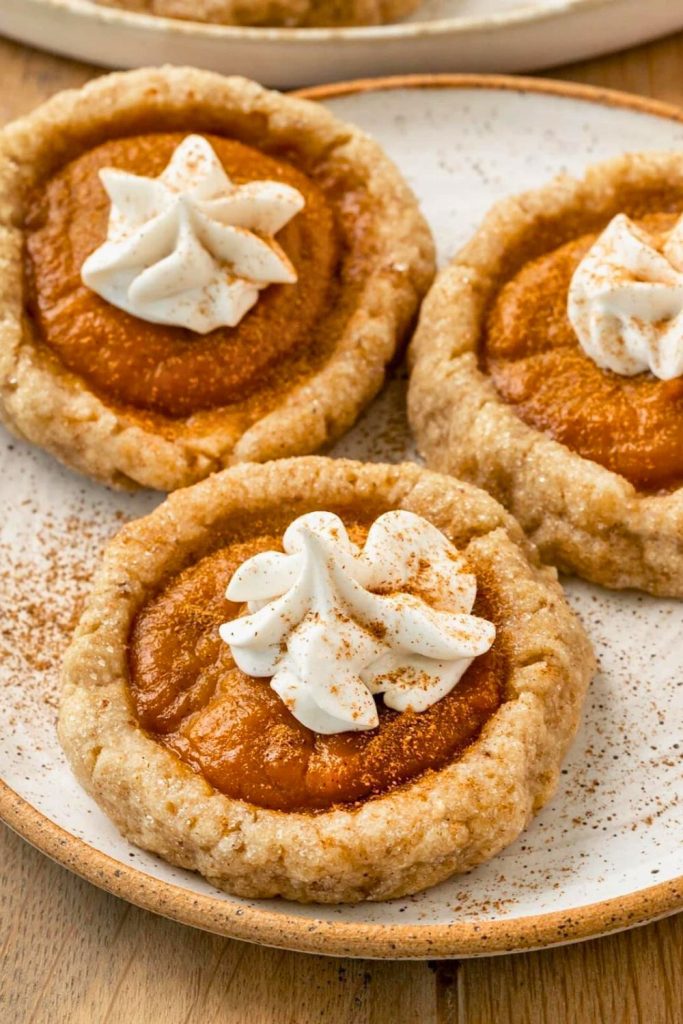
1. Use Room-Temperature Butter
Softened butter is crucial for creating a dough that is creamy and easy to mix. If it is too cold, it will not cream properly with the sugar. Too melted? Your dough will be greasy and spread too much. The well-balanced butter should give slightly when pressed with a finger, but not be shiny or liquid.
2. Don’t Skip Chilling the Dough
Chilling the shaped prepared dough helps it firm up, preventing it from flattening or spreading too much during baking. It also improves the cookie texture and holds the thumbprint shape better. Even just 15 minutes in the fridge makes a difference.
3. Avoid Overfilling the Thumbprints
While it is tempting to pack in that flavorful pumpkin filling, less is more. Use no more than 1/2 teaspoon per cookie. Overfilling causes the filling to spill out or bake unevenly.
4. Watch the Oven Timing Closely
The finished cookies bake quickly, usually within 12–15 minutes. Monitor them around the 12-minute mark. The bottom should be lightly browned, and the filling should look set (not wet or jiggly).
5. Allow the Cookies Cool Before Glazing
Glazing too early will cause the icing to melt into the cookie. Let the cookies reach room temperature on a wire rack for approximately 15–20 minutes before drizzling the glaze.
Variations to Try
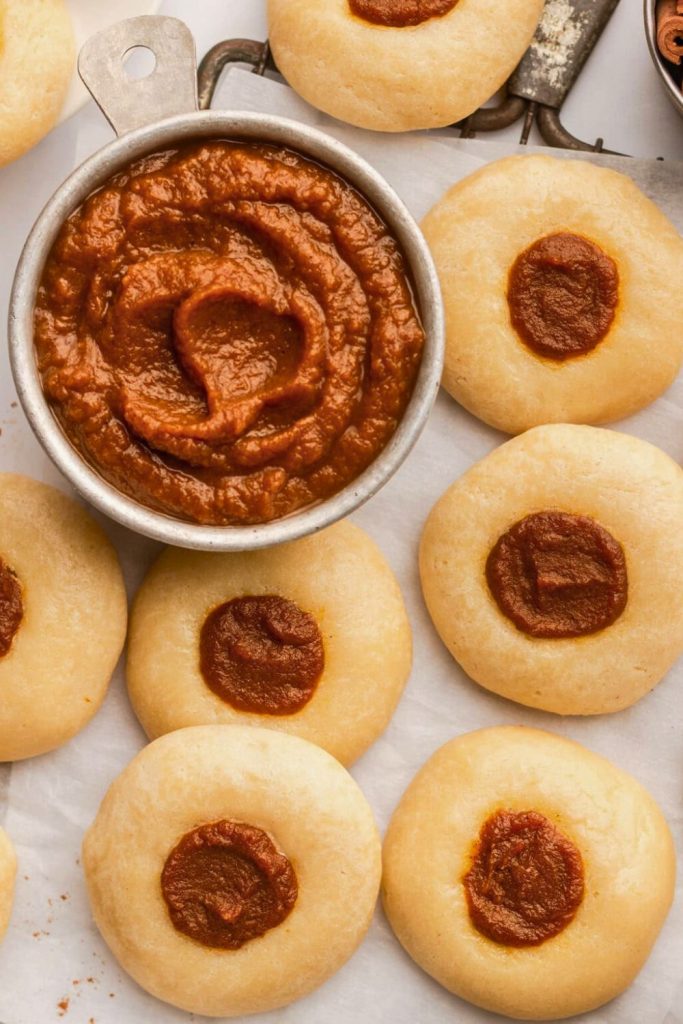
To put your own spin on these pumpkin pie cookies? Here are some fun and flavorful ways to tweak the recipe and make it your own.
| Variation | Adjustment |
|---|---|
| Maple Glaze | Add 1 to 2 teaspoons maple syrup to the glaze. |
| Brown-Sugar Filling | Replace the filling’s granulated sugar with brown sugar. |
| Nutty Crunch | Add chopped pecans or walnuts before the glaze sets. |
| Chocolate Chip | Mix 2 tablespoons mini chips into the pumpkin filling. |
| Graham Cracker | Sprinkle fine crumbs over the glaze. |
| Spiced Dough | Add ½ teaspoon cinnamon and ¼ teaspoon ginger to the dough. |
| Cream-Cheese Swirl | Blend 1 tablespoon softened cream cheese into the filling. |
| Vegan-Inspired | Use plant butter and milk plus an appropriate egg substitute; expect texture changes. |
| Gluten-Free | Use a tested 1:1 gluten-free flour blend. |
| No Glaze | Dust cooled cookies with confectioners’ sugar. |
Final Thoughts: A Must-Try Fall Treat
Pumpkin pie cookies combine a crisp-edged vanilla base, a soft spiced center, and a light glaze.
They work well for holiday trays, edible gifts, or any time a full pie feels too large.
Chill the shaped dough, avoid overfilling, and wait for complete cooling before glazing.
Pumpkin Pie Cookies
More Pumpkin Cookie Recipes You’ll Love
Continue with these related FeastBears pumpkin cookies:
- 🍪 The Best Pumpkin Snickerdoodle Cookies Recipe — Roll tender pumpkin cookies in cinnamon sugar.
- 🍪 Healthy Pumpkin Oatmeal Cookies for Moms — Pair pumpkin with oats for a chewy snack.
- 🍪 Easy Fall Pumpkin Cheesecake Cookies — Wrap a creamy cheesecake filling in pumpkin dough.

Dana Brooks is a home-cooking writer at Feastbears, where she shares easy family recipes, cozy dinners, quick desserts, and beginner-friendly kitchen tips. Her goal is to make everyday cooking feel simple, warm, and enjoyable for busy home cooks.


