Pumpkin dump cake brings together cinnamon, buttery crumbs, and a soft pumpkin filling in one warmly spiced dessert.
When you want a homemade treat without a long preparation session, this cake offers a simple place to start.
You only need a mixing bowl, whisk, spoon, and baking dish to build its custard-like base and golden topping.
Pure pumpkin, boxed cake mix, cinnamon, and pecans form distinct layers: creamy filling underneath and a crisp, buttery crust above.
Bake it for a holiday gathering or a quiet weekend, allowing enough cooling time before you plan to serve it.
Why You’ll Love the Pumpkin Dump Cake Recipe
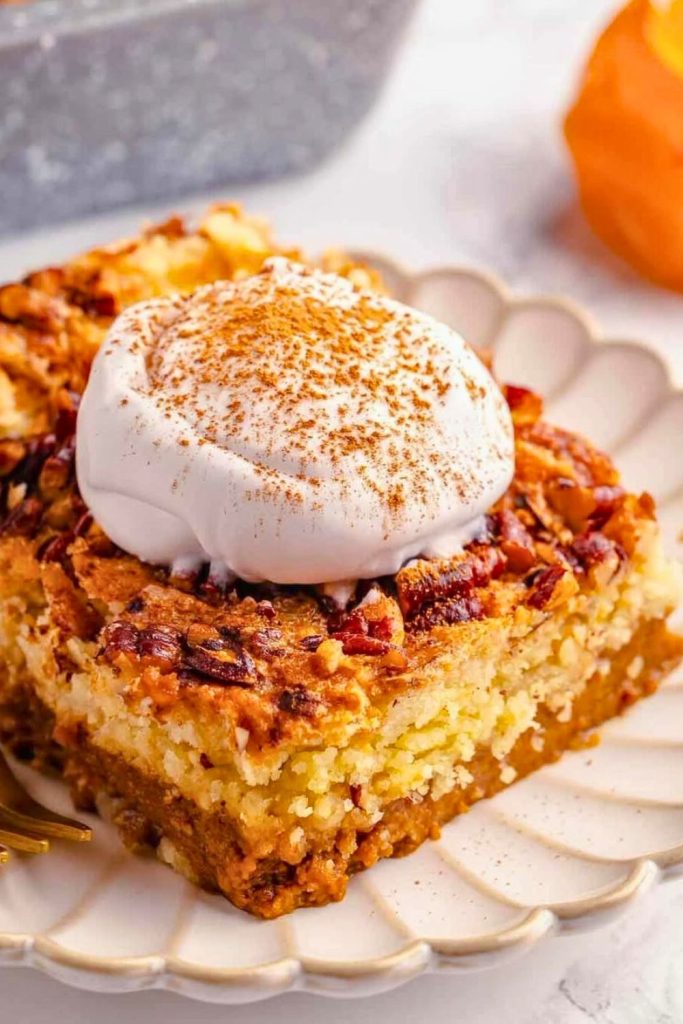
This pumpkin dump cake pairs familiar fall ingredients with a straightforward layering method. These are the features that make it useful for both occasional and regular bakers:
🍂 A Straightforward Mixing Method
Whisk the filling in one bowl, then assemble the remaining layers in the pan. There is no electric mixer or complicated batter technique to master.
🎃 Pure Pumpkin at the Center
Choose 100% pure pumpkin instead of prepared pie filling. Starting with unseasoned puree lets the measured sugar and cinnamon control the finished taste.
🥄 Soft Filling and Crisp Topping
The pumpkin layer sets into a rich custard. Above it, cake mix and butter create a golden crust, while pecans develop a toasted crunch in the oven.
👩👧👦 Easy to Share
Its familiar sweetness and cinnamon flavor suit family meals and potlucks. Serve small scoops or larger portions according to the occasion.
🧁 Everyday Kitchen Tools
A bowl, whisk, spoon, and oven handle the entire process. The simple equipment list makes this an approachable option when you want to bake without much setup.
Ingredients You’ll Need
Gather the ingredients and quantities in the table before beginning the filling.
| Ingredient | Amount | Notes |
|---|---|---|
| Pure Pumpkin | 2 cans (15 oz each) | Use pure pumpkin purée, not sweetened pumpkin pie filling. |
| Evaporated Milk | 1 can (12 oz) | Makes the pumpkin base creamy. |
| Granulated Sugar | 1 cup | Adds sweetness to the pumpkin filling. |
| Ground Cinnamon | 3 teaspoons | Gives the filling a warm cinnamon flavor. |
| Large Eggs | 3 | Help the pumpkin layer set as it bakes. |
| Yellow Cake Mix | 1 box | Butter cake mix is another option. |
| Chopped Pecans (optional) | 1 cup | Add crunch; leave them out if preferred. |
| Salted Butter (melted) | ¾ cup (1½ sticks) | Creates the buttery topping as the cake bakes. |
How to Make Pumpkin Dump Cake: Step-by-Step
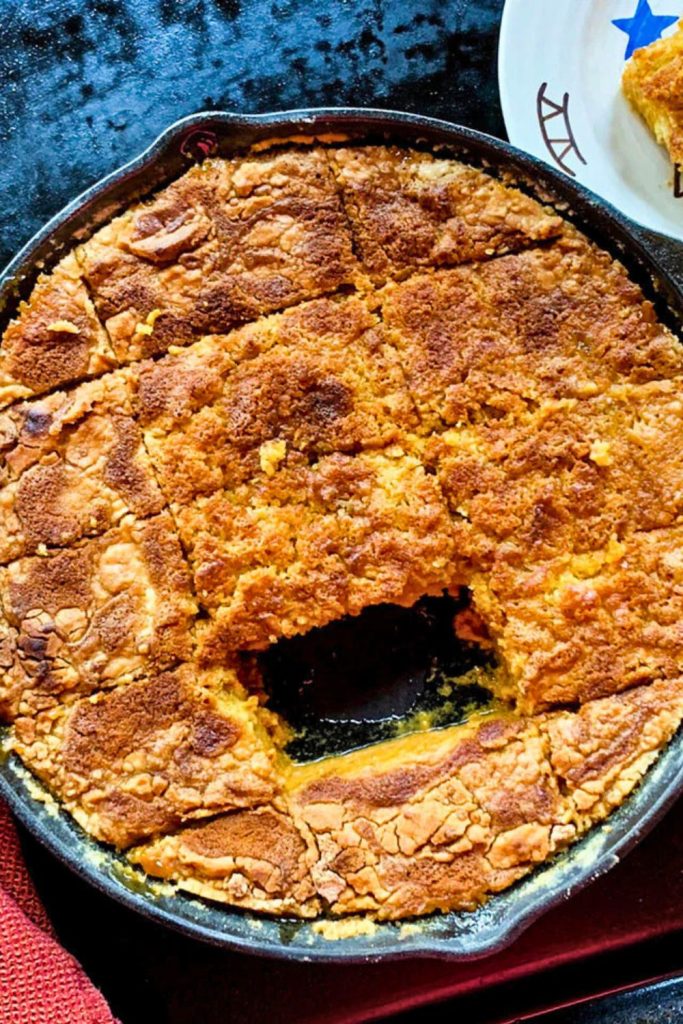
This pumpkin dump cake combines a cinnamon-scented base with a buttery, textured topping.
The preparation is divided into manageable stages: mix the filling, assemble the dry topping, add butter, and bake. Keep the layers separate as you work.
Step 1: Mix the Pumpkin Base
Choose a large mixing bowl with enough room to whisk the filling comfortably.
🥣 Start with Pure Pumpkin
Empty two 15-ounce cans of pure pumpkin into the bowl. Avoid pumpkin pie filling, which already contains sweeteners and seasonings that would change the balance of this recipe.
The puree supplies the dessert’s pumpkin flavor and forms the foundation of its soft filling.
🥛 Pour in Evaporated Milk
Add one 12-ounce can of evaporated milk. Whisking it into the pumpkin creates a richer, smoother mixture.
Rinse and recycle the empty cans where local recycling rules allow.
🍬 Measure the Sugar and Cinnamon
Add 1 cup granulated sugar and 3 teaspoons ground cinnamon. The sugar sweetens the puree, and the cinnamon gives the filling its warm spice note.
🥚 Incorporate the Eggs
Crack in three large eggs, checking for shell fragments. The eggs help the pumpkin mixture set during baking.
Wash your hands after handling raw eggs, and clean any utensils or surfaces they touch.
🌀 Whisk the Filling Evenly
Whisk until the mixture looks uniform, with no visible egg streaks or separate pockets of pumpkin. It should remain thick but pourable.
The finished base resembles pumpkin pie filling and will firm into a custardy layer in the oven.
Step 2: Pour into a Baking Dish
With the filling mixed, prepare the dish for assembly.
🧈 Grease a 9×13-inch baking dish lightly with butter or nonstick spray. A glass dish also lets you see the layers from the side.
Pour in the filling and use a spatula or spoon to spread it to an even depth.
The unbaked mixture will be loose and wobbly. That is expected; the eggs will help it set as it cooks.
Preparation tip: Level the pumpkin layer before adding the topping so the dessert bakes consistently across the pan.
Step 3: Add the Cake Mix Layer
The next layer is the defining feature of a dump cake: dry cake mix scattered over the filling.
Sprinkle a box of yellow cake mix over the pumpkin, covering the surface from edge to edge. Butter cake mix is an alternative for a richer taste.
Distribute the powder gradually. If a mound forms, gently spread it into nearby gaps instead of pressing it into the wet filling.
The mix will absorb butter during baking and form a sweet crust that contrasts with the creamy base.
❗ Keep the layers separate: Do not stir the dry mix into the pumpkin.
Step 4: Sprinkle on Chopped Pecans
Pecans are optional, but they add a useful contrast in texture and a toasted, nutty flavor.
For a nut-free dessert, leave them out; the cake-mix topping will still provide texture.
Scatter 1 cup chopped pecans evenly over the dry mix, adjusting the amount only if you prefer a lighter nut topping.
The nuts toast as the cake bakes, adding crisp pieces throughout the upper layer.
Step 5: Drizzle with Melted Butter
Finish the assembly with melted butter.
Melt ¾ cup salted butter in a small saucepan or a microwave-safe bowl until completely liquid.
Slowly drizzle the butter across the cake mix and nuts. Aim for broad, even coverage so fewer dry patches remain.
🧈 Butter choice: Salted butter balances the sweet topping. If using unsalted butter, a small pinch of salt can provide a similar contrast.
Some of the butter will sink into the dry mix immediately. That absorption helps the topping bake into a cohesive crust.
Step 6: Bake It Up
Preheat the oven to 350°F (175°C) before the assembled cake goes in.
Begin checking at 45 minutes. The exact baking time can vary with the oven and dish, so use the visual checks below as well as the timer.
Look for these signs that the cake is ready:
- The filling bubbles lightly around the edges.
- The surface has turned golden with a lightly crisp crust.
- The middle is mostly set, with only a slight wobble when the dish is moved gently.
Glass retains heat after baking, so the filling may continue to firm while the dish rests.
Set the dish on a wire rack and allow the filling to settle before serving. For firmer portions, cool it thoroughly, then refrigerate rather than leaving it out for an extended period.
A cooled cake is easier to portion than one straight from the oven, when the filling is very hot and soft.
🍽️ Serving Suggestions

Serve pumpkin dump cake as a casual scoopable dessert or dress it up with a topping for a holiday table. The ideas below suit both approaches.
1. Choose a Warm or Cooled Portion
A warm portion has a softer, spoonable filling. Let the cake rest first instead of serving it straight from the hot oven.
For neater portions, allow the cake to cool and set. Chilling makes the pumpkin layer firmer, although it remains softer than a traditional sponge cake.
✅ Planning tip: Bake ahead of serving time so the filling has a chance to settle.
2. Add a Finishing Topping
Choose one of these simple additions to complement the pumpkin and cinnamon:
- Whipped cream: A light topping against the rich filling.
- Vanilla ice cream: A cool contrast for a warm portion.
- Maple syrup: A small drizzle adds another fall flavor.
- Caramel sauce: Use a little for a richer finish.
- Cinnamon sugar: A light sprinkle adds extra spice.
For individual servings, spoon cooled cake into small jars or dessert dishes.
3. Save Extra Portions
Refrigeration firms the pumpkin filling, making leftovers easy to portion. The topping may soften as it absorbs moisture.
- Cover the dish tightly or transfer portions to a sealed container.
- Keep leftovers refrigerated and use them promptly.
- Enjoy chilled, or microwave an individual portion briefly until it reaches your preferred serving temperature.
✅ 5 Tips for the Best Pumpkin Dump Cake

Use these practical reminders to keep the filling and topping distinct and avoid dry patches.
1. Choose Plain Pumpkin Puree
The label should say 100% pure pumpkin. Prepared pie filling contains extra sugar and spices that are not accounted for in this formula.
2. Leave the Cake Mix on Top
Resist stirring after the dry mix is added. Butter moistens that separate layer as it bakes, producing the characteristic dump-cake crust.
3. Level the Dry Layer
Spread the mix gently with a spoon so it covers the entire filling. Avoid thick mounds that may remain powdery.
4. Use the Measured Butter
The full ¾ cup melted butter supplies moisture as well as flavor. Distributing it evenly is as important as using the correct amount.
🎃 Variations to Try
After trying the basic recipe, use the variation table for flavor changes. Keep the same layered assembly unless a variation specifically requires a different step.
| Variation Name | What to Do |
|---|---|
| Pumpkin Chocolate Chip | Scatter ½ cup mini chocolate chips over the pumpkin filling before adding the dry cake mix. |
| Apple Pumpkin Dump Cake | Arrange thin, peeled apple slices over the pumpkin layer. |
| Pumpkin Spice Explosion | Stir a little nutmeg, ginger, or cloves into the pumpkin mixture. |
| Maple Pecan Pumpkin Dump Cake | Mix 1 tablespoon maple syrup into the filling and finish with chopped pecans. |
| Gluten-Free Pumpkin Dump Cake | Choose a gluten-free cake mix and verify that every other ingredient is gluten-free. Follow any adjustments needed for your chosen mix. |
| Coconut-Pumpkin Dump Cake | Scatter shredded coconut over the dry cake mix before baking. |
| Cranberry-Pumpkin Dump Cake | Add dried cranberries between the pumpkin filling and the cake mix. |
| Vegan Pumpkin Dump Cake | A plant-based version requires egg substitutes, plant-based evaporated milk, vegan butter, and a vegan cake mix. Substitutions may change the texture and baking time. |
| Pumpkin Cheesecake Dump Cake | Swirl ½ cup softened cream cheese through the pumpkin filling before baking. |
| Salted Caramel Pumpkin Dump Cake | Finish the topping with a drizzle of caramel sauce and a small pinch of flaky salt. |
Final Thoughts
Pumpkin dump cake offers the contrast of a soft spiced filling and a crisp butter-rich topping with very little mixing.
Its simple assembly makes it a practical choice for family dinners, holiday gatherings, or a weekend bake.
Allow the cake to settle, choose a topping, and serve it in portions that suit your table.
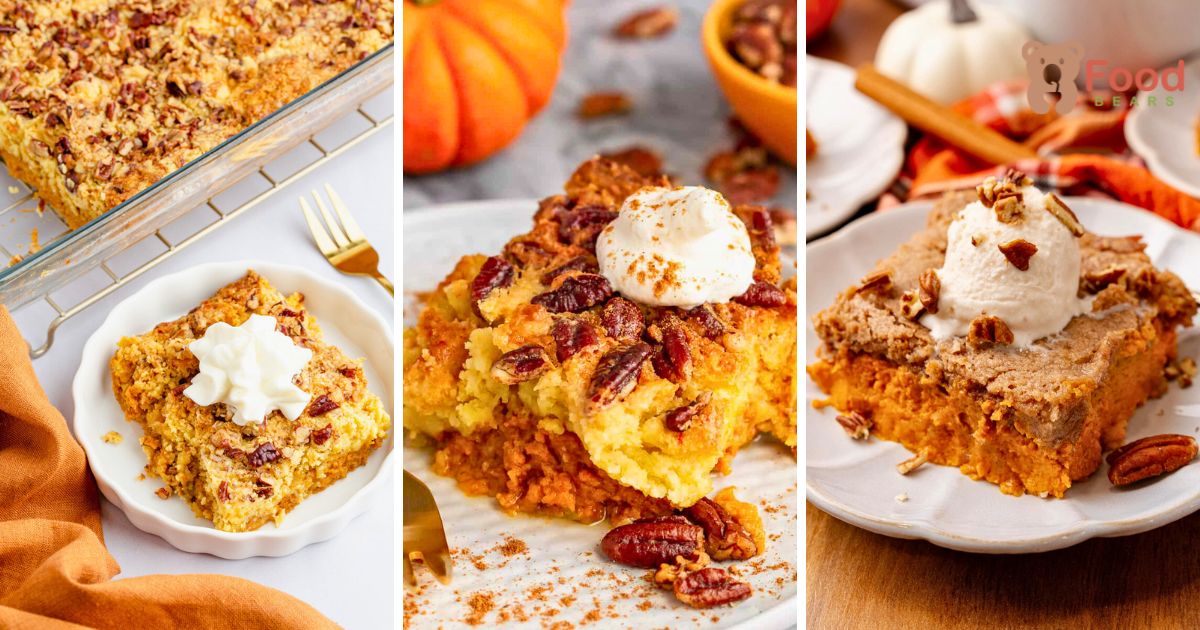
Pumpkin Dump Cake
🍂 You May Also Like
For more seasonal cooking and baking ideas, explore these linked collections:
- 👉 30 Easy Fall Recipes for Cozy Family Dinners
A collection of autumn dinners for planning everyday meals. - 👉 25 Best Pumpkin Recipes to Try This Fall
Pumpkin ideas covering drinks, baked goods, and savory dishes. - 👉 20 Pumpkin Cookies That Taste Like Fall Bliss
Spiced pumpkin cookies for snacks, sharing, or seasonal baking. - 👉 30 Easy Halloween Breakfast Ideas for Parties
Festive breakfast ideas for a Halloween gathering.

Dana Brooks is a home-cooking writer at Feastbears, where she shares easy family recipes, cozy dinners, quick desserts, and beginner-friendly kitchen tips. Her goal is to make everyday cooking feel simple, warm, and enjoyable for busy home cooks.


