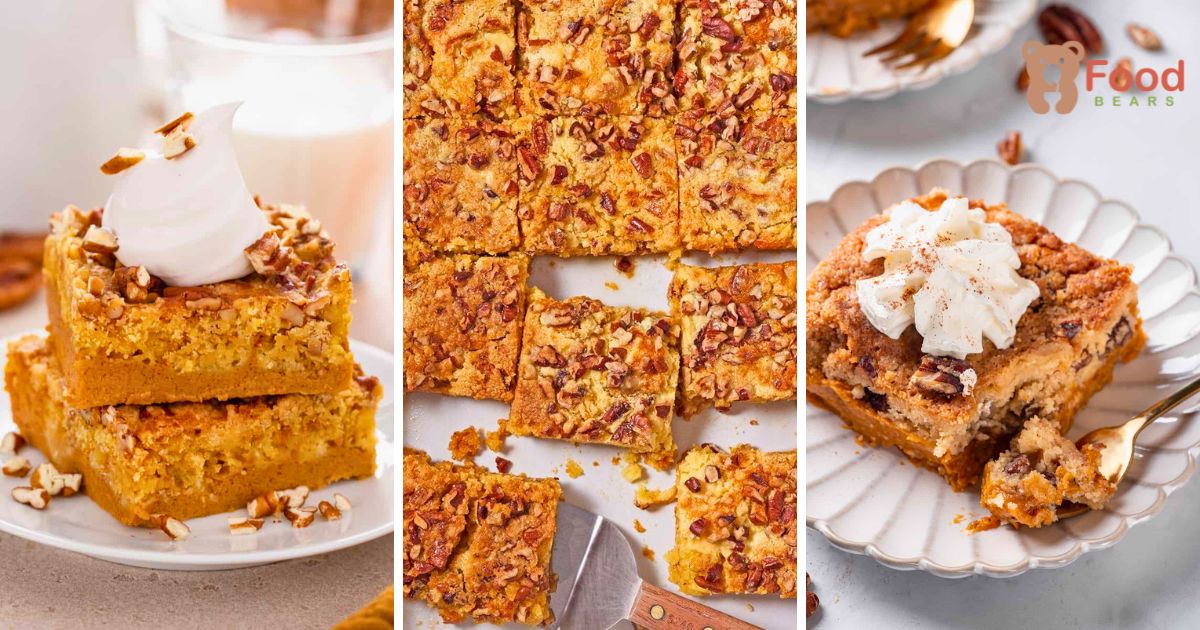
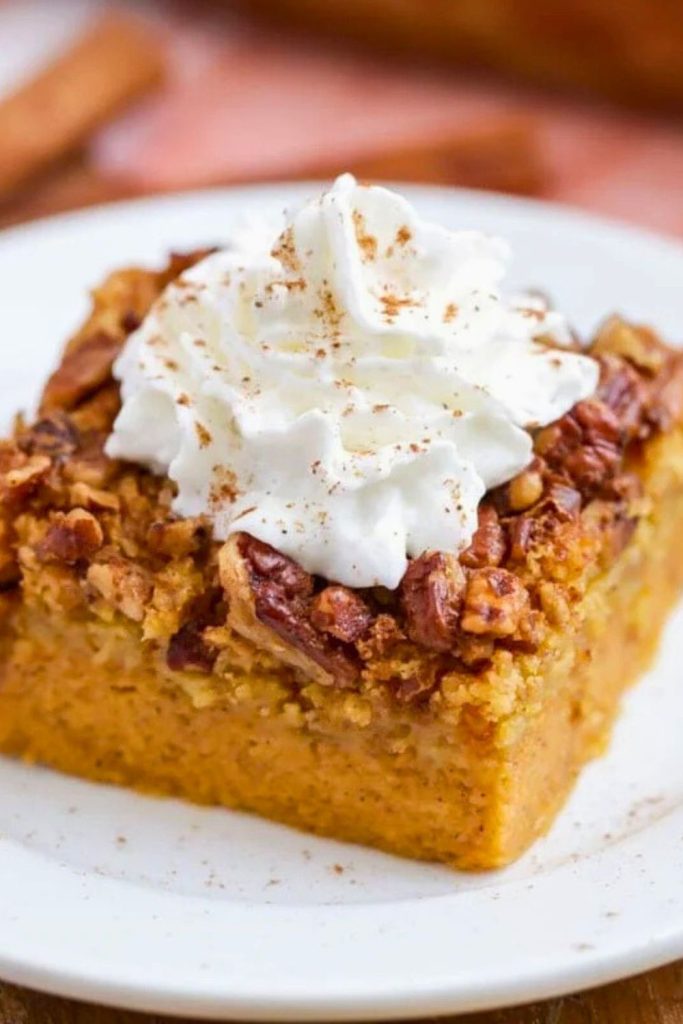
Pumpkin crunch cake layers a smooth pumpkin custard with dry yellow cake mix, chopped walnuts, and cold butter. Baking turns the top golden and crisp while the pumpkin layer remains soft and creamy.
The recipe needs only a short mixing step and a 9×13-inch dish, making it practical for Thanksgiving, potlucks, or a relaxed weekend dessert.
This rewritten guide keeps the original ingredients and assembly order, with clear notes for spreading each layer, judging doneness, cooling, and serving.
🎃 Why Pumpkin Crunch Cake Is the Star of Fall Baking

Fall is all about comfort food, cozy gatherings, and warm, nostalgic flavors, and Pumpkin Crunch Cake checks all the boxes.
It is not just a dessert; it is a lifesaver when you are crunched for time but still want to bring something homemade to the table.
One of the best parts about the cake? It is a perfect last-minute dessert for Thanksgiving or any autumn get-together. You do not need advanced baking skills or complicated tools, just a handful of pantry staples and a few minutes of prep.
The cake combines the best of two dessert worlds:
- A creamy, spiced pumpkin base (think classic pumpkin pie filling)
- A crispy, buttery topping made from boxed cake mix and cold pats of butter
The magic happens in the oven. As the cake bakes, the dry mix on top absorbs moisture from the pumpkin layer underneath, transforming into a golden, slightly crunchy topping that provides the dish its signature “crunch.”
The addition of chopped walnuts brings another layer of texture and fall flavor, while the cold pats of butter melt slowly, crisping the top just enough without making it greasy or soggy.
Even better? You may serve the cake hot or cold, depending on your preference. Want something warm and gooey with vanilla ice cream?
Serve it straight from the oven. Prefer a chilled, firm slice? Allow it to sit in the fridge overnight. Either way, it is a guaranteed crowd-pleaser.
Whether you’re cooking for your own family or heading to a potluck, this Pumpkin Crunch Cake recipe is a no-fail fall dessert that always looks and tastes like you spent hours on it, even though it takes just minutes to assemble.
🛒 Ingredients You’ll Need
Let’s break down the simple but powerful ingredient list that makes this pumpkin crunch cake both convenient and satisfying. Each component serves a clear purpose, from texture to flavor to structure.
| Ingredient | Amount | Purpose & Tips |
|---|---|---|
| Pumpkin puree (not pumpkin pie filling) | 1 large can (29 oz) | This is the rich, earthy base of the cake. Use 100% pure pumpkin, not pre-sweetened pie mix. |
| Granulated sugar | 1 cup | Sweetens the pumpkin layer. Keeps the flavor balanced and cozy. |
| Pumpkin pie spice | 2 tsp | brings fall flavor: think cinnamon, nutmeg, ginger, and cloves. Adjust to taste. |
| Salt | ½ tsp | Balances the sweetness and enhances the pumpkin spice blend. |
| Evaporated milk | 12 oz can | Makes the pumpkin filling smooth and creamy. brings richness without being too heavy. |
| Large eggs | 3 | Help bind the filling and create a custard-like texture when baked. |
| Yellow cake mix (boxed, dry) | 1 standard box (about 15.25 oz) | Sliced into thin slices and placed over the dry cake mix. Melts to create a crispy golden crust. |
| Unsalted butter | 1 cup (2 sticks), cold | brings crunch and nutty flavor. Can substitute with pecans or leave out for a nut-free version. |
| Chopped walnuts (optional but recommended) | 1 cup | brings crunch and nutty flavor. Can substitute with pecans or leave out for nut-free version. |
🎃 How to Make Pumpkin Crunch Cake: Step-by-Step Guide
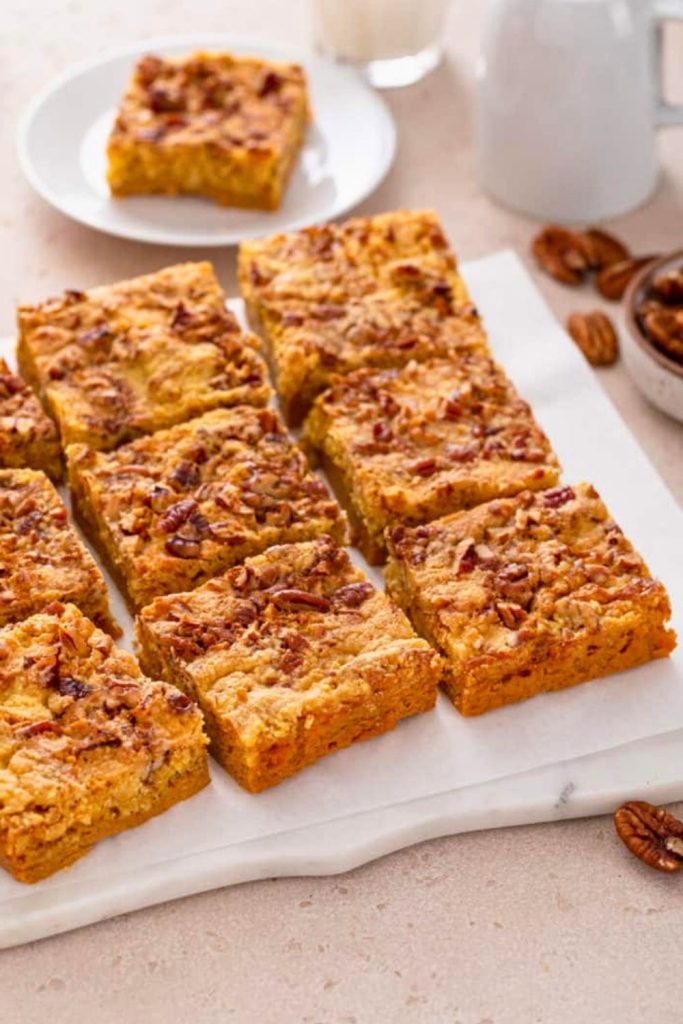
If you are on the hunt for a warm, cozy, crowd-pleasing dessert that does not require expert baking skills or fancy ingredients, this Pumpkin Crunch Cake is your answer.
It is rich, buttery, full of fall spices, and has a melt-in-your-mouth pumpkin filling topped with a golden, nutty crunch.
The best part? It is so easy. No cake decorating, no pie crust rolling, just a few bowls, a 9×13 pan, and a little layering magic.
Let’s walk through the process step by step so you feel confident (and maybe even excited) to bake this beauty for your next fall get-together.
Step 1: Preheat Your Oven and Grease the Pan
Before you dive into mixing ingredients, preheat your oven to 350°F (175°C). This ensures the stove is nice and hot when you are ready to bake. Giving your cake that perfectly crisp golden top and evenly cooked pumpkin filling.
While the oven preheats, grab a 9×13-inch baking dish. This is the ideal size for the recipe because it provides the right balance between thickness and cook time.
Spray the pan lightly with nonstick baking spray or coat it with a thin layer of butter or oil. This makes for an easy release when baked and supports prevent the pumpkin filling from sticking to the bottom.
✅ Pro tip: Line the bottom of the dish with parchment paper if you want cleaner slices or easier cleanup.
Step 2: Mix the Pumpkin Base
In a large mixing bowl, add 1 large can (29 oz) of pure pumpkin puree. Be sure you’re using pure pumpkin, not the pre-mixed pumpkin pie filling. The filling already contains sugar and spices, which would throw off the flavor and texture.
This can get a little messy when pouring, so do not worry if you spill a little. In fact, in the original walkthrough, the baker even mentioned accidentally spilling some and just laughing it off, which is relatable.
Next, add 1 cup of granulated sugar right into the bowl. Sugar supports sweeten the earthy flavor of pumpkin and provides the cake that cozy, dessert-worthy taste.
Now add in ½ teaspoon of salt and 2 teaspoons of pumpkin pie spice. You may use a store-bought spice blend or make your own with cinnamon, nutmeg, ginger, and cloves.
When everything’s in the bowl, grab a spoon or whisk and mix it all together. Blend until it is smooth and evenly combined, no streaks of sugar or clumps of spice.
✅ Pro tip: If you’re a batch-baker during the holidays, save that empty pumpkin can to hold your eggshells, it is a neat cleanup hack straight from the original recipe.
Step 3: Add the Evaporated Milk
Now that your pumpkin mixture is looking good, it is time to add some creaminess. Slowly add 1 can (12 oz) of evaporated milk.
This milk is thinner than cream and can splash everywhere if you pour too fast. As the original baker joked, she tends to splash it on herself when rushing.
Start mixing gently as you add the milk. At first, the mixture will feel a little loose, and you may wonder if you need a bigger bowl (you might!), but keep stirring until the milk is fully incorporated.
When the liquid blends into the pumpkin mixture, you will notice the texture becoming smoother and thinner. That is precisely what you want. This will help the filling bake into a custard-like consistency later.
Step 4: Crack in the Eggs
Time to bring it all together with the final wet ingredients. Crack 3 large eggs, one at a time.
Each egg should be mixed in thoroughly before adding the next, though it is fine to add all three and then stir them in at when. This is not a delicate soufflé, so do not stress too much.
Eggs help the filling set while baking and create that creamy, pumpkin pie-like texture you love.
When the eggs are fully incorporated, your filling should be smooth, slightly thick, and beautifully orange. It should pour easily but still have some body to it.
✅ Pro tip: do not overmix at this point, stir until everything is well combined. Overmixing can affect the custard’s texture.
Step 5: Pour the Mixture into the Pan
Now comes the satisfying part. Take your prepared 9×13 pan and pour the pumpkin mixture right into it.
Use a rubber spatula to help scrape down the bowl and even out the surface of the pan. This allows the cake to bake uniformly and makes layering easier in the following steps.
It should spread out into a smooth, thin layer like a pumpkin pie without the crust.
You are officially halfway done!
Step 6: Add the Dry Cake Mix
Below is where things get interesting and maybe a little surprising. Grab a box of yellow cake mix (just the dry powder, do not prepare it according to the box directions).
Sprinkle the dry mix evenly across the top of the pumpkin layer. This part might feel a little strange because we’re not mixing the cake mix with water, oil, or eggs. But trust the process. This is the secret to the “crunch” in pumpkin crunch cake.
When you’ve poured the mix on top, gently spread it out with your hands or a spatula. You want an even layer that covers all the pumpkin filling below.
Be careful not to press too hard if you disturb the pumpkin layer underneath. It may bubble up and mix with the cake layer, which changes the texture.
✅ Pro tip: do not worry if the cake mix clumps a little, smooth it out with your fingers and avoid any prominent mounds.
Step 7: Sprinkle on Chopped Walnuts
Next up: texture and flavor! Grab 1 cup of chopped walnuts and sprinkle them evenly over the cake mix layer.
These nuts will toast as the cake bakes, adding a nutty crunch and flavor that perfectly balances the soft pumpkin base.
If you prefer pecans or even hazelnuts, go ahead and swap. Or skip the nuts entirely if you are baking for someone with allergies; the cake will still be satisfying.
Again, take your time here to distribute the walnuts evenly, reaching all the corners so every slice gets a small amount of that satisfying crunch.
Step 8: Top with Cold Butter Pats
Last but not least, the butter layer. This is what creates the golden-brown crunch on top.
Take 2 sticks of cold, unsalted butter and slice them into thin pats about ¼-inch thick. You do not want them too thin (they’ll melt too fast), but not too thick either (they will not spread evenly).
Carefully lay the butter slices on top of the walnut and cake mix layer, spacing them out so they cover as much surface area as possible.
Be sure there are no dry patches of cake mix showing. If you see a spot that looks uncovered, move a butter pat over it or add an extra sliver. Butter is what activates the dry mix and supports it bake into that crisp, golden layer.
The original baker emphasized using very cold butter. This supports the pats keep their shape as you cut them and makes placement much easier. If the butter is too soft, it’ll stick together and become hard to manage.
When you are done, stand back and admire your work. You just created a layered dessert masterpiece!
⏲ Bake Time
With your cake fully assembled, it is time to bake. Place the pan in your preheated oven and bake for 45 to 50 minutes at 350°F (175°C).
Check for doneness around the 48-minute mark. The top should be golden brown and slightly crispy, and the edges should start to pull away from the pan. The filling should be set but still soft, like pumpkin pie.
Allow the cake rest at room temperature for at least 20–30 minutes before slicing. If you cut it too soon, the custard will fall apart and be too hot to enjoy.
Serve warm with whipped cream, or chill it and slice it like bars. Either way, you’ve got a dessert that looks rustic, tastes like fall in every bite, and is practically foolproof.
🍽️ How to Serve Pumpkin Crunch Cake
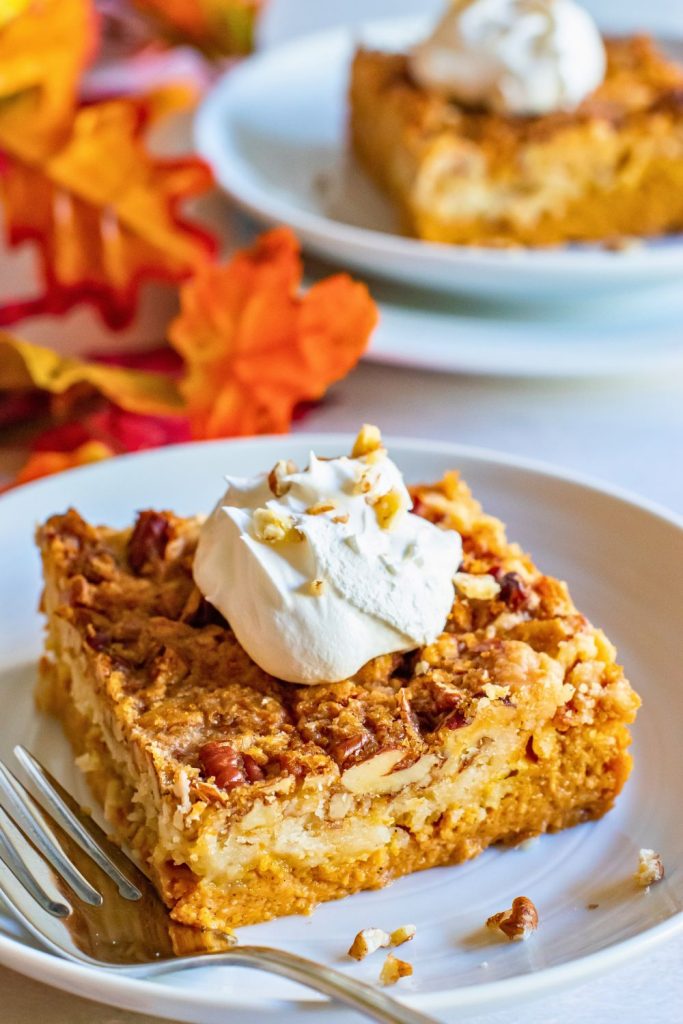
One of the best things about Pumpkin Crunch Cake, besides its incredible taste, is how flexible and forgiving it is when it comes to serving.
You do not need fancy plating or hours of chilling. When it is baked and cooled (or not!), the cake may be served in multiple ways depending on the vibe you are going for.
1. Serve It Warm
Straight from the oven (after a brief cool-down), this dessert is soft, gooey, and cozy, like a pumpkin pie crossed with a cobbler.
The warm custard melts in your mouth, while the crispy cake and walnut topping provide a satisfying contrast.
Add a scoop of vanilla ice cream or a dollop of whipped cream, and you’ve got an instant fall dessert that tastes like it came from grandma’s kitchen.
2. Serve It Chilled
If you’re planning, you may refrigerate the cake for several hours or overnight. When it chills, the pumpkin layer firms up, making it easier to cut into neat squares.
This version is ideal for potlucks, picnics, or dessert tables where presentation matters.
3. Room Temperature Works Too
No time to warm it? No problem. It holds up perfectly at room temperature. Many people prefer this texture, still soft in the center with a sturdy top.
🧁 Expert Tips for Success
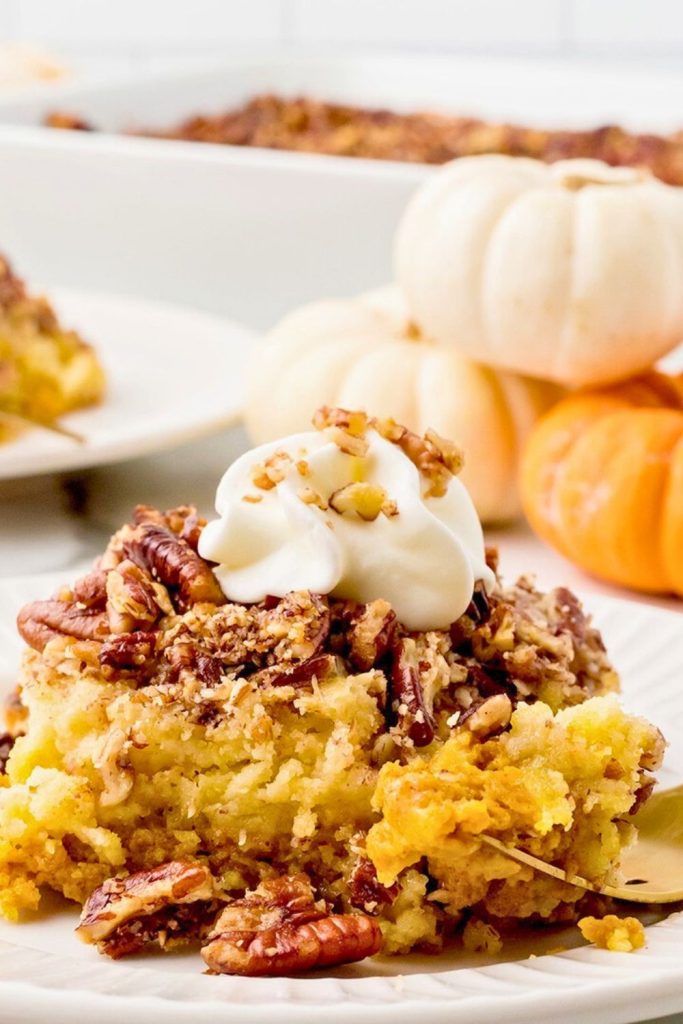
Pumpkin Crunch Cake is designed to be easy, but a few pro-level tricks can take it from “great” to unforgettable:
1. Use Cold Butter Only
Cold butter is key to achieving the crisp, crunchy top. If the butter is too soft when you slice it, it will smear or clump, making it hard to distribute evenly. Cold butter holds its shape, ensuring even melting and golden results.
2. do not Mix the Cake Mix
It might feel weird at first to dump dry cake mix on top of pumpkin batter, but resist the urge to stir. The dry mix, combined with melted butter, forms that signature topping. Mixing ruins the layered effect and can turn your cake soggy.
3. Watch the Oven for Around 45 Minutes
Every oven is a little different. Start checking around minute 45, you are looking for a golden brown, slightly crisp top and a set center. Insert a toothpick near the edge, and it should come out clean.
4. Be Gentle with the Layers
When spreading the cake mix or laying the butter, avoid pressing too hard. Keep the pumpkin layer undisturbed, or the cake mix will sink and bake unevenly.
5. Let It Cool Before Cutting
Cutting too soon = a runny, too-soft filling. Wait at least 30 minutes before slicing, or better yet, chill it for clean squares. This also makes it easier to store and transport.
🍁 Variations to Try
Want to change things up while keeping the core of this beloved dessert? Here are some creative ways to give Pumpkin Crunch Cake a fresh twist without sacrificing its cozy charm:
| Variation | Description & Tips |
|---|---|
| Spice Cake Mix Instead of Yellow | brings deeper cinnamon and nutmeg notes to the top layer. Great for bold spice lovers. |
| Pecan Crunch Cake | Swap walnuts for pecans for a Southern twist and more buttery flavor. |
| Nut-Free Pumpkin Crunch | Omit nuts entirely. It still bakes beautifully with just cake mix and butter topping. |
| Pumpkin Chocolate Chip Crunch | Sprinkle mini chocolate chips over the cake mix before adding butter for richness. |
| Coconut Pumpkin Crunch | Add shredded coconut to the walnut layer for a chewy, tropical flair. |
| Gluten-Free Pumpkin Crunch | Use a gluten-free yellow cake mix. Everything else remains the same. |
| Apple-Pumpkin Crunch Cake | Fold in 1 cup of finely chopped apple into the pumpkin mix for added fall flavor. |
| Caramel Drizzle Finish | After baking, drizzle caramel sauce over the top for extra indulgence. |
| Pumpkin Cheesecake Crunch | Add dollops of sweetened cream cheese to the filling for a swirl of tangy richness. |
| Pumpkin Maple Crunch | Add a tablespoon of maple syrup to the pumpkin mix for a warm, syrupy undertone. |
💡 Each of these variations may be baked using the same method and timing, just tweak the ingredients before baking.
🎯 Final Thoughts
Pumpkin Crunch Cake is not just a dessert; it is a fall tradition waiting to happen. With its creamy pumpkin base, buttery cake topping, and nutty crunch, it brings all the flavors of the season together in one irresistible bite.
Whether you’re hosting a Thanksgiving dinner, showing up to a potluck, or just baking something cozy for your table, the recipe hits the mark every single time.
The best part? It is low-effort, beginner-friendly, and endlessly customizable. From warm and gooey to cool and firm, you may serve it however your heart (or schedule) desires. Make it when, and it is bound to become a seasonal favorite in your home too.
So go ahead, cozy up your kitchen with the scent of cinnamon and pumpkin. And do not forget to save a slice for breakfast… no judgment here. 🍁
Pumpkin Crunch Cake
🍰 You Might Also Love These Fall Favorites
Looking for more cozy, easy-to-make pumpkin desserts? Try these next:
🔸 Easy 40-Min Pumpkin Poke Cake for Fall Nights
Super moist, filled with pudding, and topped with whipped cream, this is a quick crowd-pleaser.
🔸 The Cutest Pumpkin Coffee Cake Recipe for Brunch
Cozy up your mornings with crumb topping, streusel, and just the right amount of spice.
🔸 Best 15-Min Prep Pumpkin Spice Cake Recipe for Fall
Classic, moist, and topped with dreamy cream cheese frosting, this is your go-to fall sheet cake.

Dana Brooks is a home-cooking writer at Feastbears, where she shares easy family recipes, cozy dinners, quick desserts, and beginner-friendly kitchen tips. Her goal is to make everyday cooking feel simple, warm, and enjoyable for busy home cooks.


