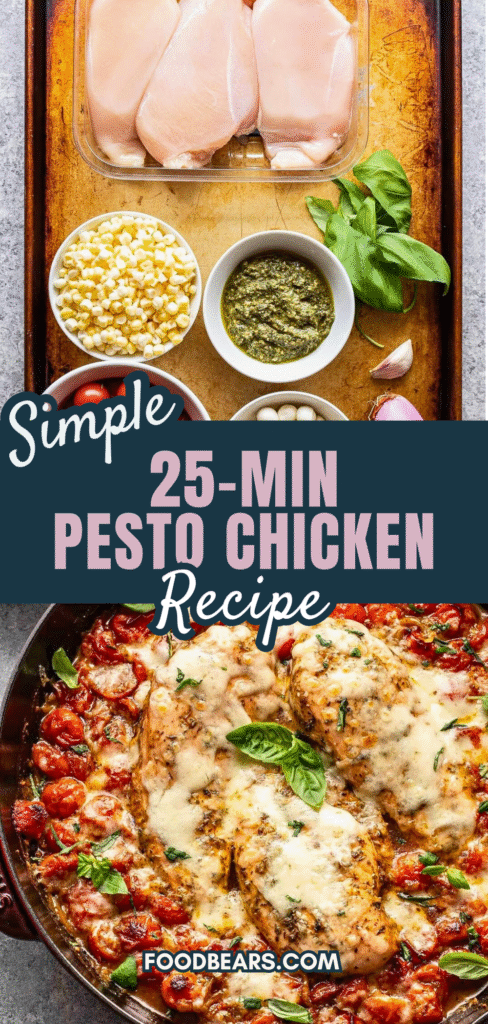
This pesto chicken pairs juicy skillet-cooked chicken with a fresh basil sauce made from garlic, Parmesan, cashews, and olive oil.
The herbaceous pesto doubles as a marinade and finishing sauce, giving every bite a savory, bright flavor without requiring a complicated ingredient list.
A food processor makes the sauce quick to prepare, while a covered skillet helps the chicken cook gently after searing. Keep a thermometer nearby so you can check the thickest part accurately.
Serve the chicken with blistered tomatoes, pasta, bread, rice, or a crisp salad for a practical dinner that still feels special.
🧄 What Is Pesto Chicken, Anyway?
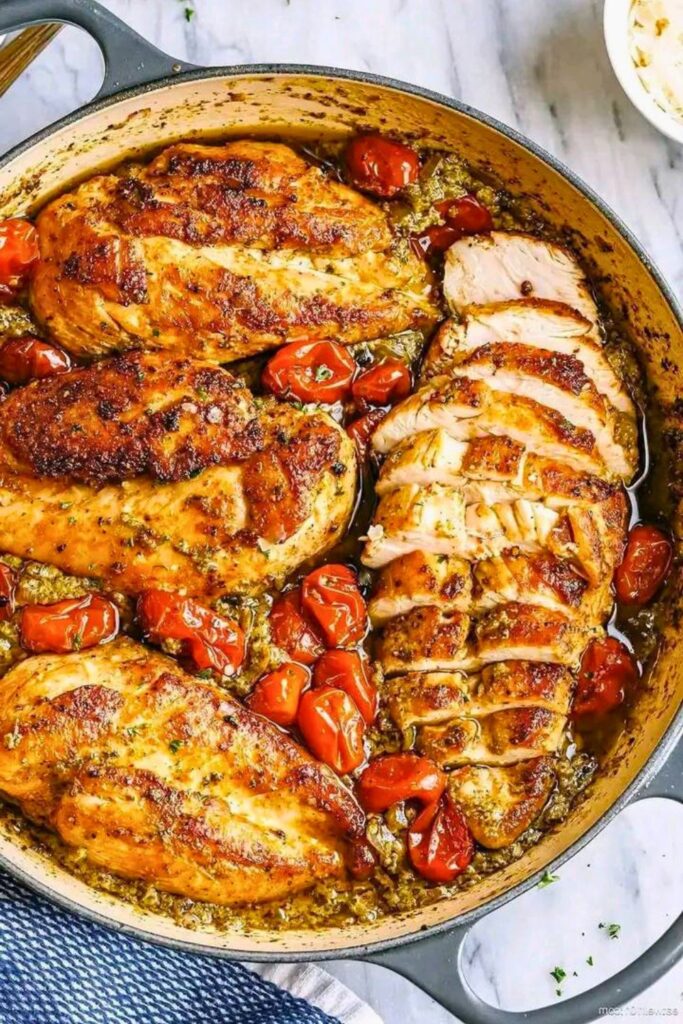
Pesto chicken combines lean chicken breast with a basil-forward sauce of garlic, nuts, Parmesan, and olive oil. In this version, shallow scoring helps the sauce cling to the surface before the chicken is seared and finished under a lid.
The dish gets its character from both the pesto and the way the chicken is cooked.
This pesto uses cashews for a mild, creamy texture, along with basil, Parmesan, garlic, and olive oil. Pine nuts are another option if you prefer a more traditional flavor.
A few preparation details help the coating stay flavorful without scorching in the pan.
The breasts are lightly scored in a crisscross pattern. These shallow cuts give the pesto more surface to cling to; they do not season the entire thickness of the meat.
After a short sear on each side, the chicken is basted and cooked gently under a lid. A thermometer, not the color of the coating, tells you when the center is ready.
The result is a savory chicken dinner with a fresh herb character. Adjust the heat as you go, because the garlic, cheese, and nuts in pesto can brown quickly.
Serve it as a family meal or a slightly dressed-up dinner. The homemade sauce adds plenty of flavor without requiring a long list of separate seasonings.
🍃 Ingredients You’ll Need (Pesto + Chicken)
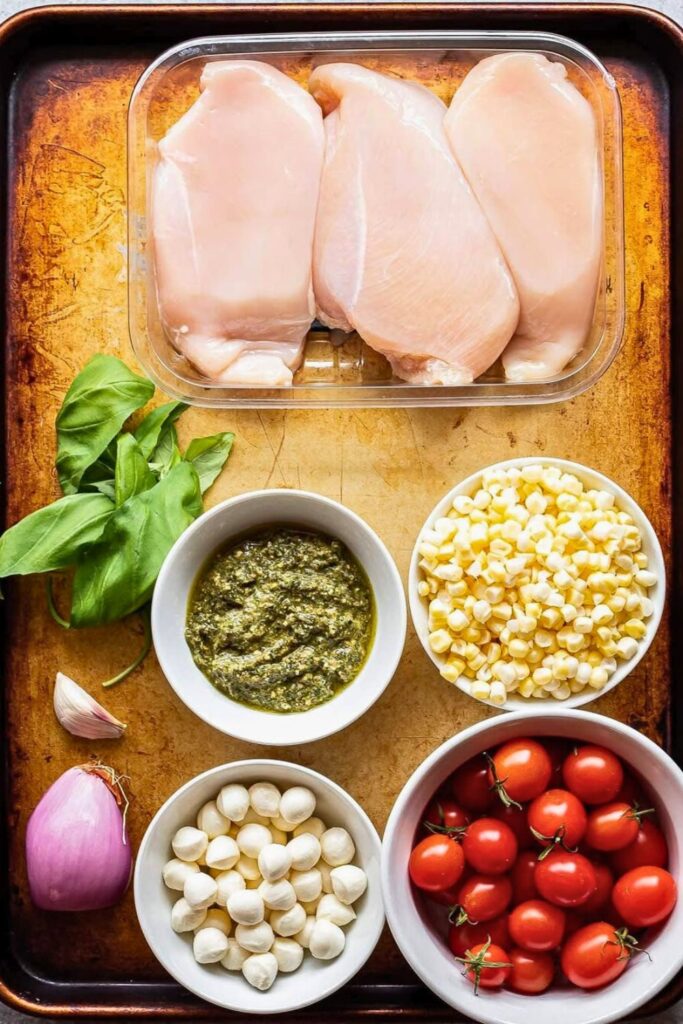
Measure the pesto ingredients first and choose chicken breasts with similar thickness. Reserve a clean portion of pesto before it touches raw chicken so you can baste or serve it safely later.
🌿 Ingredients for the Basil Pesto
The sauce comes together quickly in a small food processor or blender. Measure the nuts, cheese, and oil so the pesto stays balanced rather than overly oily.
| Ingredient | Quantity | Notes |
|---|---|---|
| Fresh basil leaves | 1 cup (packed) | Wash and dry the leaves, then pack them into the cup. |
| Garlic cloves | 3 to 4 | Peel before blending; use the lower amount for a milder sauce. |
| Cashew nuts | 1/4 cup | Adds mild nutty flavor and texture; pine nuts are an alternative. |
| Parmesan cheese | 1/3 cup, grated | Grate finely so it blends into the pesto. |
| Salt | 1/4 teaspoon | Measure lightly and adjust only after tasting the clean pesto. |
| Black pepper | A pinch | Adds a little warmth; optional. |
| Olive oil | 1/4 to 1/3 cup | Begin with ¼ cup and add only enough to make a spoonable sauce. |
💡 Equipment option: A mortar and pestle gives a coarser sauce, while a food processor makes this small batch easier to blend.
Leave a little texture or blend more finely, depending on how you like your pesto. Add only enough of the measured oil to help the ingredients combine.
🍗 Ingredients for the Chicken
Use boneless, skinless chicken breasts for the skillet method below. Choose pieces of similar thickness so they are more likely to finish cooking together.
| Ingredient | Quantity | Notes |
|---|---|---|
| Chicken breast | 2 large pieces | Boneless, skinless breasts of similar thickness suit the timing below. |
| Basil pesto | About 3 tablespoons per breast, plus clean reserved pesto | Use about 3 tablespoons per breast for coating; reserve additional clean pesto before touching raw chicken. |
| Salt | To taste | Add cautiously because the pesto is already seasoned. |
| Olive oil | 1–2 tablespoons | Use only what the skillet needs; the coating also contains oil. |
📝 Preparation note: Shallow scoring helps hold the pesto on the surface. Avoid cutting so deeply that the breasts separate or become thin strips.
Before handling raw chicken, reserve clean pesto for basting and serving. That small step keeps the fresh sauce separate from the marinade.
👨🍳 How to Make Homemade Pesto Chicken (Step-by-Step)
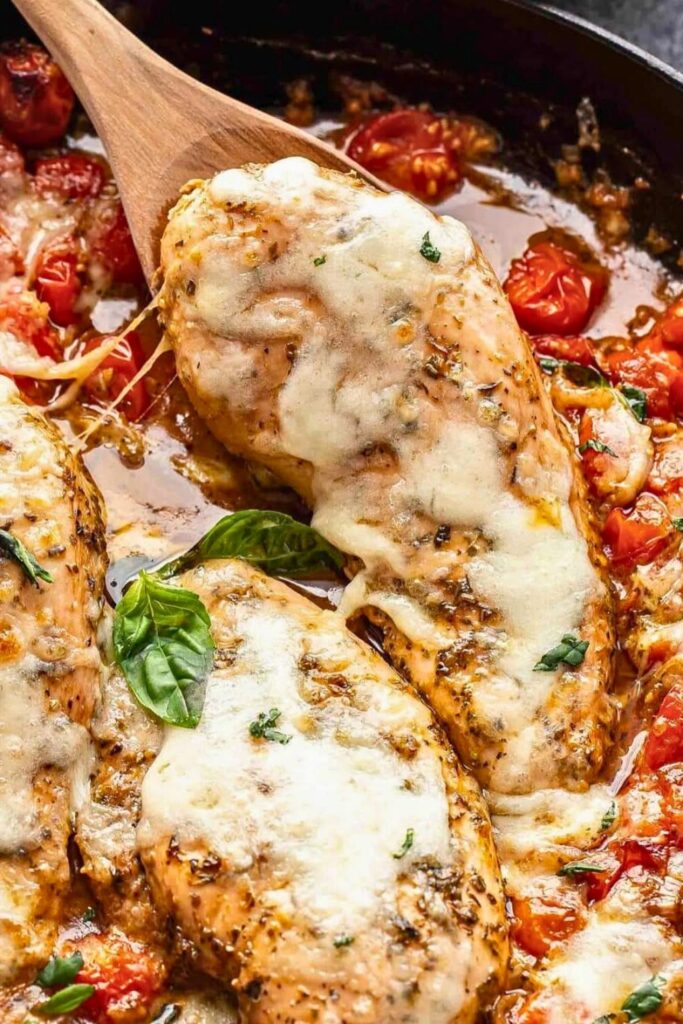
Blend the pesto, coat and chill the chicken, then sear it in a hot skillet before lowering the heat for a covered finish. Cook the tomatoes last so they pick up the flavorful browned bits without becoming mushy.
Have a lid and thermometer ready before cooking. The coating can look browned well before the center of a thick breast is done.
Use the times as guides and check the temperature of each piece before serving.
🥣 Step 1: Make the Fresh Basil Pesto
Begin with clean, dry basil leaves and a small food processor or blender. Dry leaves help the measured oil blend the sauce without extra water.
Add the pesto ingredients in this order:
- Put 1 packed cup fresh basil leaves into the processor bowl.
- Add 3–4 peeled garlic cloves, depending on their size and your preference.
- Add ¼ cup cashews, or pine nuts as an alternative.
- Measure in ⅓ cup grated Parmesan for a salty, savory note.
- Add ¼ teaspoon salt and a pinch of black pepper, keeping in mind that Parmesan also contributes salt.
- Start with ¼ cup olive oil and add more as needed, up to ⅓ cup total, to bring the sauce together.
✅ Texture note: This version uses oil rather than added water. Stop adding oil once the pesto is spoonable and blended to your liking.
Pulse, scrape the sides, and blend again until the pesto has the texture you prefer. Avoid running the machine longer than necessary.
Transfer some pesto to a clean covered container for basting or serving before any sauce or utensil touches raw chicken. Keep both portions refrigerated while you prepare the meat.
🔪 Step 2: Prep the Chicken Breast
Next, prepare the chicken on a separate board reserved for raw meat. Keep the basil and serving garnishes away from this work area.
Use 2 large boneless, skinless chicken breasts. Bone-in pieces need different handling and may take longer, so they are not the basis for the timing below.
Prepare the breasts as follows:
- Trim excess fat and pat the surface dry with paper towels. Do not rinse raw chicken, which can spread juices around the sink.
- Frenching a bone is unnecessary for this boneless version. If you choose bone-in pieces, check their thickest part away from the bone and allow extra cooking time.
- Make shallow diagonal cuts in both directions across one side of each breast. Keep the cuts on the surface rather than slicing through the meat.
✂️ Scoring tip: The cuts make small channels for the coating; they do not replace marinating time or a doneness check.
Transfer the prepared chicken to a clean food-safe bowl or covered container, then wash your hands and clean the board and knife.
🧴 Step 3: Marinate the Chicken
The refrigerated marinade gives the pesto time to coat the chicken. Plan for this rest before starting the skillet portion of the recipe.
To coat and marinate the breasts:
- Place the chicken in a nonreactive food-safe bowl or container.
- Use about 3 tablespoons pesto per breast, taken from the portion assigned to raw chicken. Keep the reserved clean pesto separate.
- Add a little salt only if needed, and a small drizzle of oil if the coating is difficult to spread.
- Use tongs or clean hands to work the pesto over the surface and into the shallow cuts. Wash hands afterward and keep used utensils away from the reserved sauce.
Cover and refrigerate for at least 30 minutes, or overnight if preparing ahead. Keep total refrigerated raw-chicken storage within 1–2 days; do not marinate on the counter.
Lift the chicken from the container when ready to cook and discard the leftover raw marinade. The reserved, untouched pesto is the portion to use later.
🍳 Step 4: Pan-Sear Like a Pro
Searing adds color and a savory edge to the coating. Watch the heat closely so the basil, garlic, and cheese brown without burning.
Start the skillet stage this way:
- Heat a heavy-bottomed skillet over medium-high heat. Have a lid nearby for the gentler finishing stage.
- Add a little of the 1–2 tablespoons olive oil listed for the chicken. The pesto contains oil already, so use only what the pan needs.
- Lay the chicken in scored-side down, leaving enough space between the pieces for good contact with the pan.
Cook for about 2 minutes without moving it. Lower the heat if the pesto starts to darken too quickly.
Turn the chicken and sear the second side for about 2 minutes. This browning step is not enough to cook the center fully.
🧈 Step 5: Baste for Extra Juiciness
After searing, add a little clean reserved pesto and baste while the chicken continues cooking. Basting coats the surface with flavor; it does not seal moisture inside.
Use a clean spoon for the next stage:
- Spoon some reserved pesto that has not touched raw chicken onto the breasts. Do not use leftover marinade from the raw-chicken bowl.
- Carefully tilt the skillet slightly, keeping it stable and the hot oil away from you.
- Spoon the pooled oil and sauce over the chicken, then set the pan flat again.
💧 Basting note: A little sauce goes a long way. Keep the heat moderate enough that the garlic and nuts do not scorch.
Continue directly to the covered cooking stage; do not partially cook the chicken and set it aside to finish later.
🔥 Step 6: Finish Cooking
Finish gently so the center can reach a safe temperature without excessive browning on the outside.
- Lower the heat to low.
- Cover the skillet with its lid.
- Cook for roughly 10–12 minutes, then check the thickest part of each breast. Large or thick pieces may need longer.
An oven finish is another option: use an oven-safe skillet in a preheated 400°F (about 200°C) oven. Start checking around 10–12 minutes, but cook to temperature rather than assuming the timing is identical.
Check each breast separately and keep cooking any piece that has not reached the safe temperature. A browned exterior alone is not enough.
Use a food thermometer to confirm 165°F (74°C) in the thickest part before taking the chicken off the heat.
🍅 Step 7: Prepare a Quick Tomato Side
Transfer the fully cooked chicken to a clean plate while you prepare the tomatoes in the same skillet.
Make the quick side as follows:
- Halve a handful of cherry tomatoes, leaving a few whole if you like.
- Increase the heat slightly after removing the chicken. If the pesto residue is scorched, wipe out the burnt bits before adding the tomatoes.
- Add the tomatoes to the skillet, using the remaining oil and cooked sauce unless the pan is too dry.
- Cook for about 1–2 minutes, just until the tomatoes begin to soften and blister.
Their juices loosen the flavorful pan coating and add a bright contrast to the richer chicken and pesto.
🍽 Step 8: Serve & Garnish
Bring the chicken and tomatoes together for serving.
- Place the cooked breasts on clean serving plates.
- Spoon the blistered tomatoes beside the chicken.
- Add a few fresh basil leaves if desired.
- Finish with optional grated Parmesan or a squeeze of lemon. Any extra pesto used at the table must come from the clean reserved portion.
The finished dish combines savory pesto, cooked chicken, and lightly softened tomatoes in one simple plate.
Serve with pasta, salad, or crusty bread. Refrigerate leftovers in shallow containers within 2 hours, or 1 hour above 90°F; use within 3–4 days and reheat chicken to 165°F.
🔥 Tips for Perfect Pesto Chicken

Moderate the heat once the chicken is browned because the cheese, garlic, and nuts in pesto can scorch. Rely on internal temperature rather than the color of the coating to judge doneness.
Keep raw-chicken tools separate from the reserved sauce and ready-to-eat garnishes throughout preparation.
1. Start with Fresh Pesto Ingredients
Use fragrant basil, sound garlic cloves, and freshly grated Parmesan when available. Cashews give a mild nutty flavor; pine nuts are another choice, while a suitable jarred pesto can be a convenience option.
🧂 Seasoning tip: Taste the pesto before it touches chicken, then adjust salt cautiously because the cheese is already salty.
2. Keep the Scoring Shallow
A light crisscross pattern gives the sauce more surface contact. Deep cuts are unnecessary, and scoring does not guarantee faster cooking through a thick breast.
3. Marinate in the Refrigerator
Allow at least 30 minutes, or prepare the chicken the night before. Store it covered and cold, and discard the raw marinade after lifting out the meat.
4. Sear Briefly, Then Lower the Heat
About 2 minutes per side gives the coating an initial sear. Finish under a lid on low heat and check for 165°F; lower the searing heat earlier if the pesto begins to burn.
5. Baste with Clean Reserved Pesto
Reserve sauce before handling raw chicken, then spoon a little onto the breasts during cooking. This keeps the basting portion separate from contaminated marinade.
🥄 Pan tip: Tilt the skillet only slightly and use a clean spoon. Keep the pan stable while working around hot oil.
🔄 Variations You Can Try
Keep the basic cooking method and vary the pesto, chicken cut, or vegetables to suit what you have. When using thinner cutlets or thighs, adjust the cooking time and check each piece separately.
Consider these variations as starting points rather than identical swaps:
| Variation | How to Do It | Why You’ll Love It |
|---|---|---|
| Nut-Free Pesto | Use sunflower seeds or skip nuts entirely | Use suitable seeds or omit the nuts, and verify labels and cross-contact precautions for the person’s allergy. |
| Creamy Pesto Chicken | Add a little cream to the cooked sauce | Stir a little cream into the cooked sauce for a richer adaptation; do not treat it as dairy-free. |
| Spicy Kick | Add a green chili or red pepper flakes to the pesto blend | Add chili gradually so the heat does not overwhelm the basil. |
| Oven-Finished | Sear, then finish at 400°F until the chicken reaches 165°F | Use an oven-safe skillet and cook each breast to 165°F; the clock is only a guide. |
| Grilled Pesto Chicken | Grill instead of pan-searing | Monitor closely because pesto can scorch; cook the thickest part to 165°F. |
| Vegetarian Option | Replace chicken with tofu, paneer, or portobello mushrooms | Use vegetarian-suitable cheese or a plant-based pesto; traditional Parmesan may contain animal rennet. Adjust cooking for the replacement protein. |
| Cheesy Topping | Add mozzarella and broil for 2–3 min | Broil in a broiler-safe pan until melted, watching closely. Check the chicken has reached 165°F first. |
| Pesto Chicken Pasta | Slice cooked chicken and toss into pasta with extra pesto | Toss cooked pasta with sliced, fully cooked chicken and clean reserved pesto; the pasta needs its own cooking step. |
💭 Final Thoughts
Homemade pesto gives simple chicken a fresh, deeply savory finish, and the skillet method keeps the preparation manageable for a weeknight.
Rest the chicken briefly before slicing, then spoon over the reserved pesto and serve it with the warm tomatoes and your preferred side.
Measure the pesto, marinate the chicken in the refrigerator, and use controlled heat for a well-organized cooking session.
The short sear adds color, while the covered finish gives the center time to cook. A final thermometer check is more reliable than a fixed number of minutes.
It works for a weeknight meal when you plan the marinade ahead, or for a weekend dinner with a few simple sides.
Pair it with the blistered tomatoes, pasta, or salad according to your menu. Keep a little clean pesto separate if you want an extra spoonful at the table.
Set out the basil and skillet, allow the chicken its marinating time, and enjoy a fresh, savory dinner.
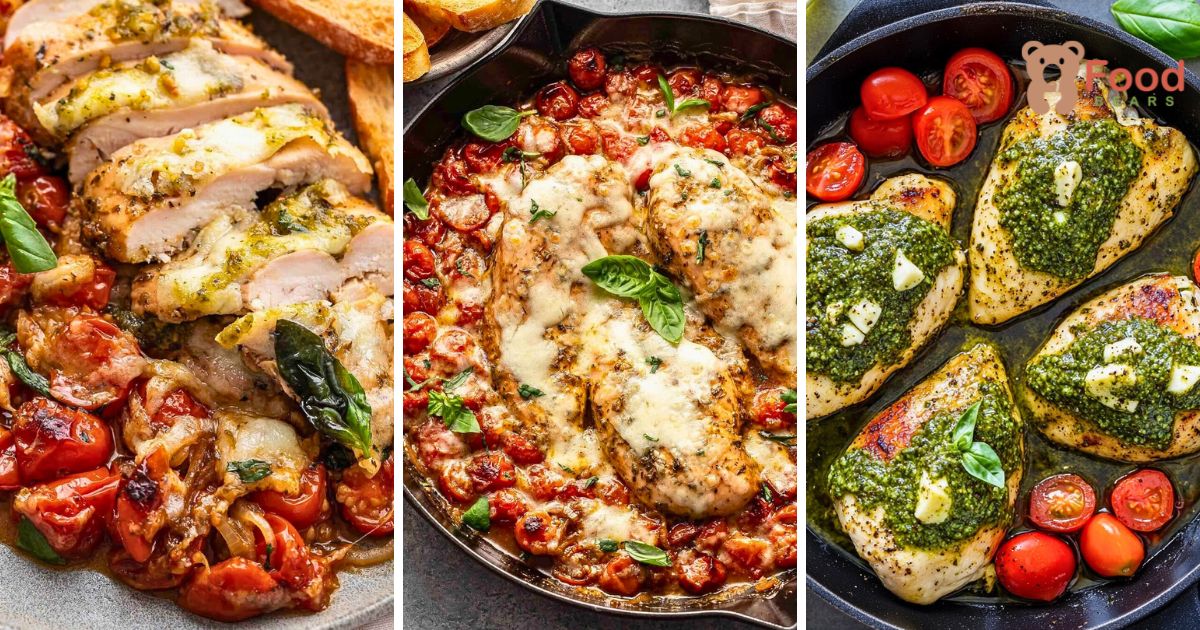
Pesto Chicken with Cherry Tomatoes
🔗 Recommended Recipes You’ll Love
For another flavorful chicken dinner, explore these related recipes next:
🧀 Easy 30-Min Chicken Quesadilla Recipe for Moms
Crisp tortillas with a cheesy chicken filling offer another skillet-friendly dinner idea.
🌮 The Best Chicken Tacos Recipe You’ll Try
Seasoned chicken tacos make a flexible meal with your choice of fresh toppings.
🍷 40-Min Easy Chicken Marsala Recipe for Dinner
Chicken with mushroom and wine sauce brings a rich, savory option to the dinner table.

Dana Brooks is a home-cooking writer at Feastbears, where she shares easy family recipes, cozy dinners, quick desserts, and beginner-friendly kitchen tips. Her goal is to make everyday cooking feel simple, warm, and enjoyable for busy home cooks.


