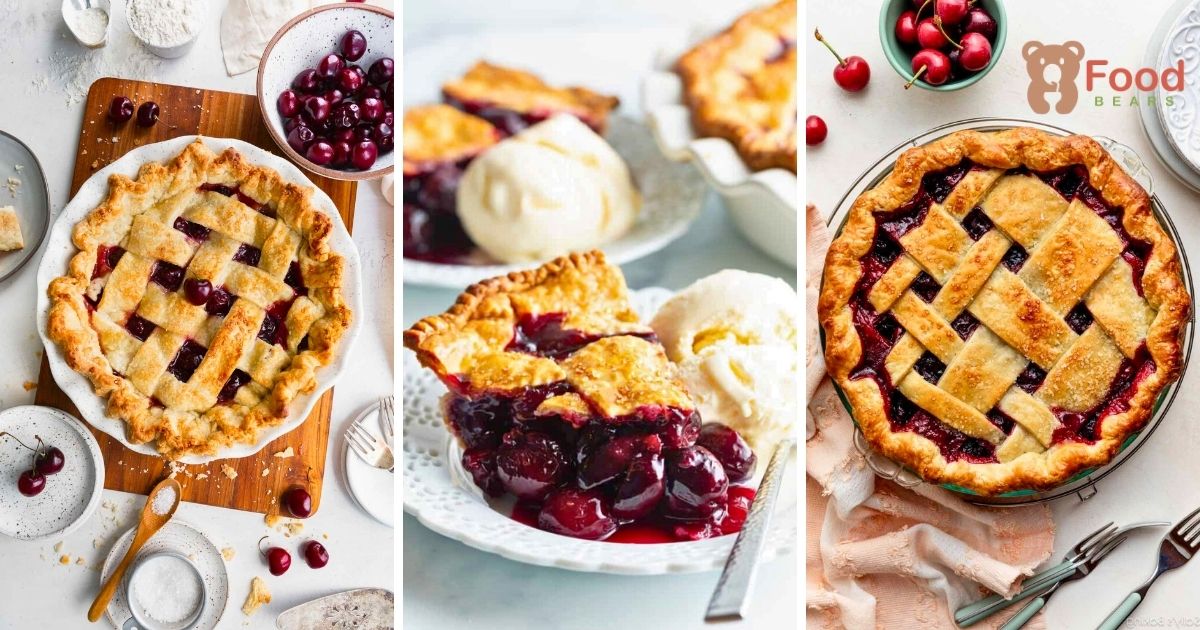
A warm cherry pie cooling on the counter is hard to overlook: sugar glints on the golden crust while bright red filling bubbles between the lattice strips.
The dessert feels familiar and timeless, with the comfort of a traditional home-baked pie.
Serve it at a picnic, holiday meal, or whenever sweet-tart cherries and buttery pastry sound appealing.
The process does not require expert skills. Clear steps, cold ingredients, and enough resting time are the important parts.
Gather the mixing bowls and pie dish, then begin with the crust.
What Cherry Pie Is Best for You?
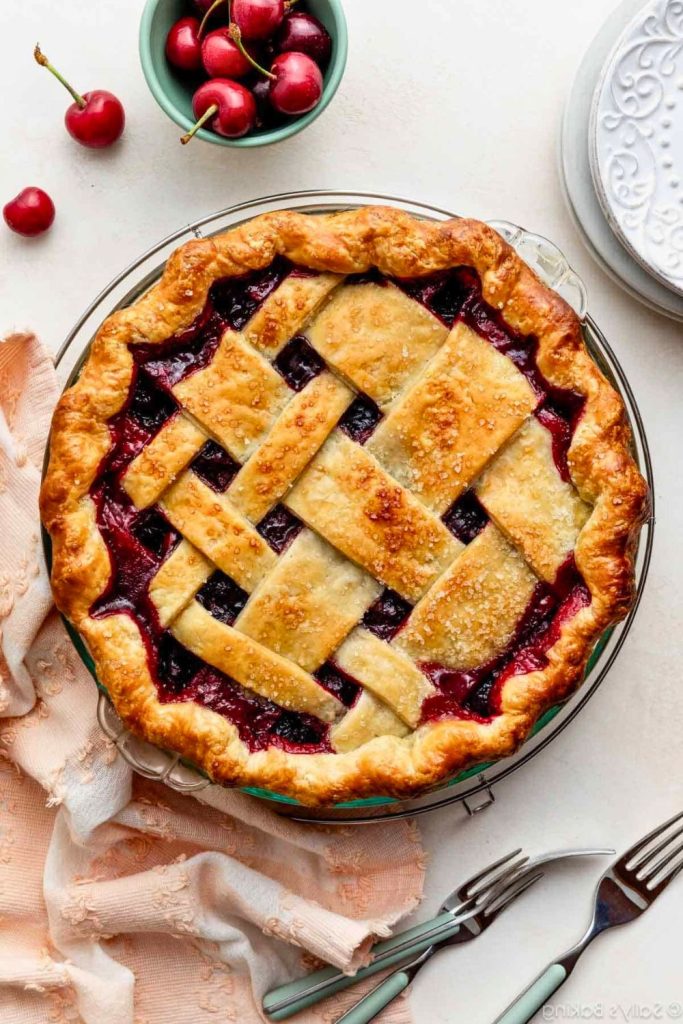
The best cherry pie for your kitchen depends on the fruit available, your preferred sweetness, and the time you have.
- Fresh cherries: Choose them in season for vivid color and a classic fruit flavor.
- Frozen cherries: Thaw and drain them well for a convenient year-round option.
- Canned cherries: Rinse if needed and adjust the sugar to suit the packing liquid.
- For less sweetness: Taste the fruit first and reduce the filling sugar when the cherries are naturally sweet.
- For more depth: A little almond extract or lemon zest can sharpen the cherry flavor.
- For a mixed-fruit pie: Combine cherries with raspberries, blackberries, or darker cherry varieties.
The most useful choice is the one that fits your ingredients and preferred balance of sweet and tart.
Cherry Pie Ingredients
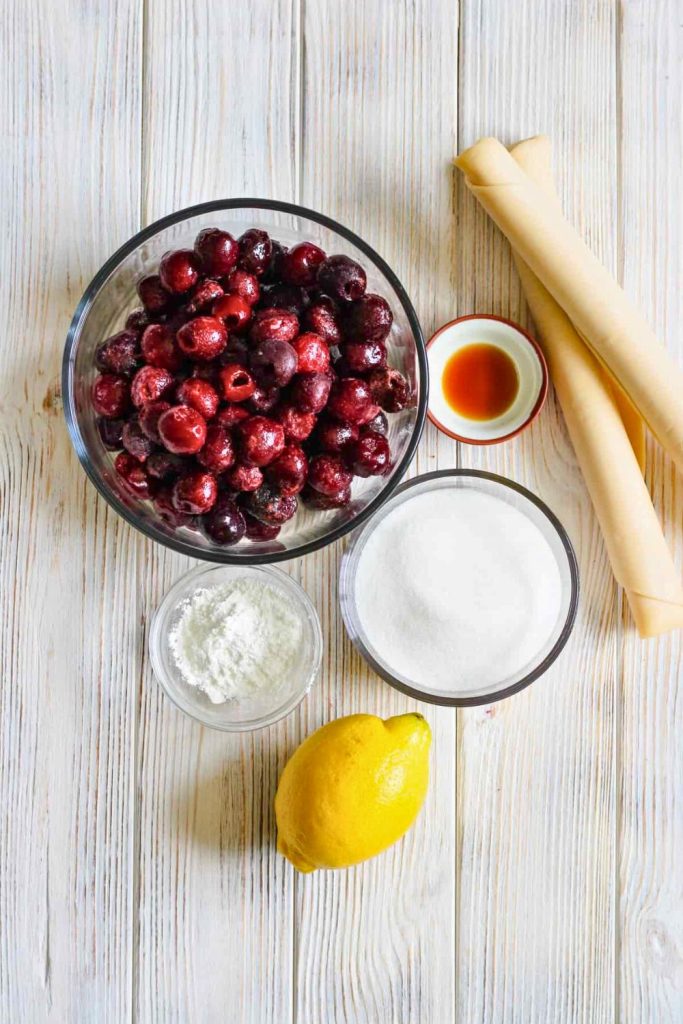
| Component | Ingredient | Amount | Purpose |
|---|---|---|---|
| Crust | All-purpose flour | 2 1/2 cups (300g) | Forms the pastry structure |
| Salt | 1/4 teaspoon | Balances the sweetness | |
| Granulated sugar | 1/4 cup (50g) | Lightly sweetens the crust | |
| Cold unsalted butter | 1 cup | Creates flaky layers | |
| Ice water | About 6 tablespoons | Brings the dough together | |
| Filling | Cherries | 4 cups (650g) | Fresh, frozen, or canned; pitted and halved |
| Granulated sugar | 1 cup, divided | Adjust to the sweetness of the fruit | |
| Lemon juice | 2 tablespoons | Brightens the cherries | |
| Cornstarch | 5 tablespoons | Thickens the filling | |
| Butter | 2 tablespoons | Adds richness | |
| Almond extract, optional | 1/2 teaspoon | Deepens the cherry flavor | |
| Finish | Egg | 1 large | For egg wash |
| Milk or cream | 1 tablespoon | Mixed into the egg wash | |
| Coarse sugar | Optional | Adds sparkle and crunch |
Best Way to Make Cherry Pie: Step-by-Step Guide

Homemade cherry pie brings together flaky pastry, juicy fruit, and the aroma of butter and cherries.
This guide shows how to make both the crust and cooked filling from scratch for a bakery-style result.
Each stage is explained in order so you can work without guessing midway through.
Start with the cold pie dough.
Step 1: Make the Flakiest Pie Dough Ever
Pie pastry becomes much easier once you understand why the butter, water, and handling must stay cold.
For the dough, gather:
- 2 1/2 cups (300g) all-purpose flour.
- 1/4 teaspoon salt.
- 1/4 cup (50g) granulated sugar.
- 1 cup cold unsalted butter, cut into cubes.
- About 6 tablespoons ice water.
Follow this method:
Whisk the flour, salt, and sugar in a large bowl so they are evenly distributed.
Add the cold butter cubes directly to the dry mixture.
Cut or press the butter into the flour until the mixture contains pieces ranging from fine crumbs to almond size. Those uneven pieces create flaky layers in the oven.
Work slowly and refrigerate the bowl briefly if the butter begins to soften.
Drizzle in ice water a little at a time, mixing only until a handful of dough holds together when squeezed.
Instead of kneading, smear the dough once or twice with the heel of your hand and fold it back over itself to create thin butter layers.
Step 2: Chill and Rest the Dough
Divide the prepared dough into two portions:
- Shape one portion into a round disk for the bottom crust.
- Shape the second into a rectangle for the lattice.
Wrap both pieces and refrigerate for at least 30 minutes. Resting firms the butter and lets the flour hydrate.
The dough can also be prepared a day ahead and chilled overnight.
Step 3: Prepare the Perfect Cherry Filling
Prepare the cherries while the pastry rests.
Use about 4 cups (650g) cherries from one of these sources:
- Fresh cherries for peak-season color and flavor.
- Frozen cherries, thawed and thoroughly drained.
- Canned cherries, drained and adjusted for sweetness.
Pit fresh fruit with a cherry pitter, straw, or chopstick, halve the cherries, and check carefully for missed pits.
Adjust fruit that tastes flat or unusually sweet with one of these options:
- A little additional sugar for bland or very tart cherries.
- Lemon juice and zest for brightness.
- Raspberries or dark cherries for a more complex fruit filling.
Step 4: Cook Down the Filling
Cherries release substantial juice, so cooking the filling first helps prevent a runny center and soggy pastry.
Use a saucepan to reduce and thicken the mixture.
For the filling, gather:
- 4 cups pitted, halved cherries.
- 1/2 cup sugar.
- 2 tablespoons lemon juice.
- 5 tablespoons cornstarch mixed with an additional 1/2 cup sugar.
- 2 tablespoons butter.
- 1/2 teaspoon almond extract, optional.
Cook the cherries, lemon juice, and first portion of sugar over medium heat until the fruit softens and releases juice.
Whisk the cornstarch with the remaining sugar, then stir it gradually into the simmering cherries to prevent lumps.
Cook until thick, then add the butter and optional almond extract. Cool the filling completely.
Never add hot filling to cold pastry; the heat would soften the butter before baking.
Step 5: Roll Out the Pie Crust
Once the dough is chilled and the filling is cool, roll the crust.
On a lightly floured surface, roll the round disk into a 13-inch circle about 1/8 inch thick, lifting and turning it to prevent sticking.
Loosely wrap the dough around the rolling pin and transfer it to a 9-inch pie plate. Ease it into the corners without stretching.
Leave a small overhang for sealing the top crust.
Keep the lined dish cool while preparing the lattice.
Step 6: Fill and Lattice the Top
Spoon the room-temperature cherry filling into the crust without overfilling the dish.
Roll the rectangular dough portion and cut it into strips about 1 inch wide.
To form the lattice:
Lay half the strips across the pie, lift alternating pieces, and weave the remaining strips in the opposite direction.
Trim the excess, tuck the edge underneath, and crimp with your fingers or a fork.
A slightly rustic lattice is completely appropriate for a homemade pie.
Step 7: Add the Finishing Touches
For a deeply golden surface, prepare an egg wash:
- Whisk 1 egg with 1 tablespoon milk or cream.
Brush every exposed strip and edge with a clean pastry brush.
Sprinkle coarse or turbinado sugar over the wet wash for sparkle and crunch.
Step 8: Bake to Golden Perfection
Heat the oven to 425°F (220°C).
Bake on the lower-middle rack for 20 minutes, then reduce the oven to 375°F (190°C) and continue for 30 to 40 minutes.
The pie is ready when:
- The filling bubbles in the center.
- The lattice and edges are deep golden brown.
- The crust feels firm rather than doughy.
Cover the rim loosely with foil if it darkens before the center is finished.
Because ovens vary, begin checking during the final 30 minutes.
Step 9: Slice, Serve & Savor
Cool the baked pie for at least 2 hours before cutting so the cornstarch-thickened filling can set.
Once set, it is ready to portion.
Serve each slice with:
- Vanilla ice cream.
- Softly whipped cream.
- Sweet cream or pourable custard.
For a casual serving, offer slightly warm slices directly from the pie dish.
The finished pie should combine flaky crust with a juicy, balanced sweet-tart center.
Tips for the Perfect Cherry Pie Every Time

A few practical habits prevent the most common problems, including tough dough, pale pastry, and loose filling.
- Keep the ingredients cold: Firm butter and ice water create distinct flaky layers.
- Handle the dough briefly: Stop as soon as it comes together so the crust does not become tough.
- Chill between stages: A short rest after shaping helps reduce shrinkage.
- Cool the filling: Warm fruit melts the butter in an unbaked crust.
- Taste before sweetening: Cherry varieties differ considerably in sugar and acidity.
- Use lemon: A little juice brightens the fruit and balances added sugar.
- Bake low in the oven: Strong bottom heat helps the base crust crisp.
- Protect the rim: Add a foil ring if the edges color too quickly.
- Rest before slicing: Two hours of cooling allows the filling to hold neat pieces.
Following these points gives the pie a crisper bottom and a cleaner, thicker center.
Variations to Try
| Variation | Change | Result |
|---|---|---|
| Classic | Sweet cherries with almond extract | Traditional and buttery |
| Tart Cherry | Sour cherries with sugar adjusted to taste | Bright and tangy |
| Mixed Berry | Add blueberries or raspberries | Colorful and juicy |
| Chocolate Cherry | Add dark-chocolate pieces to the cooled filling | Richer dessert flavor |
| Bourbon Cherry | Add a small splash of bourbon to the cooked filling | Warm adult variation |
| Mini Hand Pies | Seal the filling inside small pastry rounds | Portable individual portions |
| Rustic Galette | Fold one pastry round over the filling | Free-form pie with less shaping |
Serving Ideas for Every Occasion
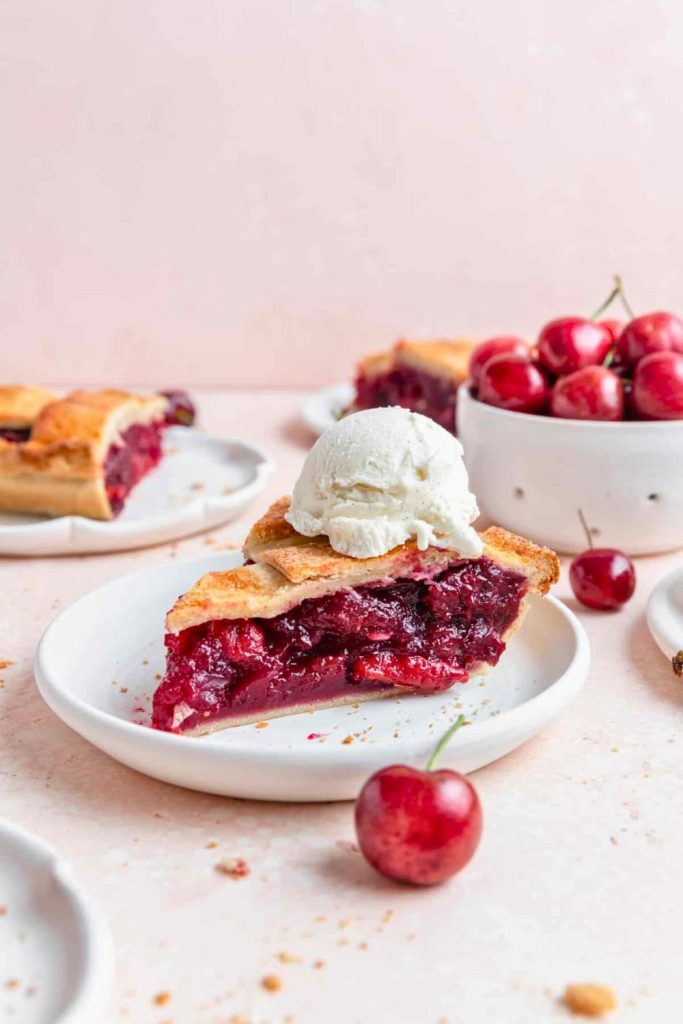
Cherry pie suits casual cookouts, winter holidays, Sunday brunch, and many occasions between them.
- Summer barbecue: Serve cool slices with vanilla ice cream or frozen yogurt.
- Thanksgiving or Christmas: Warm the slices gently and add cinnamon whipped cream.
- Family dinner: Finish with warm cream or a light caramel drizzle.
- Dinner for two: Add dark-chocolate shavings and espresso.
- Casual gathering: Cut smaller portions and provide dessert forks.
- Brunch: Offer the pie with coffee and savory pastries.
However it is presented, homemade cherry pie gives the table a classic celebratory dessert.
The Sweetest Ending
Making both pastry and filling from scratch takes time, but the cold-butter technique and woven top are part of what makes the pie rewarding.
Each step contributes a texture that ready-made filling and crust cannot reproduce in quite the same way.
When you want a cozy fruit dessert, use whole cherries and a homemade crust for this version.
The result is rustic, attractive, and suited to sharing.
Homemade Cherry Pie

More Cozy Desserts You’ll Love
For more comforting desserts, continue with these FeastBears recipes:
- 🍫 Cozy 25-Min Puppy Chow Recipe for the Holidays – a quick no-bake peanut-butter and chocolate snack.
- 🍞 Easy & Creamy Bread Pudding Recipe for Family – warm bread baked in a vanilla custard.
- 🍚 30-Min Best Rice Pudding Recipe for Beginners – a smooth, gently spiced stovetop pudding.
Together, the recipes offer fruit pie, crunchy candy, and two creamy comfort desserts.

Dana Brooks is a home-cooking writer at Feastbears, where she shares easy family recipes, cozy dinners, quick desserts, and beginner-friendly kitchen tips. Her goal is to make everyday cooking feel simple, warm, and enjoyable for busy home cooks.


