Baked sweet potato fries can be tricky to get right: sometimes they leave the oven soft when you were hoping for crisp edges. The way you cut, dry, coat, and arrange them makes a difference.
This guide walks you through making baked sweet potato fries at home with golden edges and tender centers, using an oven and a few everyday ingredients.
Start with your sweet potatoes, then follow the preparation and baking steps below.
🧡 Why You’ll Love These Sweet Potato Fries
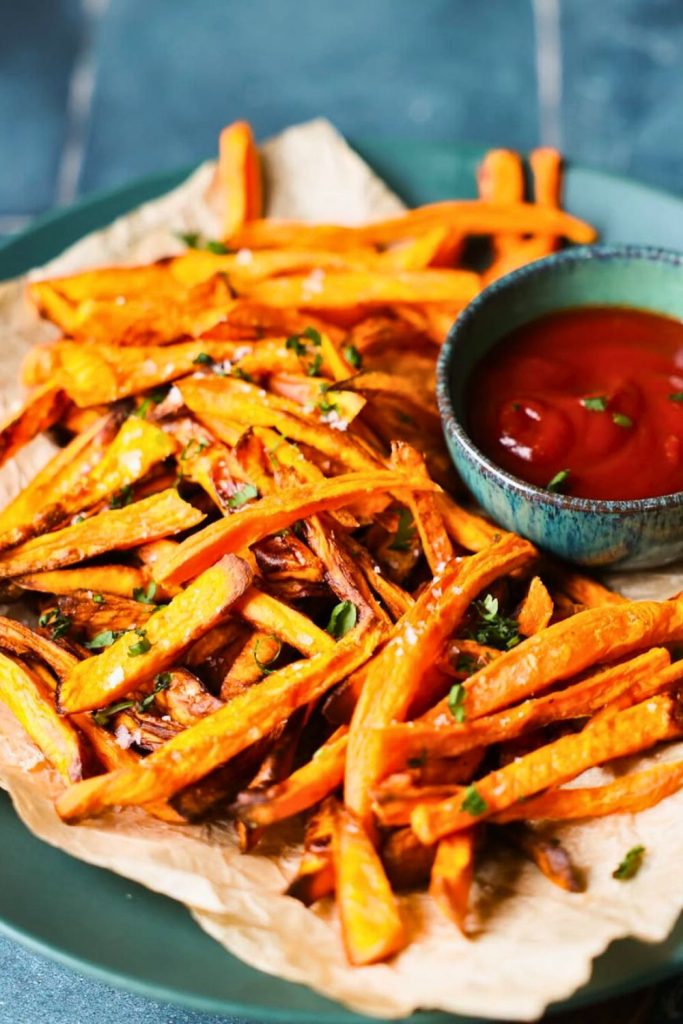
Unevenly cooked, soft, or lightly seasoned fries can be disappointing. This method focuses on the details that help you get a better batch.
These sweet potato fries combine crisp edges with a soft middle, balancing their natural sweetness with savory seasoning.
You can soak the cut fries ahead of time or bake them without soaking. Both options are explained so you can choose the one that fits your schedule.
Here is what makes them a useful recipe to keep on hand:
- Oven-baked – No deep fryer or pot of frying oil is needed.
- A familiar vegetable side – Cut into easy-to-serve fries with a naturally sweet flavor.
- Easy to vary – Choose mild, spicy, savory, or sweet seasonings.
- Flexible preparation – Soak the sliced potatoes ahead, or use the no-soak method.
Serve them as a dinner side, a movie-night snack, or alongside lunch. Ranch, chipotle mayonnaise, or another favorite dipping sauce makes a simple accompaniment.
Once you know the basic method, you can change the seasoning to match the rest of your meal.
🥕 Ingredients You’ll Need

Gather the following ingredients before preparing your sweet potato fries.
| Ingredient | Purpose |
|---|---|
| 2 large or 3 medium sweet potatoes | Provide the sweet, tender center of the fries. |
| 1–2 tbsp cornstarch | Forms a light coating for crisper edges. |
| 1–2 tbsp olive oil | Helps coat and brown the fries. |
| 1 tsp fine sea salt | Balances the natural sweetness; adjust to taste. |
| Optional: chili powder, garlic powder, paprika, seasoned salt | Choose one or combine a few to suit your meal. |
| Cold water + ice (optional) | For the optional refrigerated overnight soak. |
🔪 7 Step-by-Step: How to Make Sweet Potato Fries
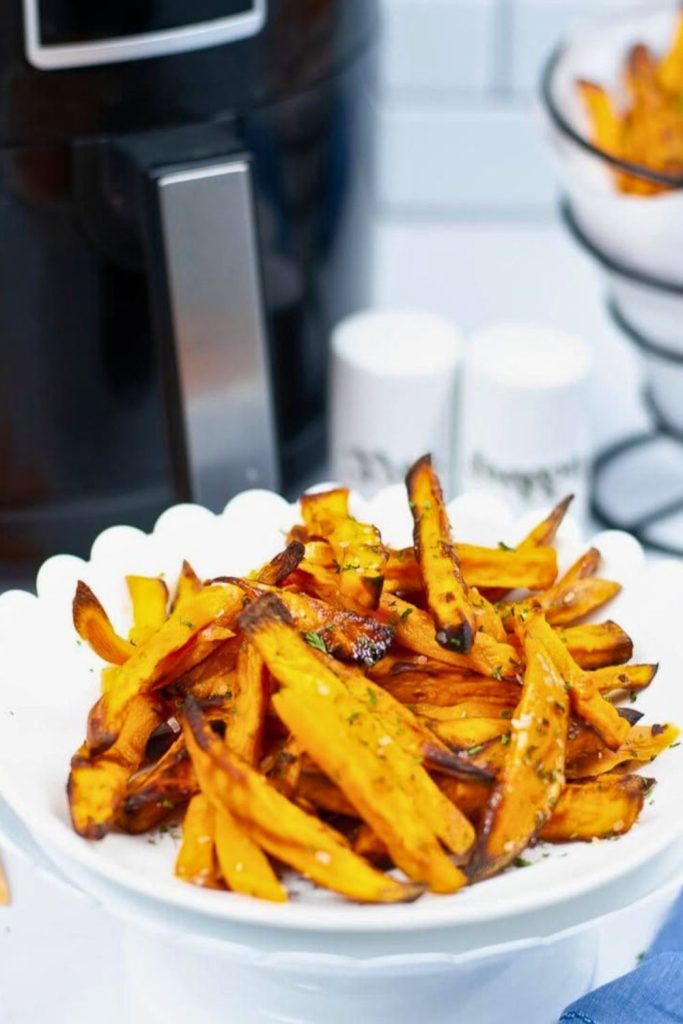
Good baked fries depend on more than the oven temperature. Even pieces, a dry surface, and enough space on the tray all help.
This step-by-step guide explains the preparation details to check if your fries usually turn out too soft.
It includes both soaked and unsoaked options, followed by the same coating and baking method.
Along the way, you will find practical tips for slicing, seasoning, and handling the fries.
Begin by getting the oven and baking tray ready.
🔥 Step 1: Preheat the Oven: Always Start Hot
Preheat the oven before the fries go in so they start cooking at the intended temperature.
Heat your oven to 400°F (200°C).
This is the baking temperature used throughout the recipe. Keep an eye on the fries near the end, since their size and your oven affect how quickly they brown.
🔥 Pro Tip: You can warm the baking sheet while the oven preheats. Use oven mitts and handle it carefully when adding the fries.
Line the tray with oven-safe parchment paper or foil if you want to make cleanup easier.
🍠 Step 2: Peel and Slice the Sweet Potatoes
Use 2 large or 3 medium sweet potatoes. When choosing them, look for the following:
- A firm texture with no soft patches.
- Smooth, intact skin.
- Orange-fleshed sweet potatoes for the familiar color and flavor of these fries.
Wash the sweet potatoes, then remove the skins with a vegetable peeler.
How to Cut Them:
Use a sharp knife on a stable cutting board and work carefully through the firm potatoes.
Cut them into sticks about ¼ inch thick, keeping the pieces as even as possible.
✂️ Slicing Tip: Cut the potato lengthwise into slabs first, then slice each slab into evenly sized fries.
Keeping the thickness consistent helps the fries cook at a similar pace.
The curved end pieces can go on the tray too. If some are much thinner than the rest, check them early and remove them when ready.
💦 Step 3A: The Soaking Method (Overnight for Crispier Results)
Next, decide whether you want to soak the cut fries or bake them without soaking.
Soaking is an optional preparation step, not a guarantee of crispness. Careful drying and an uncrowded tray remain important whichever option you choose.
If you want to compare the methods, prepare a small batch each way using the same cut size and baking conditions.
For the Soaked Method:
- Put the sliced sweet potatoes in a large bowl.
- Cover them with cold water; a few ice cubes are optional.
- Cover the bowl and refrigerate for 12–24 hours.
This optional step can help you:
- Rinse away starch left on the cut surfaces.
- Try a different preparation method and compare the finished texture.
- Get the slicing done ahead of time.
🧪 Method Note: Soaking adds an overnight wait. Use it if it suits your preparation schedule, or move on with the unsoaked fries.
❌ Step 3B: The No-Soak Method (Quick & Tasty)
For a quicker start, choose the no-soak method.
After peeling and slicing, move directly to drying and coating. You do not need to add a soaking stage to follow the rest of the recipe.
✨ This option is convenient when you want to prepare and bake the fries in one session.
🧻 Step 4: Dry the Fries Thoroughly
Before adding cornstarch or oil, dry the fries thoroughly.
Water left on the surface can interfere with browning, so take a moment to remove it.
Dry the Fries as Follows:
- Pour away the soaking water, if you used it.
- Give soaked fries a brief rinse with cold water.
- Spread the fries over a clean kitchen towel.
- Pat and gently turn them until the surfaces are dry.
💡 Pro Tip: Work in batches if needed so the towel can reach every piece.
Check for damp patches before moving the fries to your mixing bowl.
🌨️ Step 5: Coat in Cornstarch: The Secret to a Crunchy Finish
The next coating ingredient is cornstarch.
A light dusting forms a thin outer coating that helps the fries develop a crisper surface in the oven.
To Coat the Fries:
- Place the dried fries in a large bowl.
- Add 1–2 tablespoons of cornstarch.
- Toss gently until the fries have a light, even dusting.
📦 Tip: A large zip-top bag also works. Add the fries and cornstarch, seal it securely, and shake to distribute the coating.
Avoid thick white patches or clumps. The coating should be barely visible rather than heavy.
🛢️ Step 6: Add Olive Oil and Season Well
Now add oil and your choice of seasoning.
Use the recipe’s 1–2 tablespoons of olive oil, either drizzled over the fries or applied with an oil mister.
Why Use a Mister?
- It makes it easier to distribute a light coating.
- It can help you avoid pouring too much oil onto one area.
- It is also a handy tool for lightly oiling food prepared in an air fryer.
If you do not have a mister, drizzle the oil over the fries and toss until each piece is lightly coated.
Seasoning Combinations to Try:
- Classic: Sea salt and black pepper.
- Spicy: Chili powder and paprika.
- Savory: Garlic powder and rosemary.
- Sweet: Cinnamon and a little brown sugar.
🧂 Use some of the salt before baking, then taste the finished fries before adding the rest. Adjust the amount if your seasoning blend already contains salt.
📏 Step 7: Bake in Two Stages: Flip for Even Crisp
Give the fries enough room on the tray before placing them in the oven.
Arrange them in a single, uncrowded layer without overlapping. Use a second baking sheet if they will not fit comfortably on one.
First Stage of Baking:
- Put the tray in the preheated 400°F (200°C) oven.
- Bake for 8–10 minutes.
- Remove the tray carefully and turn each fry with tongs or a spatula.
Turning the Fries Helps:
- Expose the other side to the hot tray.
- Distribute the browning more evenly.
- Give you a chance to check thinner pieces before they overcook.
Second Stage of Baking:
- Bake for another 8–10 minutes.
- Start checking closely after about 15 minutes of total baking time, adjusting for your oven and the size of the fries.
Look for golden edges and tender centers. If needed, continue baking briefly while watching for over-browned tips.
✅ Bonus Step: Final Toss and Taste Test
When the fries are cooked, take the tray out of the oven.
Taste a fry, then add a little more salt or your chosen seasoning if needed and toss gently.
Let them rest for 2–3 minutes before serving, keeping them spread out rather than piled tightly together.
If you prepared both soaked and unsoaked batches, compare them side by side after the same resting time.
Here are a few things to note when comparing:
- How evenly each batch has browned.
- The texture of the edges and centers.
- Whether either method gives a result you prefer.
Choose the preparation method that suits your timing and taste. Soaking is optional; the drying, coating, and spacing steps still matter.
✅ 5 Pro Tips for Perfect Sweet Potato Fries

If your fries need a little more crispness, review these five preparation tips before your next batch.
1. Keep the Cuts Even
Aim for pieces around ¼ inch thick. Very thin ends may burn before thicker fries become tender.
Similar sizes are more important than perfectly shaped fries.
2. Remove Surface Moisture
Use a clean towel to pat the fries completely dry, especially after soaking.
Check the whole batch for damp surfaces before coating.
3. Apply a Light Cornstarch Coating
Distribute the cornstarch evenly by tossing in a bowl or shaking in a sealed bag.
A heavy coating can leave a powdery or chalky texture.
4. Coat Evenly with Oil
Spread a light layer of olive oil over all the fries. A mister can help, but careful tossing works too.
Check that the oil has reached every piece without pooling in the bowl.
5. Leave Space on the Tray
Arrange the fries in a single layer with gaps between them. Divide them between two trays if necessary.
An uncrowded tray gives moisture room to escape.
🍟 Variants to Try
For a different flavor, try one of the sweet potato fry variations below.
| Variant | Seasonings / Toppings | Serving Suggestion |
|---|---|---|
| Spicy Cajun | Paprika, garlic powder, cayenne, and black pepper | Try with chipotle mayonnaise or aioli. |
| Garlic Parmesan | Garlic powder and grated Parmesan | Serve beside grilled chicken or steak. |
| Sweet & Cinnamon | Cinnamon, nutmeg, and a little brown sugar; omit the cornstarch for this variation | Offer yogurt or marshmallow dip alongside. |
| Smoky BBQ | Smoked paprika, cumin, onion powder, and sea salt | Pair with pulled pork sandwiches. |
| Herb-Ranch Style | Dried dill, parsley, garlic powder, and ranch seasoning | Add ranch dressing or sour cream for dipping. |
| Everything Bagel | Everything bagel seasoning; add extra salt only if needed | Serve with a cream cheese dip or a brunch plate. |
| Zesty Lime Chili | Chili powder, lime zest, and a little cumin | Try alongside fish tacos or vegetable wraps. |
You can change the seasoning before baking or add a finishing sprinkle afterward. Taste first so the fries do not become overly salty or heavily coated.
🍂 Final Thoughts
Baked sweet potato fries are a manageable side dish once you pay attention to the cut size, light cornstarch coating, and space on the tray.
Choose the overnight soaking option if it fits your schedule, or prepare the fries straight through using the no-soak method.
Their naturally sweet flavor makes a pleasant change from regular potato sides, and the seasoning can stay simple or become more adventurous.
Serve them as a snack or alongside a comforting meal, with a dipping sauce on the side.
With the oven preheated and the fries evenly prepared, you are ready to bake a batch.
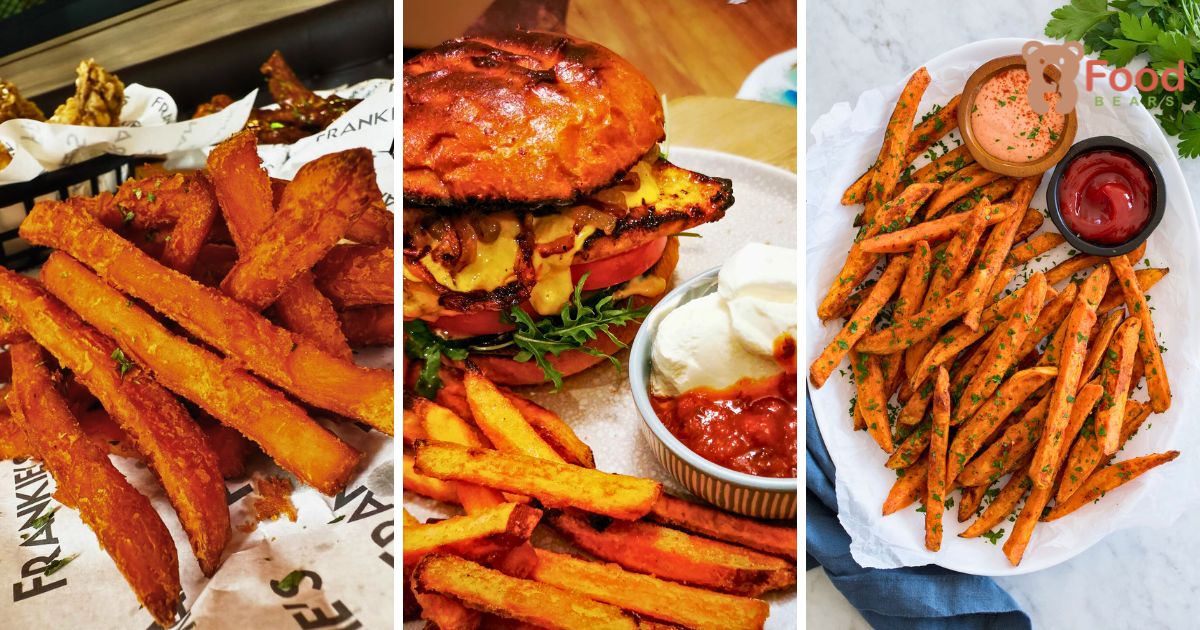
Sweet Potato Fries
🥄 You Might Also Love
For more comforting recipes to serve alongside or after your fries, take a look at these:
- Quick Apple Cider Donuts for Lazy Fall Sundays
Spiced apple cider donuts make a cozy sweet treat for a relaxed weekend. - Easy 15-Min Prep Apple Cake Recipe for Sundays
A tender apple cake with cinnamon is an inviting partner for a cup of coffee. - Hearty Lentil Soup Recipe for Fall Comfort
A hearty lentil and vegetable soup pairs well with a tray of sweet potato fries.

Dana Brooks is a home-cooking writer at Feastbears, where she shares easy family recipes, cozy dinners, quick desserts, and beginner-friendly kitchen tips. Her goal is to make everyday cooking feel simple, warm, and enjoyable for busy home cooks.


