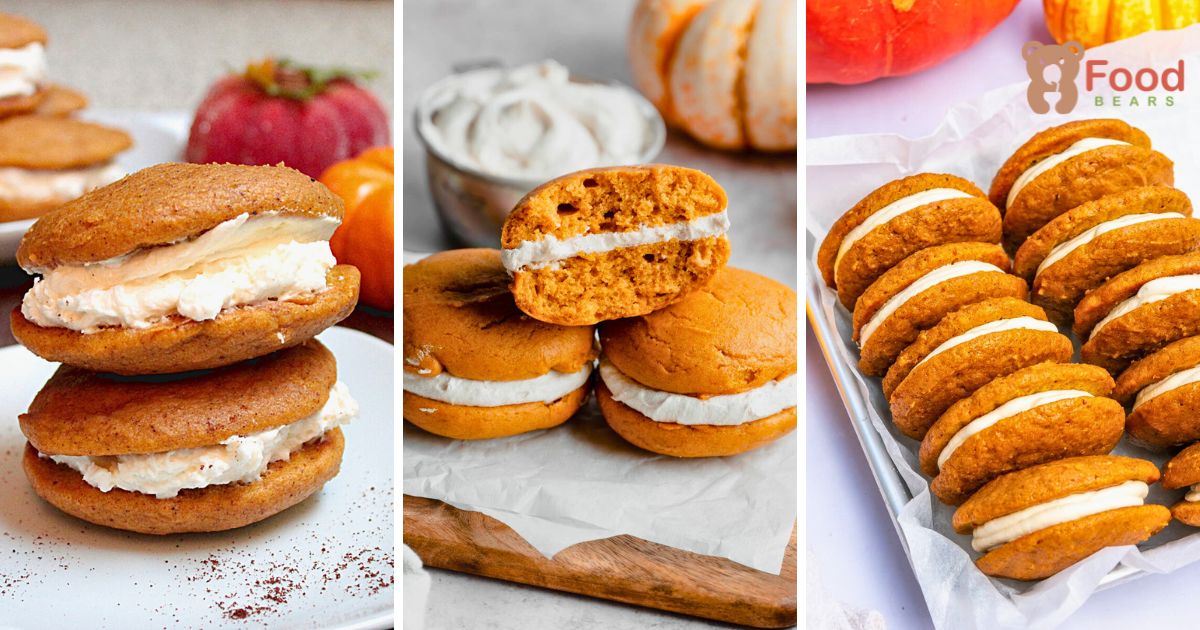
Pumpkin whoopie pies pair two soft, spiced cakes with a smooth cream-cheese filling.
The pumpkin purée keeps the cakes moist, while cinnamon, ginger, and cloves supply the autumn flavor.
Each sandwich is easy to portion, transport, and serve at a fall gathering.
The method below preserves the original mixing, scooping, baking, filling, and assembly sequence.
🍂 Why Love These Pumpkin Whoopie Pies
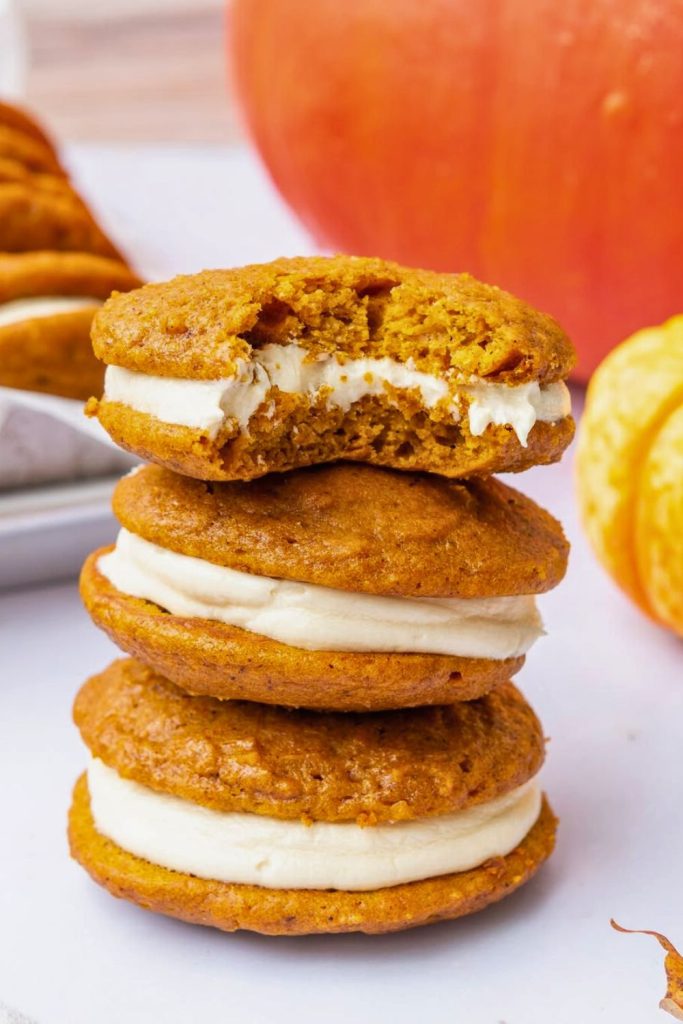
This dessert combines the ease of drop cakes with the neat presentation of a sandwich cookie.
Brown sugar and oil keep the cakes tender after refrigeration.
The tangy filling offsets the sweet, aromatic pumpkin layers.
- Use the recipe for potlucks, holiday trays, or make-ahead treats.
- Full of Fall Flavor: With cozy spices like cinnamon, ginger, and cloves, these whoopie pies wrap you up in that comforting, sweater-weather feeling.
- Balanced Sweetness: The pumpkin purée and brown sugar provide just the right amount of sweetness without being overpowering. Plus, the tangy cream-cheese frosting complements the well-balanced bite.
- Easy to Make: No fancy tools or hard-to-find ingredients. If you have got a bowl, whisk, and a spoon, you can whip these up in no time.
- Kid- and Crowd-Friendly: These little pumpkin sandwiches are a hit at fall parties, bake sales, and even school lunchboxes. No forks needed, grab and go!
If you have been craving something festive that feels nostalgic, seasonal, and satisfying, these are it. Trust me, once you try them, you will understand the hype.
🎃 Ingredients You’ll Need
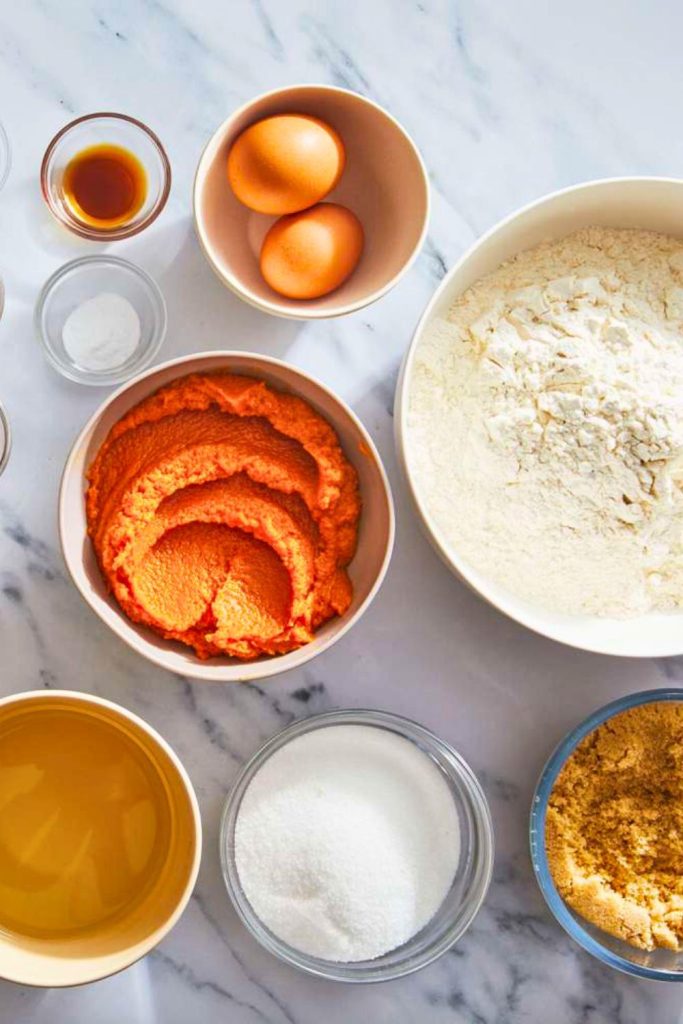
Before we get baking, let us line up everything you will need for those soft, pumpkin-spiced cakes. These ingredients come together fast, and you probably already have most of them in your pantry.
Here is a handy table to guide you:
| Ingredient | Amount | Purpose |
|---|---|---|
| All-purpose flour | 3 cups (360 g) | Provides structure |
| Baking soda | 1 teaspoon | Supports browning and spread |
| Baking powder | 1 teaspoon | Adds lift |
| Kosher salt | 1 teaspoon | Balances sweetness |
| Ground cinnamon | 1½ to 2 teaspoons | Adds warm spice |
| Ground ginger | 2 teaspoons | Adds a bright spicy note |
| Ground cloves | ¼ teaspoon | Deepens the spice blend |
| Brown sugar, packed | 2 cups | Adds sweetness and moisture |
| Pumpkin purée | 1 can (15 ounces) | Adds pumpkin flavor and moisture |
| Large eggs | 2 | Bind the batter |
| Vegetable oil | ⅔ cup (160 ml) | Keeps the cakes tender |
| Vanilla | 1 tablespoon | Rounds out the flavor |
*Note: If using regular iodized table salt, reduce to ½ teaspoon, it’s much saltier than kosher salt.
👩🍳 Step-by-Step: How to Make Pumpkin Whoopie Pies
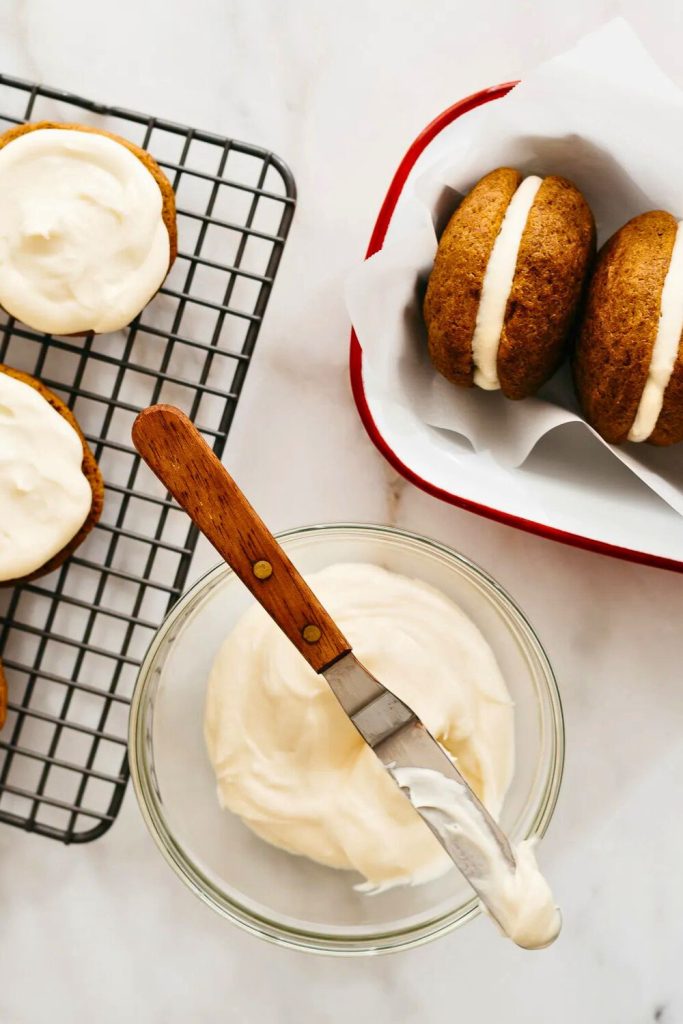
Baking these pumpkin whoopie pies is easier than you think, and the finished results? Bakery-worthy. Below is a detailed breakdown of every step you will need to follow to make your whoopie pies turn out soft, flavorful, and downright hard to resist.
🧂 Step 1: Sift and Whisk the Dry Ingredients
Start with your dry ingredients, because this sets the tone for your cake’s texture. Use a large bowl and place a fine mesh sifter over the top.
Add:
- 3 cups (360g) all-purpose flour
- 1 teaspoon baking soda
- 1 teaspoon baking powder
- 1 teaspoon kosher salt (or ½ tsp if using fine table salt)
Now for the fall magic, the spices. Incorporate:
- 1½ to 2 teaspoons cinnamon
- 2 teaspoons ground ginger
- ¼ teaspoon ground cloves
To experiment a small amount? You can add ¼ teaspoon each of nutmeg, cardamom, or allspice if you are feeling bold. Each spice brings a distinct kind of warmth: cinnamon for comfort, ginger for a zing, and cloves for a deep, earthy edge.
Sift everything into the bowl. You will notice clumps, especially from the ginger, which is why sifting is essential. It aerates the flour and ensures all the spices are evenly distributed.
Once sifted, use a whisk to mix the ingredients. Set this bowl aside. Your base is ready.
🥄 Step 2: Mix the Wet Ingredients
Next comes the wet mixture, the central mixture of your whoopie pies.
In a separate bowl, combine:
- 2 cups packed brown sugar
- 1 (15 oz) can pumpkin purée
- 2 large eggs
- ⅔ cup (160 ml) vegetable oil
- 1 tablespoon vanilla
Brown sugar is your friend here; it contributes not just sweetness but moisture and depth. If you can, use a scale to measure the sugar so you do not accidentally pack too much (or too little). A neat trick? Toss several marshmallows in your sugar canister to keep it soft!
Whisk this mixture completely. At first, it’ll look a bit grainy because of the brown sugar clumps. Keep whisking until uniform and glossy. The mix should feel almost like a thick pumpkin custard, rich, golden, and fragrant.
That pumpkin-spice smell? You will be tempted to taste, but do not—raw eggs and all that.
🥣 Step 3: Combine Wet and Dry (Gently!)
Now the fundamental transformation begins. Use the bowl of dry ingredients and slowly pour the wet mixture into it.
Use a spatula, not a hand mixer, to fold the ingredients together. Why the spatula? Because we are aiming for soft, airy cakes, over-mixing activates the gluten in the flour, which results in tough, rubbery cookies instead of the delicate whoopie pies we are after.
Scrape the bottom and edges of the bowl with care to check that no flour pockets are hiding. Stir only until the flour streaks disappear.
Baking tip: Think of the step as a gentle hug, no need to stir aggressively. Allow the ingredients to come together naturally.
The finished batter should look thick but smooth, soft, and slightly fluffy. It is ready to be scooped!
🍦 Step 4: Scoop the Batter
Grab a small ice cream scoop or cookie scoop (about two tablespoons per scoop). Line the sheet pan with baking parchment or a silicone baking mat.
Portion even mounds of batter onto the sheet, spacing them about 1½ to 2 inches apart. These will spread and puff up, so give them breathing room.
For even, smooth tops, Dip your clean fingertips in water and with a light hand press down any little ridges or peaks. Think of shaping the batter like you are making eclairs; smooth, rounded edges look more polished, especially once filled.
Don’t have a scoop? No worries. Use two spoons to portion the batter, just try to keep the sizes consistent.
🔥 Step 5: Bake to Perfection
Transfer the tray into your preheated oven at 350°F (175°C) and bake for 12-15 minutes. Only bake one tray at a time to ensure even heating.
Your whoopie pies are done when:
- A toothpick comes out clean from the center
- The tops feel set and slightly springy to the touch
Avoid overbaking. They should be soft and tender, not dry or crusty. Remove from the oven and allow them reach room temperature on a wire rack before assembling.
🧊 Step 6: Whip the Frosting
While your cakes are cooling, let us prepare the cloud-like cream-cheese frosting that brings everything together.
This is not just a filler; it’s what elevates the entire experience. The contrast between tangy cream-cheese and sweet, spiced pumpkin is what makes these whoopie pies sing.
You will need:
- ½ cup (113g) unsalted butter, room temp
- 4 oz (113g) cream-cheese, softened
- ½ teaspoon vanilla
- 3 cups confectioners’ sugar
In the bowl of a stand mixer or with a hand mixer:
- Cream the butter and cream-cheese together until uniform and evenly blended.
- Incorporate in the vanilla.
- Gradually mix in the confectioners’ sugar, 1 cup at a time, scraping down the bowl as needed.
Mix on medium speed for 30–90 seconds, until the frosting is light, fluffy, and holds its shape.
To get fancy? Brown the butter before creaming it for a nutty, toasty twist. Just check that to cool it before mixing with the cream-cheese.
Bonus tip: Want a firmer frosting for transporting or stacking? Chill it for 10–15 minutes before piping.
🧁 Step 7: Assemble Your Pumpkin Whoopie Pies
After your cakes are fabulous, it is time to assemble!
- Pair up similarly sized cake rounds.
- Pipe a swirl of frosting onto the flat side of one cake using a large round tip (1A works well).
- Gently press another cake on top to sandwich it.
Do not overfill! The frosting will naturally spread when pressed. Leave a small amount margin around the edges.
Not using a piping bag? You can spoon the frosting on instead. It will be a bit messier but still flavorful.
🍴 Bonus Storage & Make-Ahead Tips
- Make ahead: Bake the cakes and keep in an airtight container for 2–3 days.
- Freeze: Keep the unfilled cakes in the freezer for as long as 2 months.
- Storage: Once assembled, keep the whoopie pies in the fridge in a single layer. Allow them sit at room temperature for 10–15 minutes before serving, allowing the cakes to soften slightly.
✅ Pumpkin Whoopie Pie Success Tips
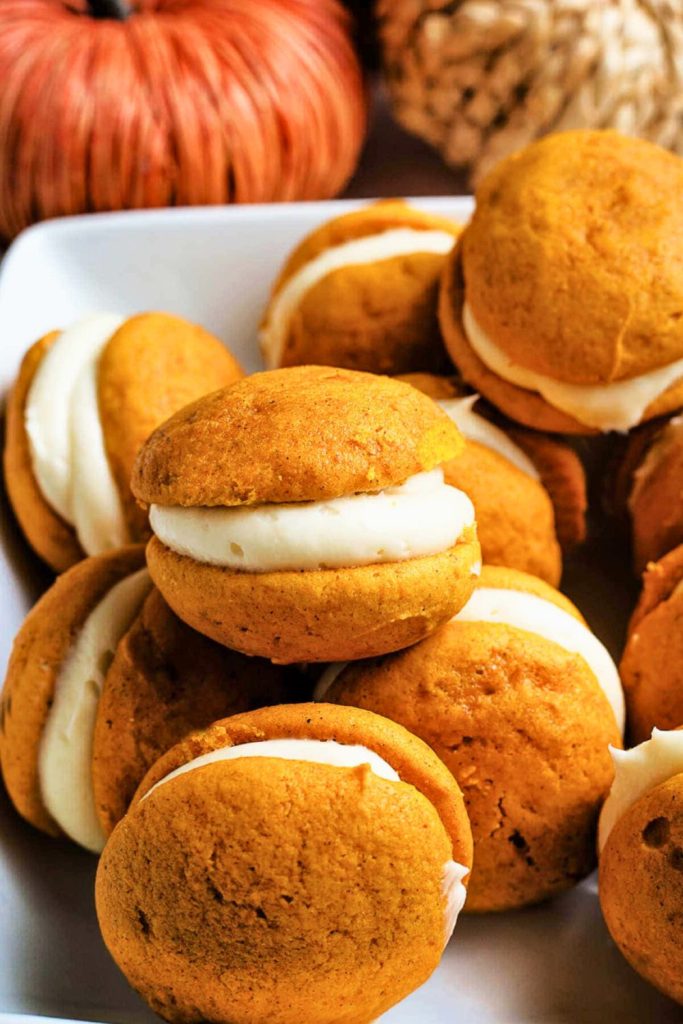
Want bakery-style pumpkin whoopie pies on your first try? Follow these proven tips to ensure every batch turns out soft, flavorful, and utterly hard to resist.
🍰 1. Do not Overmix the Batter
This is probably the most essential rule. When you stir flour too much, you develop gluten, which gives bread its chewy texture. That’s the last thing you want in a soft, tender whoopie pie.
How to avoid it: Mix the wet and dry ingredients until just combined. Use a spatula instead of a mixer for better control.
🧈 2. Use Brown Sugar (Do not Skimp!)
Brown sugar does not just add sweetness; it also contributes moisture, richness, and a hint of acidity. That acidity reacts with baking soda to help your cakes puff up and stay soft.
Reducing the sugar too much changes the whole texture. You will get denser, more muffin-like cakes that do not spread as nicely.
🍞 Cut the sugar in half? You will get pumpkin bread bites. Still tasty — but not quite a whoopie pie.
🥄 3. Use a Cookie Scoop for Consistent Size
To get uniform pies that stack neatly and bake evenly, use a cookie or ice cream scoop (about 2 tablespoons per scoop). Uneven sizing = uneven baking.
No scoop? Two spoons can work; aim for consistency.
💧 4. Wet Your Fingertips for a Smooth Finish
If you want smooth, professional-looking tops, dip your fingers in water and with a light hand press down any rough edges or ridges on the scooped batter. It is a small trick that makes a big difference.
🔁 5. Bake One Tray at a Time
Your oven has hot and cool spots. For the most even bake (and consistent rise), only bake one sheet at a time on the center rack. Rotate the pan halfway through if needed.
🌀 Variations to Try (Mix It Up!)
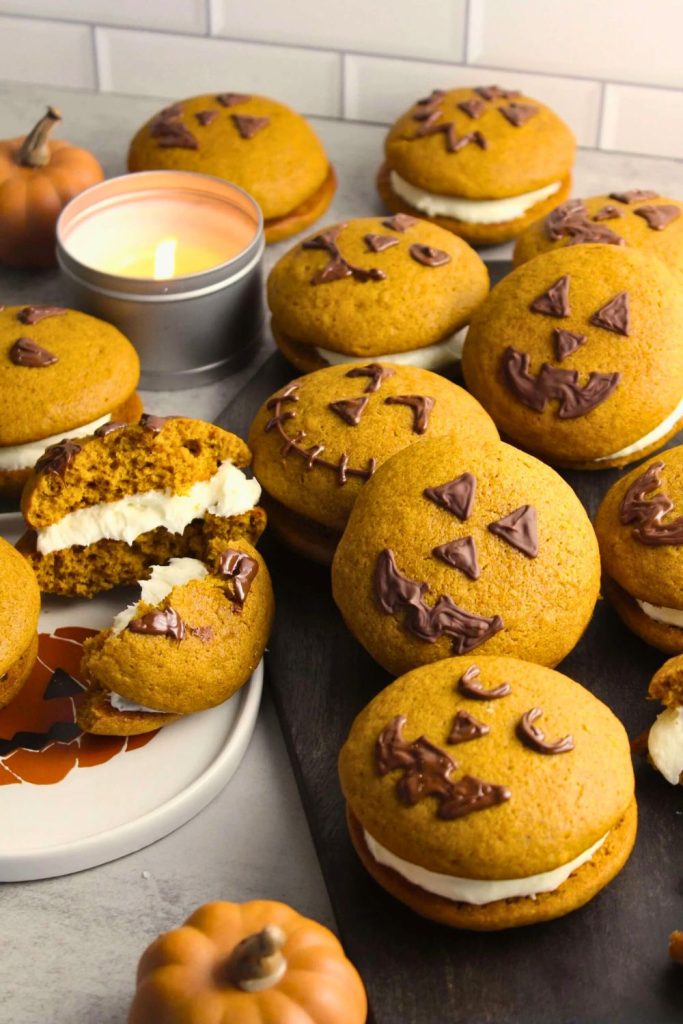
Whoopie pies are the well-balanced canvas for creativity. Once you have mastered the classic version, try these fun twists:
| Variation | Adjustment |
|---|---|
| Brown-Butter Frosting | Brown the butter, cool it, then blend with the cream cheese. |
| Spiced Filling | Add cinnamon or pumpkin spice to the frosting. |
| Maple Filling | Add maple syrup and correct the texture with confectioners’ sugar. |
| Mini Whoopie Pies | Use 1 tablespoon batter per cake and reduce baking time as needed. |
| Chocolate Chip | Fold mini chocolate chips into the batter. |
| Gluten-Free | Use a tested 1:1 gluten-free flour blend. |
| Marshmallow Filling | Use marshmallow fluff in place of cream-cheese frosting. |
| Less-Sweet Cakes | Reduce the sugar cautiously for a denser, muffin-like result. |
🎨 Don’t be afraid to get creative. You can even roll the sides in chopped nuts, mini chocolate chips, or crushed gingersnaps for extra flair!
🎃🍎 The Great Fall Debate: Pumpkin vs. Apple?
Ah, yes — the eternal autumn question: Pumpkin or apple?
It is a flavorful debate that sparks strong opinions every year. So let us break it down:
🎃 Team Pumpkin
- Cozy and creamy
- Best paired with spices like cinnamon, ginger, and nutmeg
- Feels strongly seasonal (we do not eat pumpkin pie in July, do we?)
- Suitable for everything: lattes, cookies, cakes, pasta, and even chili
🍏 Team Apple
- Crisp, juicy, and fresh
- A year-round staple (hello, apple pie in summer)
- Perfect with caramel, cheddar, or just a sprinkle of cinnamon
- Versatile in both sweet and savory dishes
Here is the thing: you do not have to make a choice. But if you are baking something to capture that unmistakable autumn-in-a-bite feeling, pumpkin whoopie pies take the crown. They are soft, spiced, slightly nostalgic, and feel like the edible version of a cozy sweater.
🎉 Final Thoughts: Pumpkin Heaven in Every Bite
The finished whoopie pies are soft, warmly spiced, and balanced by a creamy filling.
They suit autumn potlucks, weekend baking, and anyone who prefers pumpkin desserts that can be eaten by hand.
Chill the assembled pies for clean storage, then let them soften briefly before serving.
Pumpkin Whoopie Pies
🎃 You’ll Also Love:
Keep the pumpkin theme going with these related FeastBears recipes:
- 👉 Best Pumpkin Cookies with Cream Cheese Icing — Bake soft cinnamon cookies with a tangy topping.
- 👉 30-Minute Pumpkin Pie Cookies for Beginners — Make glazed thumbprints with a spiced pumpkin center.
- 👉 Easy 20-Min Pumpkin S’mores Cookies for Fall — Combine pumpkin dough, chocolate, and toasted marshmallow.

Dana Brooks is a home-cooking writer at Feastbears, where she shares easy family recipes, cozy dinners, quick desserts, and beginner-friendly kitchen tips. Her goal is to make everyday cooking feel simple, warm, and enjoyable for busy home cooks.


