
Monster cookies are built for anyone who wants several favorite cookie flavors in one batch.
Peanut butter, old-fashioned oats, chocolate chips, and colorful candy-coated chocolates fill every portion.
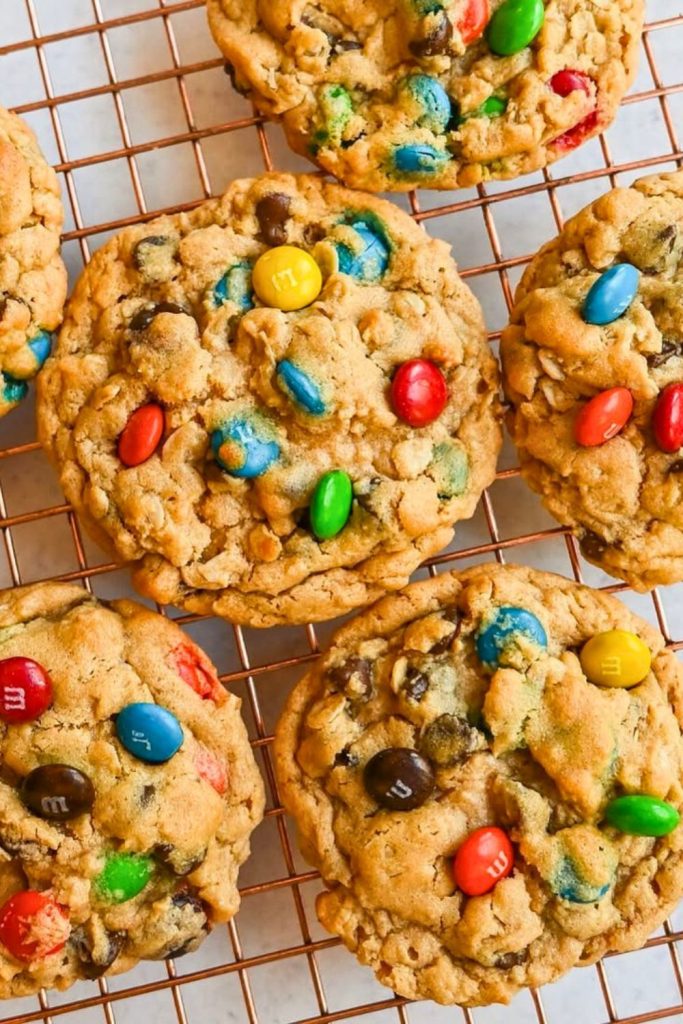
The baked cookies have delicately crisp edges, tender centers, and plenty of chewy texture.
Their bright mix-ins make them useful for family baking, holidays, parties, and weekend treats.
The method is easy to follow and takes less than an hour, including a short recommended chill.
Work through the original steps below for evenly mixed, thick Monster Cookies.
What Are Monster Cookies?
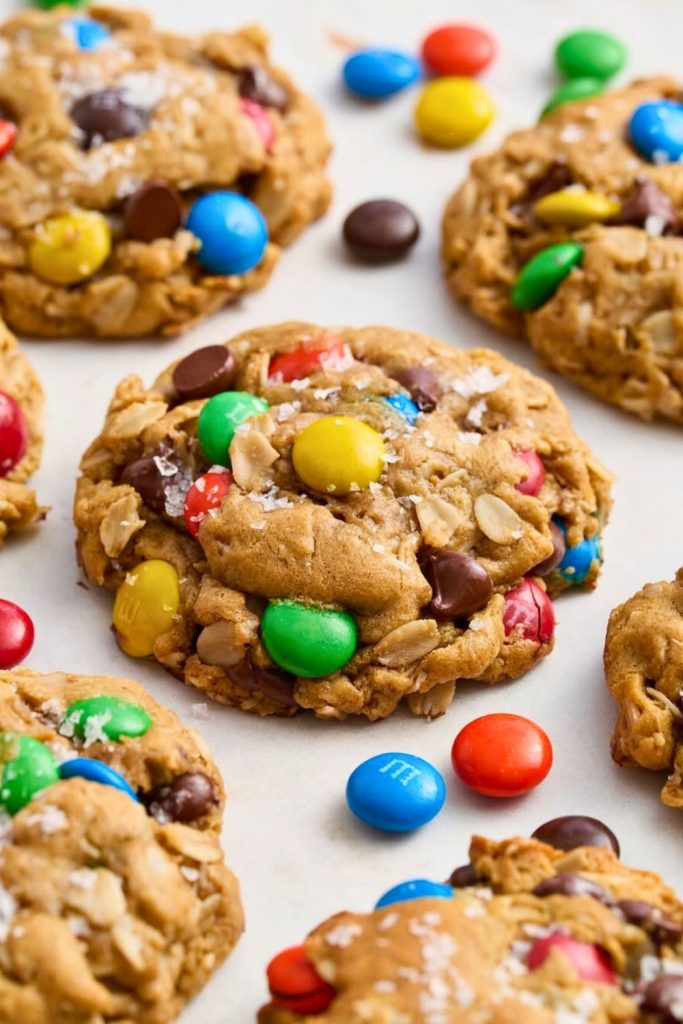
Monster Cookies combine an oatmeal cookie’s chew with creamy peanut butter and two kinds of chocolate.
Every bite has a mix of oats, salty-sweet peanut butter, melted chips, and crisp candy shells.
The exact origin story is uncertain, but the recipe became known for combining several substantial mix-ins in one oversized cookie.
Oats give the dough body, peanut butter helps bind it, and the chocolate pieces create the colorful, loaded appearance behind the name.
They are popular for holiday trays, bake sales, and casual weekends since the thick cookies stay soft after cooling.
The final result is sweet, salty, chewy, and chocolatey without requiring a complicated decorating step.
Ingredients You’ll Need
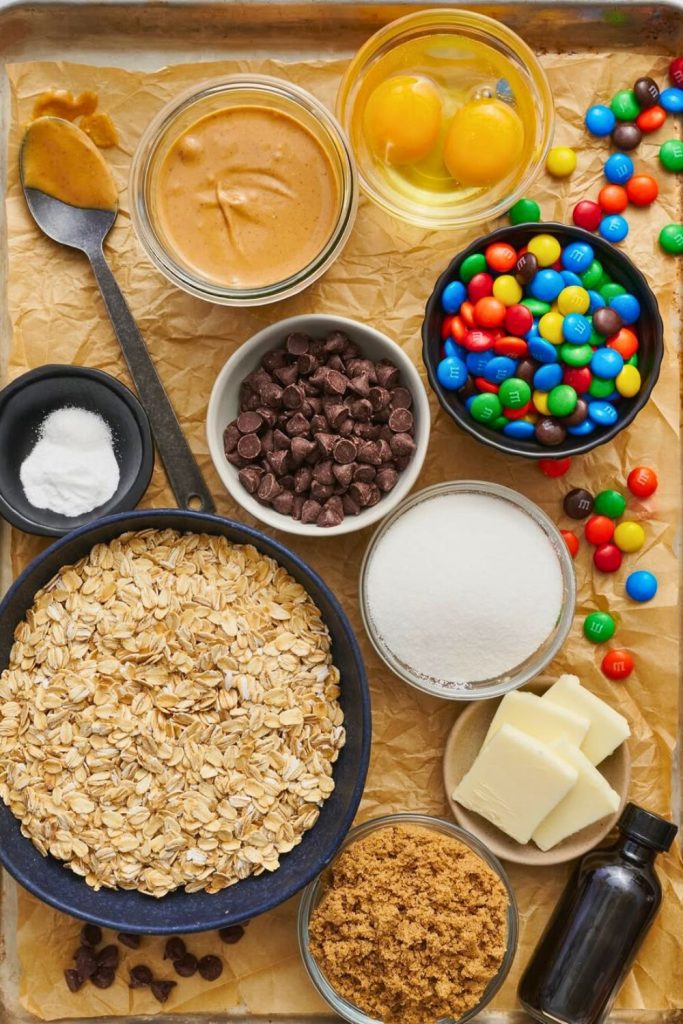
| Category | Ingredient | Amount | Purpose |
|---|---|---|---|
| Dry Ingredients | All-purpose flour | 1½ cups (180 g) | Gives the loaded dough enough structure |
| Baking soda | ¾ teaspoon | Supports spreading and browning | |
| Salt | ½ teaspoon | Balances the sugar and chocolate | |
| Old-fashioned oats | 1 cup | Creates the hearty, chewy texture | |
| Cookie Base | Unsalted butter, softened | 1 cup (226 g) | Provides richness and a tender crumb |
| Creamy peanut butter | 1 cup (250 g) | Use a thoroughly mixed, stable product for predictable texture | |
| Light brown sugar | ¾ cup (165 g) | Adds moisture and molasses notes | |
| Granulated sugar | ⅔ cup (133 g) | Helps the edges set and become lightly crisp | |
| Large eggs | 2 | Bind and enrich the dough | |
| Vanilla extract | 1 teaspoon | Rounds out the sweetness | |
| Mix-ins | Semi-sweet chocolate chips | ½ cup | Add melted chocolate pockets |
| Candy-coated chocolates | 1 cup | Add color, chocolate, and a crisp shell | |
| Optional Finish | Extra chips or candies | As needed | Press onto the tops before baking |
Step-by-Step Guide to Making Monster Cookies
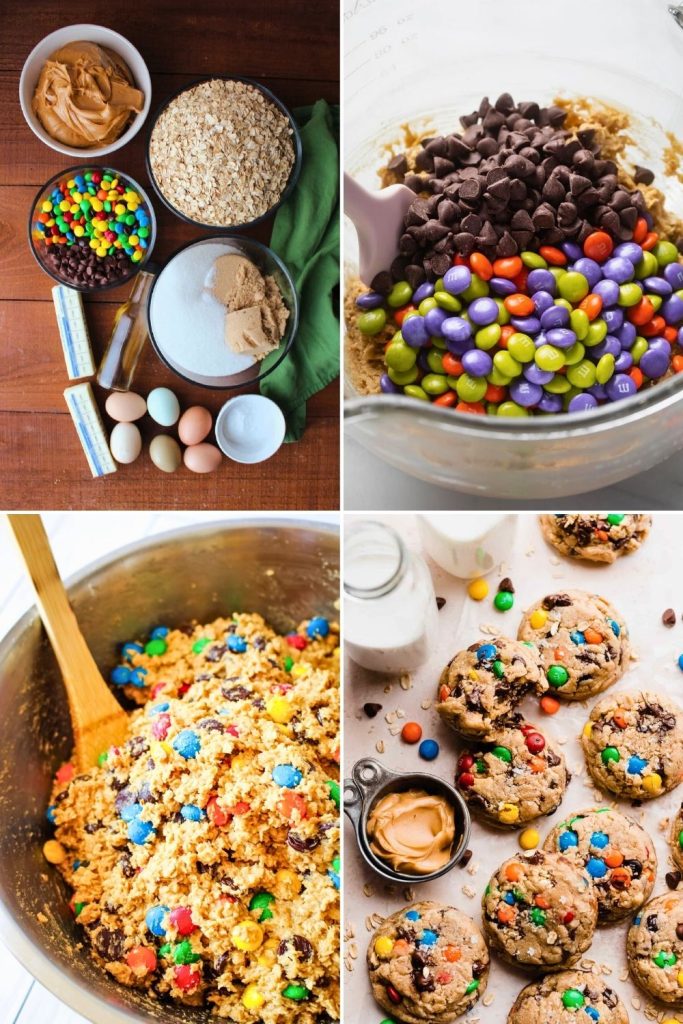
Work through these ten steps for consistent portions, controlled spread, and evenly distributed mix-ins.
Step 1: Preheat Your Oven
Preheat the oven to 350°F (175°C) before mixing the dough.
An oven that has reached full temperature helps the outside set at the correct rate. Starting in a cool oven can cause extra spreading and uneven texture.
The short mixing and chilling period gives the oven enough time to reach temperature.
Step 2: Prepare the Dry Mixture
Whisk the following in a large bowl:
- 1½ cups (180 g) all-purpose flour
- ½ teaspoon salt
- ¾ teaspoon baking soda
Whisking distributes the salt and leavener throughout the flour so the cookies rise and season evenly.
Stir in 1 cup old-fashioned oats, the ingredient that supplies the recipe’s characteristic hearty chew.
Oat Note: Use old-fashioned rolled oats for distinct texture; quick oats will produce a softer, less defined result.
Step 3: Cream the Butter and Peanut Butter
Fit a stand mixer with a paddle, or use a hand mixer and large bowl, then add:
- 1 cup (226 g) unsalted butter, softened
- 1 cup (250 g) creamy peanut butter
The butter should accept a fingerprint but should not look shiny or melted. Beat both fats until the mixture is smooth.
This step creates the creamy base that carries the flavor and controls the cookie’s tenderness.
Peanut Butter Tip: Conventional creamy peanut butter gives the most predictable texture. If using a natural product, stir it extremely well before measuring.
Step 4: Add the Sugars
Add the sugars to the butter mixture.
Add:
- ¾ cup (165 g) light brown sugar
- ⅔ cup (133 g) granulated sugar
Brown sugar brings moisture and molasses notes; granulated sugar supports shape and delicately crisp edges. Break up brown-sugar clumps before mixing.
Mix at medium speed for about 3 minutes, until the mixture is paler and fluffy.
Step 5: Mix in the Eggs and Vanilla
Crack 2 large eggs into a separate bowl, then add them one at a time, letting the first disappear before adding the second.
Add:
- 1 teaspoon vanilla extract
The eggs bind and enrich the dough, while vanilla rounds out the peanut butter and chocolate.
After mixing, the base should look smooth, fluffy, and uniformly blended.
Step 6: Combine Wet and Dry Ingredients
Turn the mixer to low and add the flour-oat mixture in two or three portions.
Stop as soon as the dough begins holding together. Extended mixing can develop gluten and make the cookies firm.
A few small flour or oat streaks are fine since folding in the candy will finish the mixture.
Step 7: Fold in the Fun Stuff
Add the two characteristic mix-ins.
Measure:
- ½ cup semi-sweet chocolate chips
- 1 cup candy-coated chocolates
Turn the mixer once or twice on low, then finish folding with a spatula to distribute the pieces without crushing them or overworking the dough.
Finishing Tip: Reserve a few chips and candies to press into the tops before baking.
Step 8: Chill the Dough
Scoop the dough into 2-tablespoon portions on a parchment-lined tray.
Refrigerate the portions for at least 20 minutes. This optional but helpful rest firms the butter and peanut butter for thicker cookies.
Covered dough can be refrigerated for up to 72 hours, or the individual portions can be frozen.
Freezer Tip: Freeze the scoops on a tray, transfer them to a sealed bag when solid, and bake from frozen with 1 to 2 extra minutes.
Step 9: Bake to Golden Perfection
Confirm the oven is still at 350°F (175°C) before baking.
Space the chilled portions about 2 inches apart and bake for 10 to 12 minutes, until:
- The edges are lightly golden.
- The centers still appear slightly underbaked.
Take them out before the centers look fully set; residual heat finishes the cookies on the tray.
Bake closer to 10 minutes for a softer center or toward 12 minutes for a firmer cookie, accounting for your oven and scoop size.
Step 10: Cool and Enjoy
Cool the cookies on the baking sheet for about 5 minutes, then move them to a rack.
That short rest firms the tender centers while preserving the chewy oats, soft peanut butter base, melted chips, and crisp candy shells.
Store fully cooled cookies in an airtight container at room temperature for about 2 days, or freeze them for up to 2 months.
Monster Cookie Nutrition
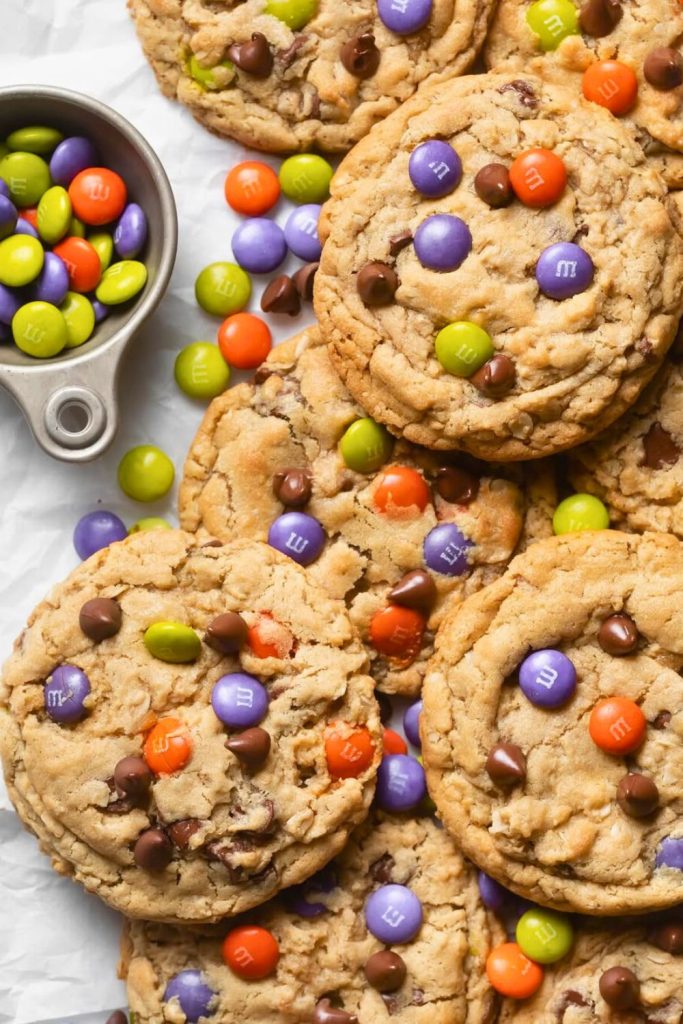
Monster Cookies are a rich dessert containing sugar, butter, peanut butter, flour, oats, and chocolate candy.
Nutrition varies substantially with portion size, ingredient brands, and the amount of candy added.
- Homemade batches let you control scoop size and specific ingredients.
- Large bakery cookies generally contain more of every ingredient than the smaller portions used here.
As a broad example, one large 4-inch cookie has been estimated at about:
- 199 calories.
- 9.7 g total fat.
- 3.8 g saturated fat.
- 19 mg cholesterol.
- 128 mg sodium.
- 26 g carbohydrate.
- 18 g sugar.
- 3.9 g protein.
- 1.7 g dietary fiber.
Treat those numbers as a size-dependent estimate rather than a calculation for this exact batch.
For a different nutrition profile, consider carefully tested adjustments such as:
- Using a well-stirred peanut butter with no added sugar.
- Using a tested gluten-free flour blend and certified gluten-free oats when required.
- Reducing the candy quantity rather than replacing granulated sugar with a liquid sweetener.
- Choosing dark chocolate pieces for a less sweet mix-in.
- Adding a modest amount of ground flaxseed or chia while monitoring dough consistency.
Nutrition figures for commercially sold Monster Cookies vary widely since cookie weights and formulas are not standardized.
The main ingredients contribute in different ways:
- Peanut butter supplies fat, protein, and flavor.
- Oats contribute fiber and the classic chew.
- Sugar and chocolate candy provide sweetness while increasing calorie density.
Enjoy the cookies as a dessert and choose a portion that suits the rest of the meal.
Baking Tips for Perfect Monster Cookies
- Use room-temperature ingredients: Properly softened butter and evenly mixed peanut butter form a consistent base.
- Measure accurately: A scale helps prevent dry cookies from excess flour or uncontrolled spread from too little.
- Chill the portions: A 20-minute rest improves thickness and chewiness.
- Stop mixing early: Once flour is added, mix only until combined to avoid a dense result.
- Fold in the candy last: A spatula distributes the chips and candy without breaking them.
- Underbake slightly: Remove the cookies when the edges are golden but the middle remains soft.
How to Customize Your Monster Cookies
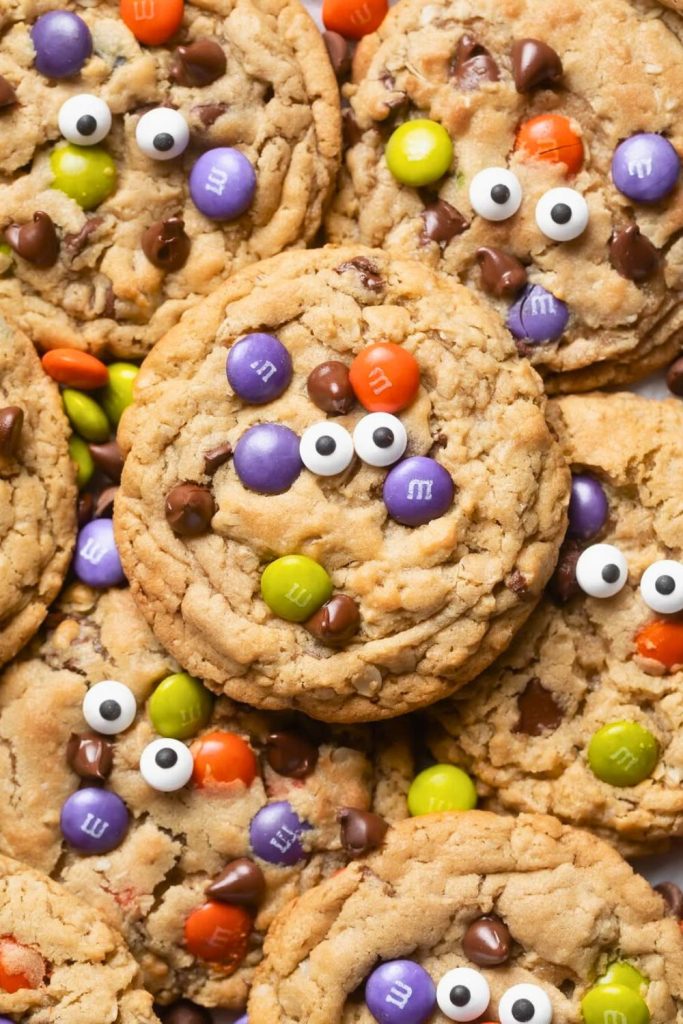
The base dough accepts different colors and mix-ins for seasons, preferences, and dietary needs.
1. Adjust the sweetness:
Reduce some of the candy pieces or use darker chocolate. Major changes to the sugars or butter require a tested formula since they alter spread and texture.
2. Change the mix-ins:
Try white chocolate, dark chocolate chunks, peanut-butter candy, pretzel pieces, or a modest amount of mini marshmallows.
3. Add texture:
Stir in a modest amount of ground flaxseed or another dry addition, checking that the dough remains easy to scoop.
4. Prepare a gluten-free version:
Use a dependable 1-to-1 gluten-free baking blend and oats specifically labeled gluten-free.
5. Match the occasion:
- Christmas: Choose red and green candy-coated chocolates.
- Valentine’s Day: Add pink or red candy and a few heart-shaped sprinkles.
- Halloween: Use orange-and-black candies.
Serving Ideas
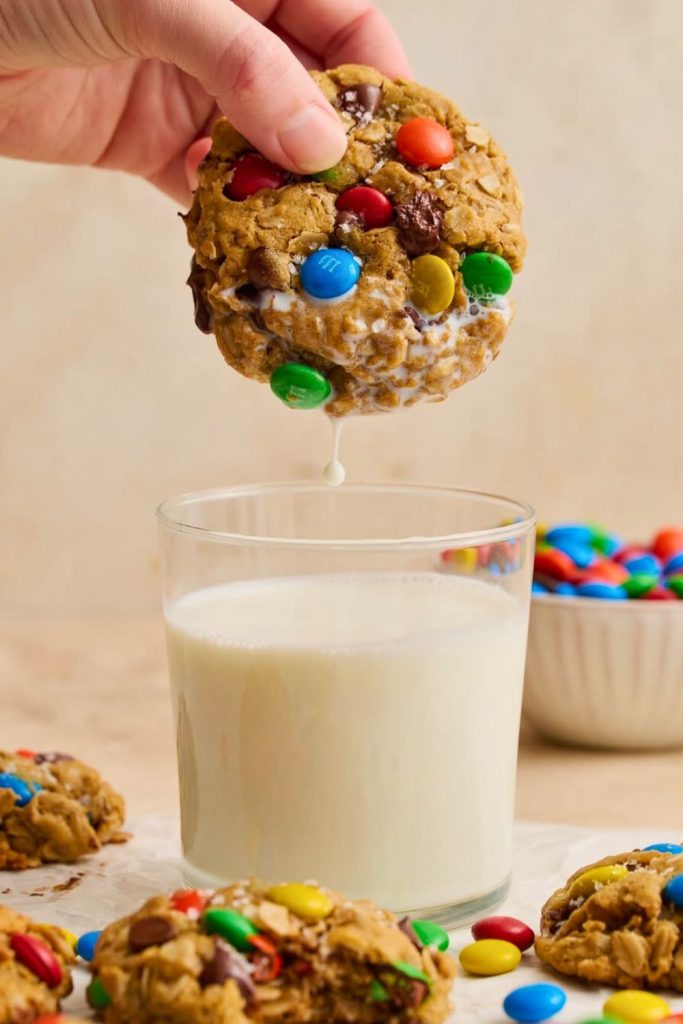
The colorful surface and sturdy, chewy texture suit both casual snacks and planned celebrations.
Try one of these serving options:
- Cookie jar: Store cooled cookies in an airtight container for an easy grab-and-go dessert.
- Ice-cream sandwich: Place vanilla, chocolate, or peanut-butter ice cream between two cooled cookies.
- Sundae topping: Crumble a warm cookie over ice cream and finish with slightly chocolate sauce.
- Party favor: Wrap individual cookies only after they have cooled completely.
- Lunchbox: Pack one in a firm container to protect the candy-studded surface.
Serve them slightly warm or freeze extras for later; either way, the oats and loaded mix-ins provide their characteristic texture.
Final Thoughts
Monster Cookies are soft, colorful, and deliberately packed with classic cookie ingredients.
Mix a batch when you want a nostalgic dessert that does not require icing or elaborate shaping.
Enjoy them after cooling, or freeze individual portions for a convenient future snack.
Monster Cookies

More Delicious Recipes You’ll Love
Continue with these related FeastBears treats:
- 🍫 Easy Peanut Butter Balls Recipe for Christmas — Make crisp peanut butter centers coated in chocolate without baking.
- ❤️ 15-Min Prep Red Velvet Cookies for Christmas — Bake soft red cocoa cookies with white chocolate chips.
- 🍪 No-Fail Peanut Butter Blossom Cookies for Parties — Top classic peanut butter cookies with chocolate kisses.
Choose one next and keep the cookie tray varied with different textures and flavors.

Dana Brooks is a home-cooking writer at Feastbears, where she shares easy family recipes, cozy dinners, quick desserts, and beginner-friendly kitchen tips. Her goal is to make everyday cooking feel simple, warm, and enjoyable for busy home cooks.


