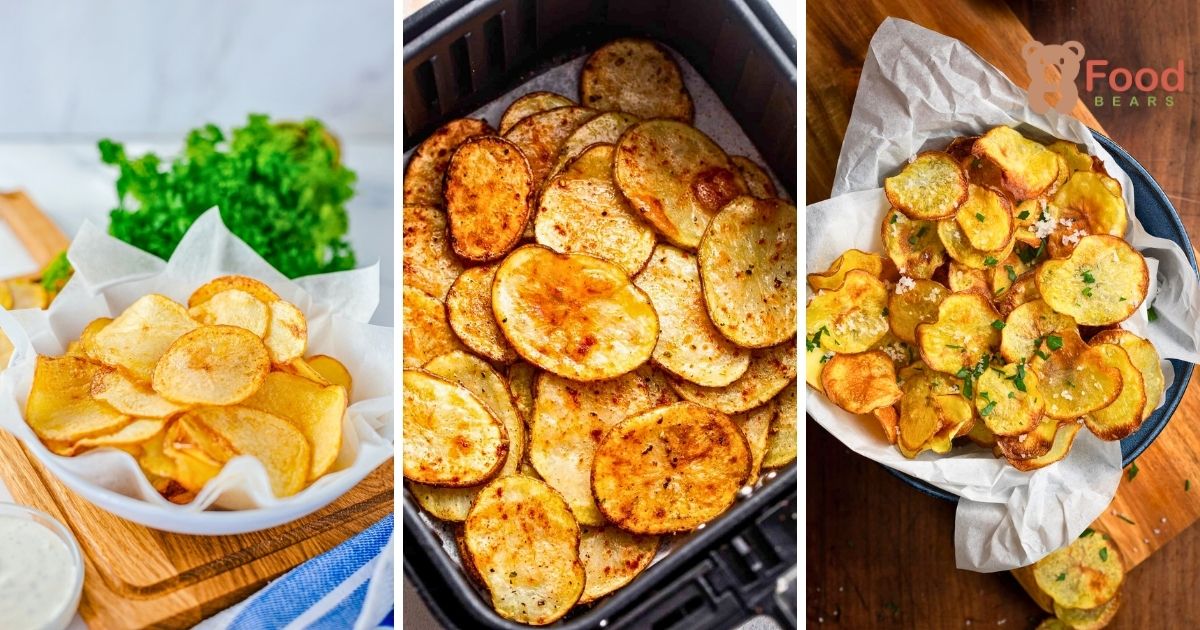
These homemade air-fryer potato chips turn a few everyday ingredients into a thin, crunchy snack with far less oil than traditional frying.
A cold-water soak washes away excess starch, while careful drying and moderate heat help the slices crisp instead of steam.
Keep them classic with fine sea salt, or finish a warm batch with barbecue seasoning, garlic Parmesan, chili-lime, or another dry blend.
The method below keeps the original order: choose and slice the potatoes, soak and dry them, add oil, air-fry, cool, and store.
🧂 Ingredients for Potato Chips
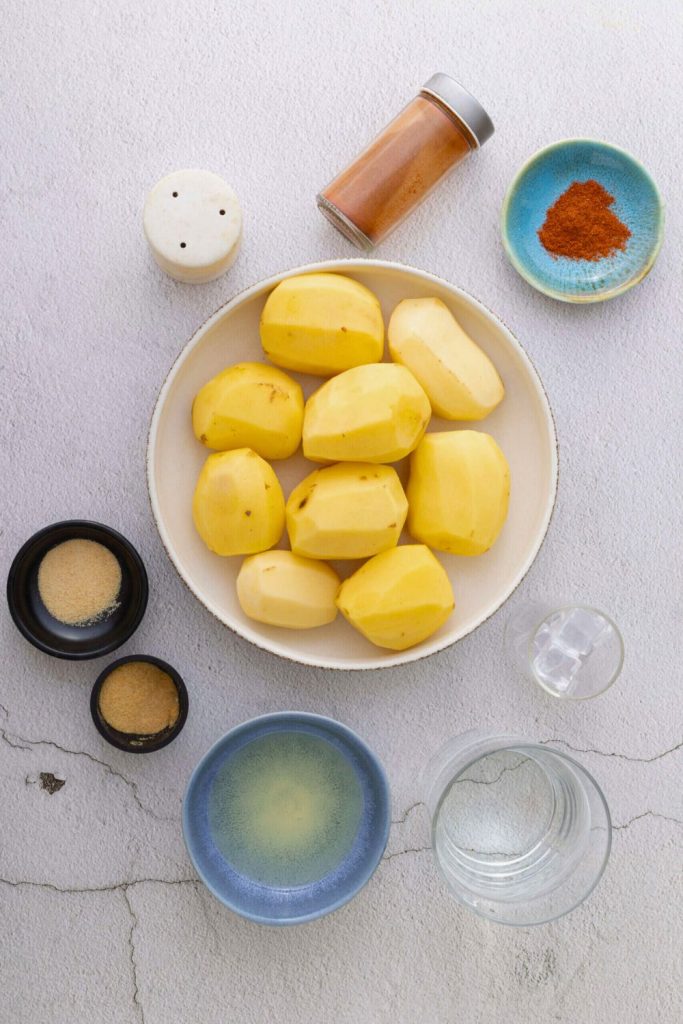
Only a handful of ingredients are needed, but the potato variety, oil coverage, and timing all influence the final crunch.
| Ingredient | Quantity | Purpose / Notes |
|---|---|---|
| Russet potatoes | 2 medium | High starch and low moisture produce crisp chips. |
| Cold water and ice | Enough to cover slices | Removes excess surface starch. |
| Paper towels or clean tea towel | As needed | Dries slices before cooking. |
| Olive oil spray or olive oil | Light coating or 1 tablespoon | Encourages browning without deep frying. |
| Fine salt | 1/4 teaspoon, or to taste | Adheres to the warm chip surfaces. |
| Optional seasoning | 1/2–1 teaspoon, as desired | Use barbecue, ranch, garlic, onion, paprika, or another dry blend. |
🥄 Ingredient guidance
- Potatoes: Russet or Idaho varieties have enough starch to crisp well; Yukon Gold produces a slightly softer result.
- Oil: Olive, avocado, or canola oil can provide a light, even coating.
- Salt: Fine salt adheres more evenly than coarse crystals when added to warm chips.
- Seasonings: Add dry blends immediately after cooking so they stick to the lightly oiled surfaces.
🥔 Step-by-Step: How to Make Perfect Potato Chips at Home

Consistent thickness and a dry surface are the two biggest factors in evenly crisp air-fryer potato chips.
A couple of medium potatoes make a fresh snack-size batch without the pot of oil required for deep frying.
Work through the steps in sequence and let the cooked slices cool fully, because they become firmer as steam escapes.
🥔 Step 1: Choose the Right Potato
Start with a potato that naturally contains plenty of starch and relatively little moisture.
Russet or Idaho potatoes are ideal because their starchy flesh dries and browns well in circulating hot air.
Their lower moisture content helps the centers cook through before the edges become too dark.
Red potatoes, fingerlings, and other waxy varieties hold more moisture, so they usually produce a softer chip.
Selection tip: Choose firm potatoes without green areas, sprouts, bruises, or soft spots.
Once the potatoes are selected, wash them and set up a stable cutting surface before reaching for the slicer.
🧽 Step 2: Prep and Peel
Rinse each potato well so no grit remains, then dry the outside before peeling or slicing.
Scrub the potatoes under cold running water and pat them dry with a clean towel.
Peeling gives the chips a smooth, uniform appearance, but it is optional. If you enjoy a rustic edge, leave the skin on after a thorough scrub.
If you decide to keep the skins, scrub the potatoes thoroughly with a vegetable brush before slicing.
After peeling, rest the potatoes on a clean, stable cutting board.
🔪 Step 3: Slice Thin and Even
Even slicing matters here because slices of different thicknesses will finish cooking at different times.
Aim for rounds about 1/16 inch thick. Thin, uniform slices crisp reliably; thicker or uneven pieces may stay chewy while the edges brown.
You have several options for slicing:
- Mandolin slicer: Ideal for consistency, but be careful, those tools are razor-sharp. Choose the safety guard or cut-resistant gloves.
- Sharp chef’s knife: Offers complete control over thickness and shape. It takes a bit longer, but it is safer and more satisfying if you enjoy using your knife.
- Vegetable peeler: Surprisingly effective for getting ultra-thin curls of potato. Those chips will have a beautiful, natural wave when fried.
Pro Tip: A mandoline gives the most consistent results. Always use its hand guard or wear a cut-resistant glove.
🧊 Step 4: Soak the Slices
Place the freshly cut slices in cold water before cooking them.
The soak draws loose starch from the surface, reducing sticking and helping the finished chips feel lighter and crisper.
Use this soaking method:
- Set the potato slices in a large bowl.
- Cover the slices completely with cold water and several ice cubes.
- Allow the slices soak for 10 minutes.
Cloudy water is a good sign—it shows that surface starch is leaving the potatoes.
After 10 minutes, drain and rinse the slices. Cover them with fresh cold water, swish briefly, and drain once more.
That second rinse removes remaining starch without changing the potato flavor.
🧻 Step 5: Dry Thoroughly
The slices must now be dried thoroughly so water does not turn to steam in the fryer.
Arrange them between clean towels in one layer and press gently until both sides feel dry.
For an even better result, leave the pressed slices exposed to the air for a few minutes before seasoning.
While drying, inspect your slices. If you find one that is way too thin on one side (almost see-through), set it aside. It will burn faster than the rest.
Pro Tip: Moisture is the enemy of crunch. Take the time here. This one step creates the difference between soggy and shatter-crisp chips.
After the slices are dehydrated, transfer them to a large, clean bowl.
🧂 Step 6: Coat with Oil and Seasoning
Add just enough oil to coat the potatoes with a very light sheen.
Mist the slices with olive-oil spray and toss, or drizzle over about 1 tablespoon olive oil and mix gently by hand.
Every slice should be lightly coated, not wet. Excess oil weighs the chips down, while bare spots can brown unevenly.
Sprinkle with ¼ teaspoon fine salt, toss again, and save stronger seasoning blends for the warm cooked chips.
At this stage, you can get creative! Incorporate any of a favorite spice blends:
- Paprika + garlic powder for a smoky taste.
- Combine chili powder and cumin for a warmer spicy coating.
- Rosemary and sea salt create a simple herb flavor.
Batch tip: When making several flavors, air-fry the slices without seasoning, divide the cooked chips, and toss each portion separately.
🍳 Step 7: Air Fry to Perfection
Preheat the air fryer and give each slice room for hot air to circulate.
Cook at 325°F (160°C). This moderate temperature lets moisture escape before the delicate edges burn.
Arrange the slices in a single layer. A little space between them is better than overlap, so cook in batches when necessary.
Air-fry for roughly 15 minutes, turning or shaking the basket every 5 minutes.
At every check, separate the slices and monitor their color:
- Lighter chips may still look tender at first, but will crisp as they cool.
- Remove any chips that have already become golden and crisp, then continue cooking the paler slices.
If some slices remain pale after 15 minutes, continue in 2-minute bursts and remove any chips that are already crisp.
Air fryers vary in power and airflow, so use color and texture—not the clock alone—as your final guide.
Basket tip: Move faster-browning edge pieces toward the center to promote even cooking.
🌡️ Step 8: Cool and Crisp
Cooling is the last part of the cooking process, not an optional pause.
Spread the hot chips on a wire rack or paper-towel-lined tray so steam can escape from every side.
They will feel firmer and sound crisper after a few minutes at room temperature.
Now’s also the moment to stir in any final seasonings:
- Toss them in ranch powder for a creamy, tangy taste.
- Add smoked paprika for warm, earthy seasoning.
- Choose fine sea salt for a simple classic batch.
Once fully cooled, taste one and adjust the salt or seasoning while the surface still holds a light trace of oil.
Pro Tip: Keep the cooled chips in an airtight container at room temperature. They’ll stay fresh and crisp for as long as a week, if you can resist eating them all immediately!
🌈 Flavor Variations You’ll Love
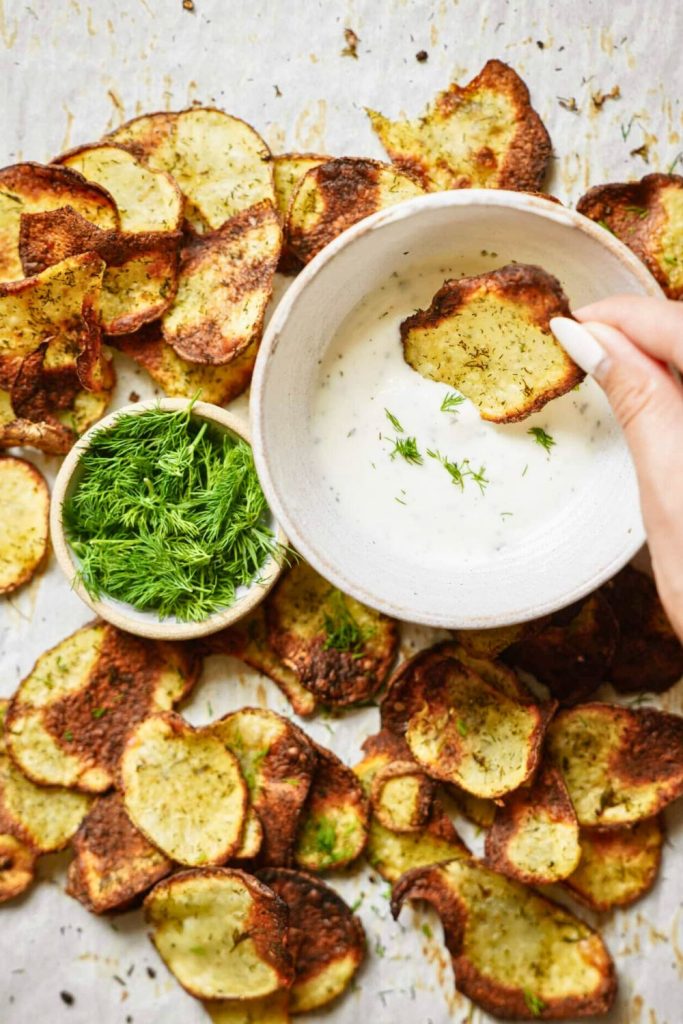
The basic salted chip is only a starting point; the same method works with tangy, smoky, cheesy, spicy, or herb-forward finishes.
Use the flavor chart below to match each seasoning with the best time to add it.
Apply dry seasonings while the chips are warm so the powder adheres instead of falling to the bottom of the bowl.
| Flavor | Seasoning | How to Apply |
|---|---|---|
| Sea salt | Fine sea salt | Season immediately after cooking. |
| Barbecue | Brown sugar, smoked paprika, chili powder, garlic powder, and salt | Toss with warm chips. |
| Garlic Parmesan | Parmesan, garlic powder, and oregano | Add while chips are hot. |
| Sour cream and onion | Buttermilk powder, onion powder, garlic powder, and chives | Shake with warm chips in a bag or bowl. |
| Ranch | Ranch seasoning and optional dill | Toss after cooking. |
| Herb salt | Rosemary, thyme, and flaky salt | Add after air frying. |
| Salt and vinegar | Malt or apple-cider vinegar spray and salt | Mist during the final flip, then salt after cooking. |
| Chili lime | Chili powder, lime zest, and salt | Toss with warm chips. |
| Cinnamon sugar | Sugar and cinnamon | Use on slightly thicker slices after cooking. |
| Truffle Parmesan | A few drops truffle oil and grated Parmesan | Apply sparingly while hot. |
🥇 Bonus Tips for Perfect Potato Chips

Small technique changes can noticeably improve a simple batch of potato chips. Focus on starch removal, slice thickness, basket space, and temperature.
1. Soak the Slices Twice
The double-soak method removes surface starch, ensuring the chips cook evenly and remain dry and crisp. Skipping the step often results in soggy chips, regardless of how long you air fry them.
2. Maintain Consistent Thickness
Thin, even slices are non-negotiable. If one side is thicker, that chip will cook unevenly, tender in the center and burnt on the edge. Choose a mandolin or take the time with a knife.
3. Leave Space in the Air-Fryer Basket
The air fryer needs space for the hot air to circulate. Cook in batches if necessary. Overlapping slices will steam instead of being crisp.
4. Moderate Heat Produces Better Crunch
At 325°F (160°C), moisture escapes before the thin slices overbrown; higher heat can darken the edges while the centers remain chewy.
🍽️ Serving Ideas

Serve these chips as a snack, a crunchy lunch side, a dip companion, or even a crisp topping for soups and salads.
🥪 1. Use as a Lighter Side
Pair the warm chips with one of these main dishes:
- Burgers stir in a crunch to the side of the BBQ spread.
- Serve beside sandwiches or wraps in place of fries.
- Grilled Cheese, with its salty crunch, evenly complements the melty cheese.
🧀 2. Add a Dipping Sauce
Chips + dip = happiness. Consider pairing your homemade chips with:
- French onion dip is creamy, tangy, and evenly paired with potatoes.
- Guacamole supplies a cool, creamy contrast.
- Hummus or tzatziki adds a Mediterranean-style option.
- Buffalo ranch works for anyone who prefers noticeable heat.
🥗 3. Scatter Over Salad or Soup
Crush several chips and sprinkle them over a favorite green salad for a crunchy texture. They also make a fun topping for creamy soups, such as potato leek, broccoli cheddar, or chowder.
🍗 4. Use as a Crisp Coating
Choose crushed chips as a coating for:
- Crush over baked chicken tenders.
- Use as a crunchy topping for macaroni and cheese.
- Breaded fish or shrimp
The chips stir in both taste and crunch, no breadcrumbs needed!
💬 Final Thoughts
Fresh air-fryer potato chips deliver clean potato flavor, crisp edges, and full control over oil, salt, and seasoning.
After you learn the slicing and soaking routine, it is easy to make each batch taste different with a new spice blend.
Let every chip cool completely before storage so trapped condensation cannot soften the batch.
Air Fryer Potato Chips

💡 More Cozy Potato Recipes to Try Next
For more potato-based comfort food, follow these FeastBears links:
Oven-baked wedges have crisp outsides, fluffy centers, and enough structure for dipping.
These pan-fried mashed-potato patties are golden outside and soft within.
Creamy potatoes, vegetables, and ham make this soup a substantial family meal.

Dana Brooks is a home-cooking writer at Feastbears, where she shares easy family recipes, cozy dinners, quick desserts, and beginner-friendly kitchen tips. Her goal is to make everyday cooking feel simple, warm, and enjoyable for busy home cooks.


