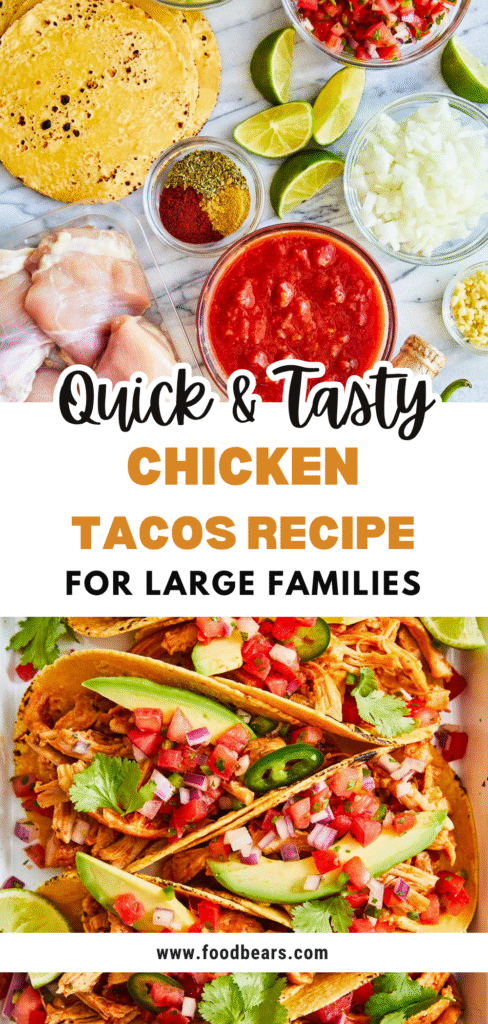
These baked chicken tacos pair savory seasoned chicken with melted cheese and crisp taco shells, then finish with fresh toppings at the table.
Baking several tacos together makes this method especially convenient for family dinners, game nights, or casual gatherings.
The warm filling can be prepared ahead, while lettuce, tomato, avocado, and other cold toppings stay separate until serving.
Once assembled, the tacos need only a short bake to heat through, melt the cheese, and crisp the shells.
🧡 Why You’ll Love These Baked Chicken Tacos
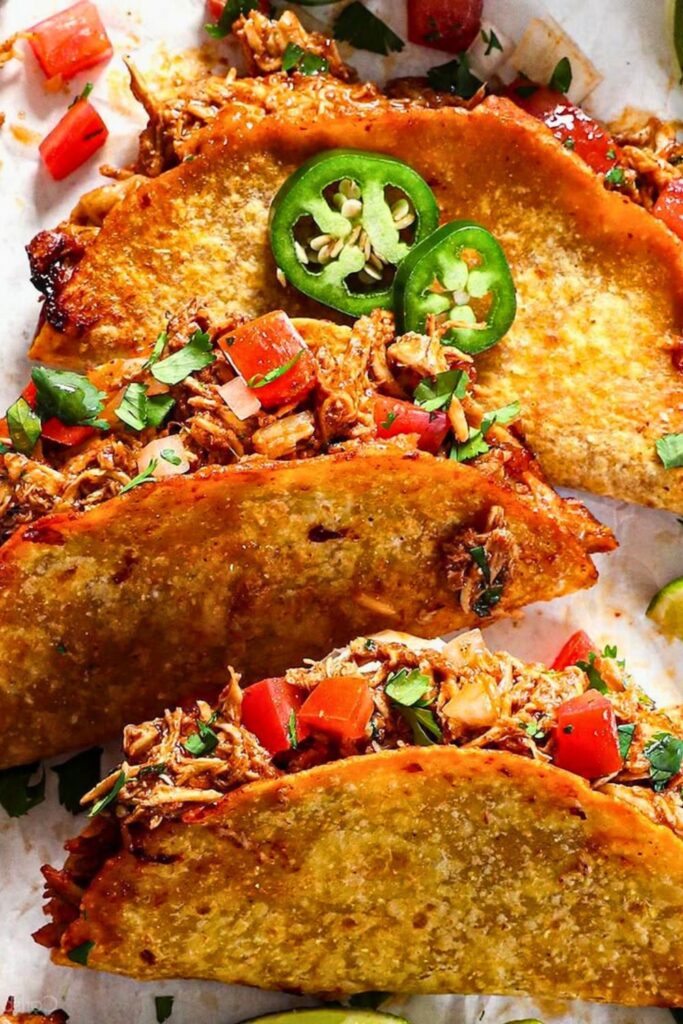
Baked tacos are easy to assemble in a batch and simple to customize. The shells become crisp in the oven while the chicken stays tucked beneath a layer of melted cheese.
A short ingredient list and an easy assembly method keep the process manageable, even when dinner needs to come together quickly.
Very Little Stovetop Work
Once the chicken is cooked, the main jobs are mixing the filling, arranging the tortillas, and letting the oven melt the cheese and crisp the edges.
A Useful Rotisserie Chicken Meal
Rotisserie chicken saves the step of cooking raw meat. Remove the skin and bones, shred the meat, and measure out what you need.
Easy to Adapt for the Table
Keep the filling mild if you prefer, then offer hot sauce, salsa, and chilies separately so diners can add their own heat.
Quick When the Chicken Is Already Cooked
Plan on about 30 minutes with cooked chicken and your ingredients ready. That estimate does not include cooking chicken from raw or baking several rounds of tacos.
Flexible Ingredients
The same assembly idea also works with cooked ground meat, beans, or vegetables. Adjust the seasoning and moisture to suit the filling you choose.
🛒 Ingredients You’ll Need for Baked Chicken Tacos
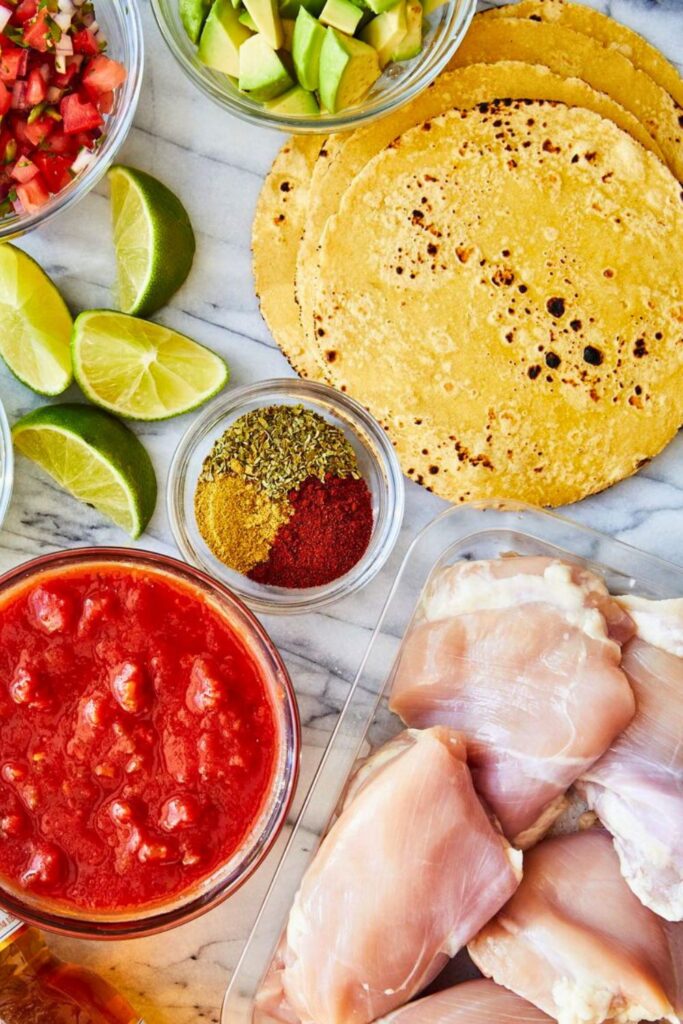
Arrange the ingredients in three groups: cooked chicken filling, shells and cheese, and fresh toppings. Keeping the cold garnishes separate protects their texture.
These amounts make approximately 10–12 small tacos, depending on how generously you fill each tortilla.
| Ingredient | Amount | Notes |
|---|---|---|
| Cooked Chicken (shredded) | 2 cups | Start with fully cooked, safely stored shredded chicken. |
| Rotel Tomatoes with Green Chilies | 1 can (10 oz), drained | Drain thoroughly; choose the chili heat you prefer. |
| Taco Seasoning | 2 tablespoons | Check the salt level of your chosen blend. |
| Fresh Lime Juice | 1 tablespoon | Measure the juice for a bright, tangy filling. |
| Corn Tortillas | 10–12 small | Warm briefly first if stiff; leave space around each on the tray. |
| Mexican Shredded Cheese Blend | 2 cups | Divide into 1 cup below the chicken and 1 cup above it. |
| Olive Oil Spray or Brush-On Oil | As needed | Apply a light, even coating to both tortilla surfaces. |
Optional Toppings
You do not need every topping below. A couple of crunchy, creamy, or tangy additions will give the warm tacos contrast.
- Shredded lettuce for a cool, crisp finish.
- Diced tomatoes or well-drained pico de gallo.
- Fresh cilantro, roughly chopped.
- Sour cream or plain Greek yogurt.
- Your preferred hot sauce or salsa.
- Lime wedges for squeezing over the finished tacos.
Helpful Equipment
- A stand mixer can shred a larger batch of cooked chicken on low speed, but two forks work just as well for this amount.
- An oil sprayer or pastry brush makes it easier to coat the tortillas lightly and evenly.
- Use a large baking sheet, or two sheets if the tortillas would otherwise overlap.
- Parchment or a silicone baking mat can help with cleanup; check that it is rated for 425°F.
🌮 How to Make Chicken Tacos (Step-by-Step Guide)

Prepare the chicken filling first, then arrange the shells snugly in a baking dish so they remain upright. Add the cheese before baking and save fresh toppings for the finished tacos.
Before starting these five steps, heat the oven to 425°F (220°C) so it is ready when the assembled tacos are.
🔪 Step 1: Shred the Chicken
Begin with chicken that is fully cooked and has been stored safely.
Measure 2 cups of shredded cooked chicken into a mixing bowl.
Chicken Options
- Rotisserie chicken, with all skin and bones removed.
- Previously cooked chicken breasts or thighs.
- Leftover cooked chicken that has stayed refrigerated and is still within its safe storage period.
White meat, dark meat, or a mixture will work. Break up large pieces so the filling spreads easily.
Ways to Shred It
- Pull cooled, cooked chicken apart with clean hands when it is comfortable to handle.
- Use two forks to separate the meat into small strands.
- For a larger amount, use a stand mixer on low in short bursts, stopping before the chicken becomes too finely broken down.
Keep the shredded chicken in the bowl while you prepare the remaining filling ingredients.
🍅 Step 2: Make the Chicken Filling
The tomatoes, seasoning, and lime add flavor without needing a separate sauce.
Add to the Chicken
- 1 drained 10-ounce can of Rotel tomatoes with green chilies.
- 2 tablespoons taco seasoning.
- 1 tablespoon fresh lime juice.
Choose mild or hotter tomatoes according to your preference. Draining the can helps keep the tortillas from becoming soggy.
Choosing Taco Seasoning
Use a store-bought blend or your usual homemade mixture. Salt levels vary, so taste the cooked-chicken filling before adding any extra salt.
Getting More Juice from a Lime
Roll the lime firmly on the counter before cutting it, then squeeze and measure the juice.
Stir until the chicken is evenly coated. The filling should be moist but should not leave a puddle of liquid in the bowl.
Set the bowl aside briefly while preparing the tortillas. Refrigerate it if assembly will be delayed.
🌯 Step 3: Prep the Tortillas
A thin coating of oil helps the tortillas brown in the oven without deep-frying.
🧂 Here’s what to do:
- Arrange 10–12 small corn tortillas on one or two baking sheets. If they feel stiff, warm them briefly first so they are less likely to split.
- Lightly coat both sides of each tortilla with oil so the surface can brown without deep-frying.
- If you do not have an oil sprayer, brush on a light, even layer instead.
- Cooking spray is another option; coat the surfaces rather than soaking them.
- Leave the tortillas in a single layer without overlapping so the edges can crisp.
An oil sprayer is convenient, but it is not essential for this recipe.
Even spacing and a light oil coating make a bigger difference to crisp tacos than using a particular tool.
🧀 Step 4: Assemble the Tacos
Layer the cheese and chicken while keeping the filling away from the very edges.
🧩 Assembly Instructions:
- Divide half the shredded cheese—about 1 cup—among the oiled tortillas.
- A Mexican cheese blend works well, or use a combination of Monterey Jack and cheddar.
- Divide the chicken mixture evenly among the tortillas, keeping each portion fairly flat.
- Scatter the remaining 1 cup cheese over the chicken.
Cheese below and above the filling helps hold the tacos together once it melts.
The tacos go into the oven open-faced; you will fold them after baking.
🔥 Step 5: Bake to Perfection
Check that the oven has reached 425°F (220°C) before putting in the tray.
Baking and Folding
- Place the tray of open tortillas in the hot oven.
- Bake uncovered for about 10–12 minutes, checking the filling temperature as well as the edges.
- Look for melted cheese and lightly crisp edges. Because this is reheated cooked chicken, check that the filling reaches 165°F (74°C); melted cheese alone does not confirm that.
- Use tongs or a spatula to fold each tortilla in half while it is still hot and flexible.
Work carefully around the hot tray. Folding promptly helps prevent the tortillas from cracking as they cool.
Move the folded tacos to a serving plate and add toppings just before eating.
🎉 Bonus: Pro Tips for Perfection
- Use enough oil for a thin coating, not enough to leave the tortillas greasy.
- Choose baking paper or a mat suitable for the oven temperature, and keep parchment away from exposed heating elements.
- Serve soon after baking for the crispest texture.
- Add lettuce, tomatoes, and creamy toppings after baking so they stay fresh and cool.
🌮 How to Build the Ultimate Chicken Tacos
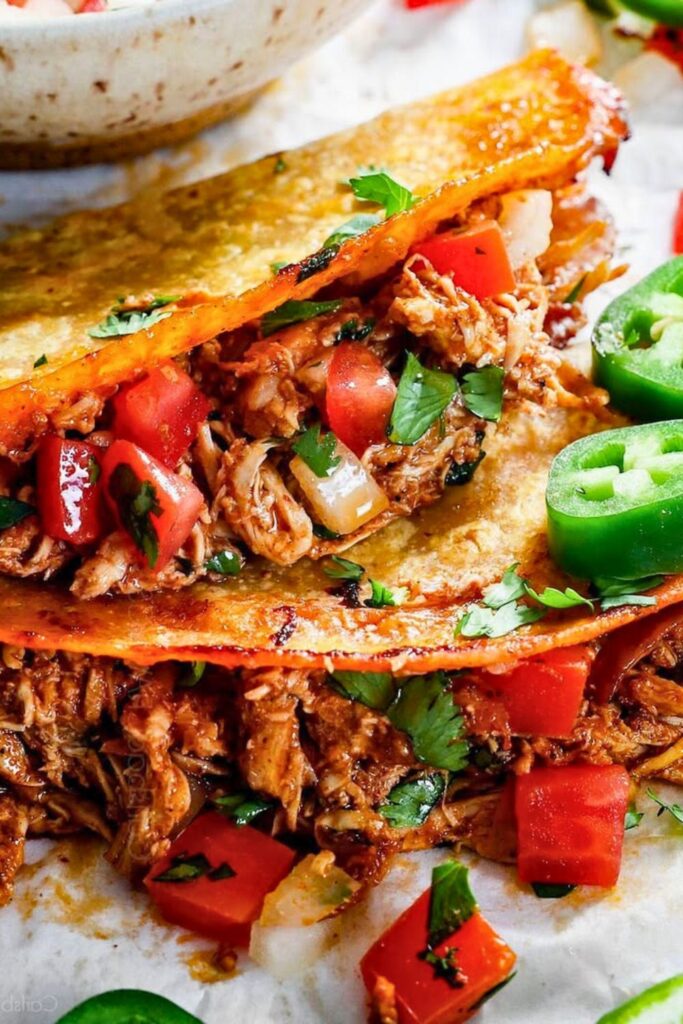
A good taco balances a warm savory filling with creamy, crisp, tangy, and spicy accents. Choose a few toppings rather than overloading the shell.
Start with a little of each topping rather than packing the tortillas too full.
Shredded Lettuce
Lettuce brings a clean crunch to the rich chicken and cheese.
- Romaine and iceberg both work; slice either into thin shreds.
- Keep the lettuce chilled until serving.
- Use a modest handful so the taco remains easy to fold and eat.
Tomatoes or Pico de Gallo
A fresh tomato topping adds juiciness and a little acidity.
- Diced tomatoes are the quickest option when you do not want to prepare a salsa.
- Pico de gallo adds onion, cilantro, chili, and lime as well as tomato.
- Drain excess tomato juice before spooning it into the tacos.
For a simple pico, combine chopped tomato, onion, cilantro, and jalapeño with lime juice, then season to taste.
Fresh Cilantro
Cilantro gives the finished tacos a bright, herbal note.
- Roughly chop the leaves and tender stems.
- Add it just before serving to keep its fresh flavor.
If cilantro is not for you, try a little parsley or sliced green onion instead.
Sour Cream or Greek Yogurt
Sour cream adds richness, while plain Greek yogurt gives a similarly creamy, tangy finish.
- Spoon a little on top or use a small piping bag for a thin drizzle.
- Stir in lime zest or a few drops of hot sauce if you want to season the creamy topping.
Hot Sauce and Salsa
Serve hot sauce at the table so everyone can decide how much heat to add.
- Choose a sauce you already enjoy, whether smoky, tangy, or especially hot.
- A chunky salsa also works; drain off excess liquid to protect the crisp tortilla.
🔄 Taco Filling Variations You Can Try
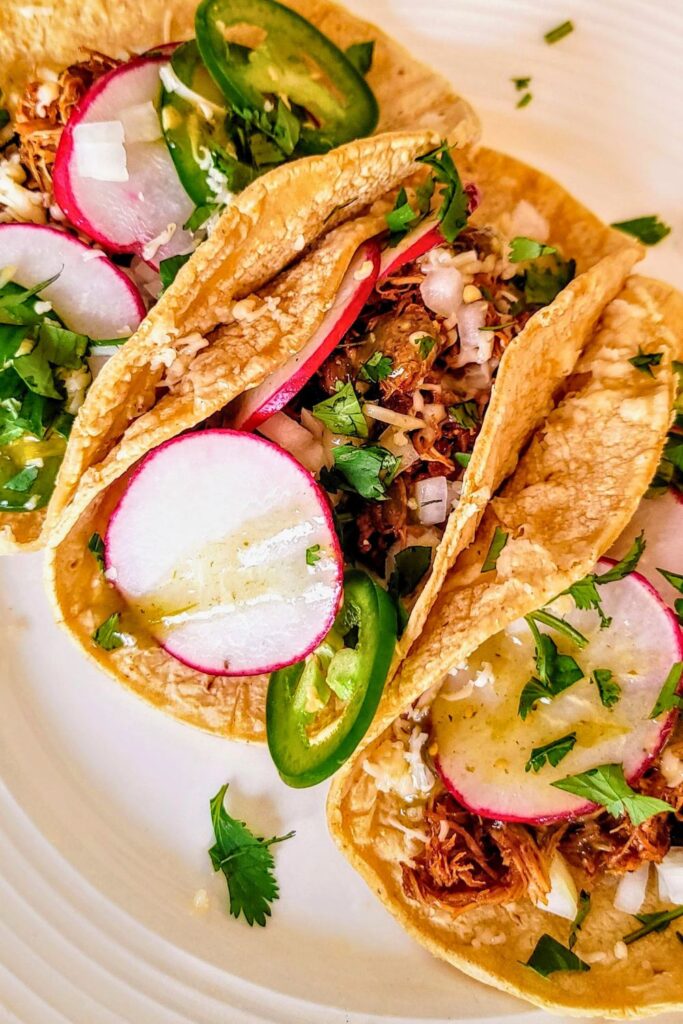
The baked method works with several cooked fillings, from shredded beef to beans and vegetables. Drain away excess liquid so the shells stay crisp.
Cook alternative meats completely before filling the tortillas, and keep bean or vegetable mixtures from becoming too wet.
These filling ideas offer a few ways to use the same oven-baked approach.
Ground Beef
Brown ground beef in a skillet, breaking it into small pieces, then drain excess fat.
- Cook ground beef to 160°F (71°C) before using it in the tacos.
- Season to suit the amount of meat. Two tablespoons of taco seasoning can be a starting point; add a splash of water to distribute it.
- Simmer the seasoned, cooked beef for about 5 minutes as needed to reduce excess liquid before assembling.
Ground Turkey
Ground turkey makes another mild filling that takes well to taco seasoning.
- A 93% lean blend is one option; choose according to your preferred flavor and texture.
- Cook it with seasoning until it reaches 165°F (74°C), adjusting the salt to your blend.
- A little salsa can keep the filling moist without making it watery.
Beans
A bean filling works well when you want a meatless version.
- Use cooked black or pinto beans, drained well.
- Season with taco spices, lime juice, and a little oil if needed.
- Mash some of the beans lightly to help the mixture hold together.
- Add corn or cooked bell pepper for extra texture.
Beans are also a practical way to stretch the filling using pantry ingredients.
Ground Chicken
Ground chicken offers a different texture from shredded chicken while keeping a mild flavor.
- Cook it in a skillet with taco seasoning and a little water as needed.
- Simmer for about 5–7 minutes as a guide, but use a thermometer to confirm 165°F (74°C) rather than relying on time alone.
- Use the fully cooked, drained mixture in place of the shredded chicken.
Pulled Pork
Properly stored leftover pulled pork can also fill these tacos.
- Reheat the pork to 165°F (74°C) and avoid adding excess cooking juices to the tortillas.
- You may prefer a lighter layer of cheese if the pork is already rich or heavily sauced.
Final Thoughts
Baked chicken tacos make it easy to serve a whole tray of hot, cheesy tacos at once.
Keep the filling flavorful but not watery, bake until the cheese melts, and let everyone add their favorite fresh toppings just before eating.
Change the toppings or try another fully cooked filling to suit what you have available.
Enjoy them fresh for the best crunch. Refrigerate leftovers within 2 hours, or 1 hour above 90°F, and use cooked chicken within 3–4 days of its original cooking date. Reheating does not restart that storage clock; reheat leftovers to 165°F.
Crispy Baked Chicken Tacos

🔗 More Easy Weeknight Recipes You’ll Love
For more chicken dinner ideas, explore these recipes next:
🌶️ The Easiest Chicken Fajita Recipe Ever
Sliced chicken, colorful peppers, and onion cook together with lime and warm spices for a skillet dinner you can serve in tortillas.
🍱 Easy 35-Min Teriyaki Chicken Recipe for Dinner
A homemade sweet-savory glaze coats tender chicken pieces, with rice and optional broccoli alongside.
🧀 Easy Chicken Quesadilla Recipe for Dinner
Marinated chicken, melted cheese, and a crisp tortilla make these quesadillas a satisfying option when you can plan ahead for marinating.

Dana Brooks is a home-cooking writer at Feastbears, where she shares easy family recipes, cozy dinners, quick desserts, and beginner-friendly kitchen tips. Her goal is to make everyday cooking feel simple, warm, and enjoyable for busy home cooks.


