Thin chicken cutlets cook in a single skillet, then a fresh lemon, black-pepper, garlic, and butter sauce is built directly in the browned pan.
The method is practical for a weeknight dinner, yet the bright pan sauce makes it polished enough for guests or planned lunches.
This version follows the original ingredient list and sequence while clarifying how to slice, season, sear, finish the sauce, serve, and store the chicken.

🍋 Why You’ll Love This Lemon Pepper Chicken
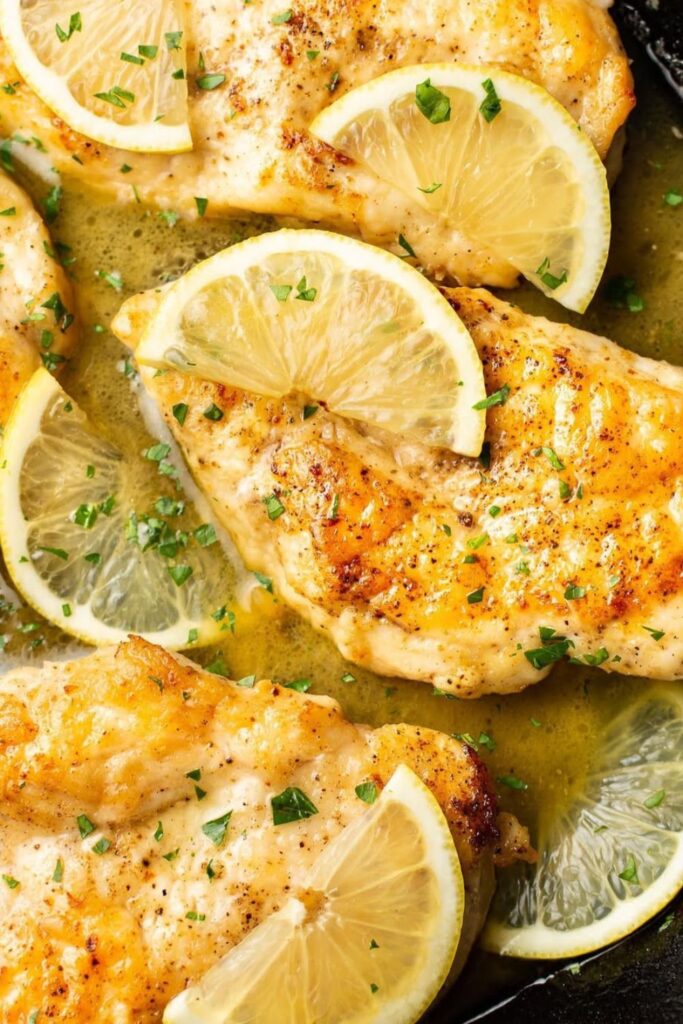
For the smoothest cook, measure the sauce ingredients and zest the lemon before the first cutlet reaches the skillet.
Here is why it works:
1. Bright, savory flavor
Fresh lemon zest and juice lift the savory garlic butter, while coarsely cracked pepper gives each bite a warm, aromatic finish.
2. A relatively quick skillet dinner
Because the breasts are sliced into thin, even cutlets, the stovetop time is brief; prep, batch searing, and sauce reduction still need to be included in the total time.
3. A short ingredient list
Chicken breast, lemon, garlic, butter, broth, oil, seasoning, and a small amount of starch create the entire dish.
4. Straightforward technique
Consistent thickness, a properly heated skillet, and checking the center with an instant-read thermometer matter more than advanced technique.
5. Useful for planned leftovers
Promptly chilled leftovers can be reheated for another meal; warm them gently with a spoonful of sauce or broth so the lean meat stays moist.
🛒 Ingredients You’ll Need

The table below lists every ingredient and its role in the recipe.
| Ingredient | Amount | Notes |
|---|---|---|
| Chicken breasts | 2 large (about 1.5 lbs) | Slice horizontally into 4 cutlets or pound to about 1/2 inch. |
| Lemon pepper seasoning | 1 tablespoon | Check the blend for salt and allergens before adding the separate salt. |
| Arrowroot powder | 1 tablespoon | Cornstarch or all-purpose flour may be used instead. |
| Kosher salt | 1 teaspoon | Distribute evenly with the dry seasoning mixture. |
| Olive oil | 2 tablespoons | Heat until shimmering but never smoking. |
| Butter | 2 tablespoons | Forms the garlic-lemon pan sauce; use a suitable dairy-free alternative when needed. |
| Garlic cloves | 2 cloves, minced | Cook about 30 seconds without browning. |
| Lemon | 1 medium | Zest first, then juice; expect about 3 tablespoons juice. |
| Chicken broth | 1/4 cup | Deglazes the skillet; verify the label for dietary restrictions. |
👩🍳 How to Make Lemon Pepper Chicken: 7 Step-by-Step Instructions
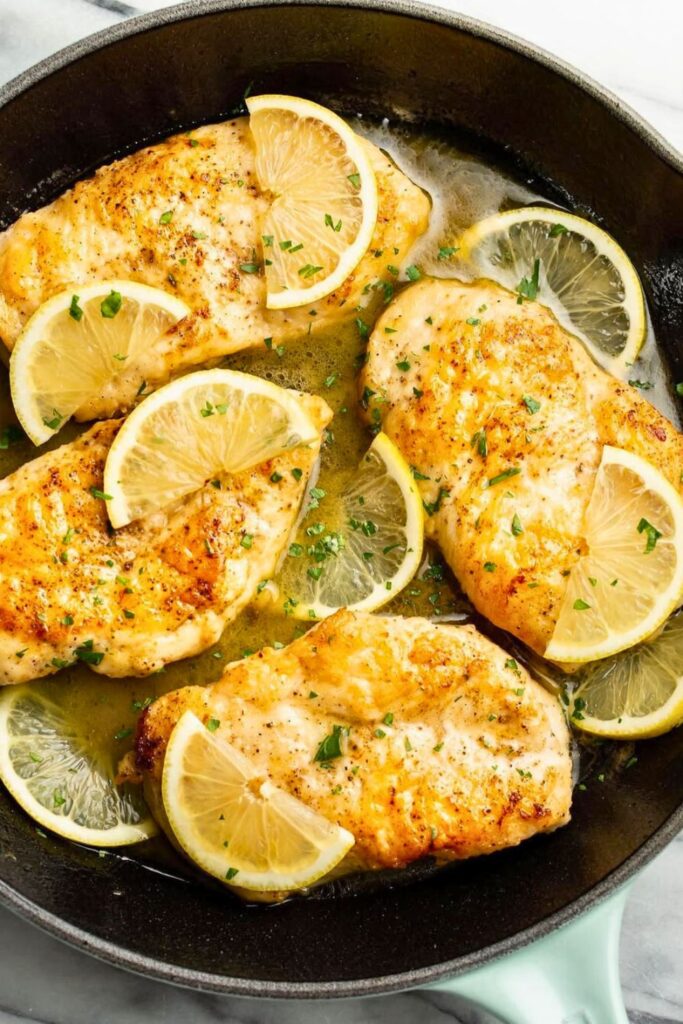
Once the chicken is sliced and the lemon is zested, the skillet stage moves quickly.
Seven clear steps take the cutlets from seasoning to a glossy garlic-lemon finish.
Begin with the chicken.
Step 1: Slice the Chicken Breasts
Use two large chicken breasts, about 3/4 pound each and roughly 1 1/2 pounds total.
Slice each breast horizontally into two thinner cutlets so the four pieces cook at a similar rate.
Safe slicing method:
- Place your nondominant hand flat on top of the breast, keeping fingertips safely away from the knife path.
- With a sharp knife, slice horizontally through the center using controlled strokes.
- Hold the blade parallel to the cutting board so the upper and lower cutlets remain close in thickness.
The pieces do not need to look identical; consistent thickness matters more than perfect shape.
Using smaller chicken breasts
Place smaller breasts between sheets of suitable material and pound gently to an even 1/2-inch thickness.
Step 2: Mix Your Simple Seasoning
The dry coating uses only three ingredients:
- 1 tablespoon lemon pepper seasoning
- 1 tablespoon arrowroot powder, cornstarch, or all-purpose flour
- 1 teaspoon kosher salt
Whisk them together in a small bowl so the seasoning and starch distribute evenly.
- Lemon pepper supplies citrus aroma and cracked-pepper flavor.
- The starch encourages a thin golden exterior.
- Kosher salt seasons the meat throughout the surface.
Arrowroot gives a delicate coating; cornstarch is similar, while flour creates a slightly different crust.
Step 3: Season the Chicken Cutlets
Arrange the cutlets on a plate or clean tray, season one side, turn them, and distribute the same mixture over the second side.
Press on the seasoning
Use clean hands or tongs to press the coating lightly against the chicken so loose powder does not fall into the pan.
A rimmed baking sheet contains spills, but any clean plate large enough for the raw cutlets will work.
Step 4: Zest and Juice Your Lemon
Next, prepare both the zest and juice from one fresh lemon.
🍋 Here’s the Right Order:
- Zest the lemon first with a fine grater, removing only the yellow outer layer and avoiding the bitter white pith.
- Cut and juice the lemon after zesting; one medium lemon should provide about 3 tablespoons, although yield varies.
Zesting a whole firm lemon is easier and safer than trying to hold a squeezed half.
Step 5: Sear the Chicken
Now heat the skillet.
- Place a large skillet over medium-high heat.
- Add 2 tablespoons olive oil and tilt the pan to coat the cooking surface.
- When the oil shimmers but does not smoke, add the chicken in one uncrowded layer.
Cooking guide:
- Sear for about 3 to 4 minutes per side, adjusting for the actual cutlet thickness.
- Remove each piece when its center reaches 165°F (74°C), not merely when the crust looks browned.
Thin, evenly sized cutlets finish more consistently and are less likely to dry before the thickest portion is safe.
Transfer the cooked chicken to a clean plate; never return it to the raw-chicken tray.
Step 6: Build the Lemon Garlic Pan Sauce
Use the browned skillet to make the lemon-garlic butter sauce.
Follow these steps:
- Add 2 tablespoons butter to the skillet.
- Stir in 2 minced garlic cloves.
- Cook for about 30 seconds, stirring continuously, until fragrant but not brown.
Then add:
- 1/4 cup chicken broth
- About 3 tablespoons fresh lemon juice
Scrape up the flavorful browned bits with a heat-safe spatula as the liquids come to a simmer.
Use silicone or another utensil recommended for nonstick and enameled cookware to avoid scratching the finish.
Simmer gently for about 1 minute so the sauce reduces slightly.
Step 7: Return Chicken & Finish With Zest
Return the cooked cutlets and spoon the hot pan sauce over them.
Sprinkle with the reserved lemon zest just before serving for fresh citrus aroma.
Optional finishes:
- Add a few thin lemon slices for presentation.
- Scatter chopped fresh parsley over the pan.
- Taste the sauce, then add extra salt or black pepper only if needed.
For strict dairy-free cooking or a milk allergy, use plant-based butter or olive oil; ghee is still a dairy product and is not suitable for a milk allergy.
🎉 Look What You Made!
The finished skillet should hold golden cutlets coated with a light, fragrant lemon-garlic sauce.
Serve over mashed potatoes, rice, or quinoa, with green beans or asparagus to complete the plate.
The exact total time depends on slicing skill, skillet size, and cutlet thickness, so focus on the 165°F endpoint rather than the clock.
🥗 What Goes With Lemon Pepper Chicken?

With the chicken finished, choose a side that can absorb the sauce or provide fresh contrast.
The citrus and pepper pair comfortably with both hearty starches and lighter vegetables.
These are some dependable choices.
1. Mashed potatoes
Creamy potatoes catch the garlic-lemon pan sauce and make the meal more substantial.
Spoon the skillet sauce over the potatoes before adding more butter.
2. Steamed or roasted vegetables
Green beans are an easy option, and these vegetables also work:
- Asparagus, lightly roasted or steamed with olive oil
- Broccolini for a crisp, slightly bitter contrast
- Zucchini or summer squash, roasted until browned at the edges
Choose seasonal vegetables that are fresh and readily available.
3. Rice or quinoa
For naturally gluten-free sides, choose:
- Steamed white or jasmine rice to absorb the sauce
- Brown rice for a firmer, nuttier base
- Quinoa for small-grain texture and added plant protein
4. Fresh side salads
A cold salad balances the warm chicken and buttery sauce:
- Arugula with olive oil, lemon, and optional shaved Parmesan
- Greek salad with cucumber, tomato, olives, red onion, and feta
- Caesar salad for a creamy, savory pairing
5. Lemon- or garlic-seasoned pasta
Serve with angel hair or spaghetti dressed lightly with lemon, butter, parsley, and optional Parmesan.
🌱 Make It Dairy-Free or Gluten-Free
The base recipe can be adapted for dairy or gluten restrictions with accurate labels and the right substitutions.
Use these swaps while keeping the same cooking method.
How to Make It Dairy-Free
Butter is the only dairy ingredient in the original sauce.
For a dairy-free version, replace it with:
- Plant-based butter labeled dairy-free and suitable for the diner’s allergy needs.
- Olive oil for a lighter sauce with no buttery flavor.
- Ghee may suit some people with lactose intolerance, but it remains milk-derived and is not dairy-free or safe for a milk-protein allergy.
Plant-based butter gives a flavor and texture closest to the original garlic-butter sauce.
How to Make It Gluten-Free
The recipe uses 1 tablespoon of arrowroot, cornstarch, or flour as a light surface coating.
For gluten-free cooking, use:
- Arrowroot powder that is labeled and handled to meet your needs
- Cornstarch from a verified gluten-free source
- A gluten-free flour blend intended for cooking
Also check the lemon pepper seasoning and chicken broth labels, and prevent cross-contact; replacing flour alone does not automatically guarantee a gluten-free meal.
✅ Tips for the Best Lemon Pepper Chicken
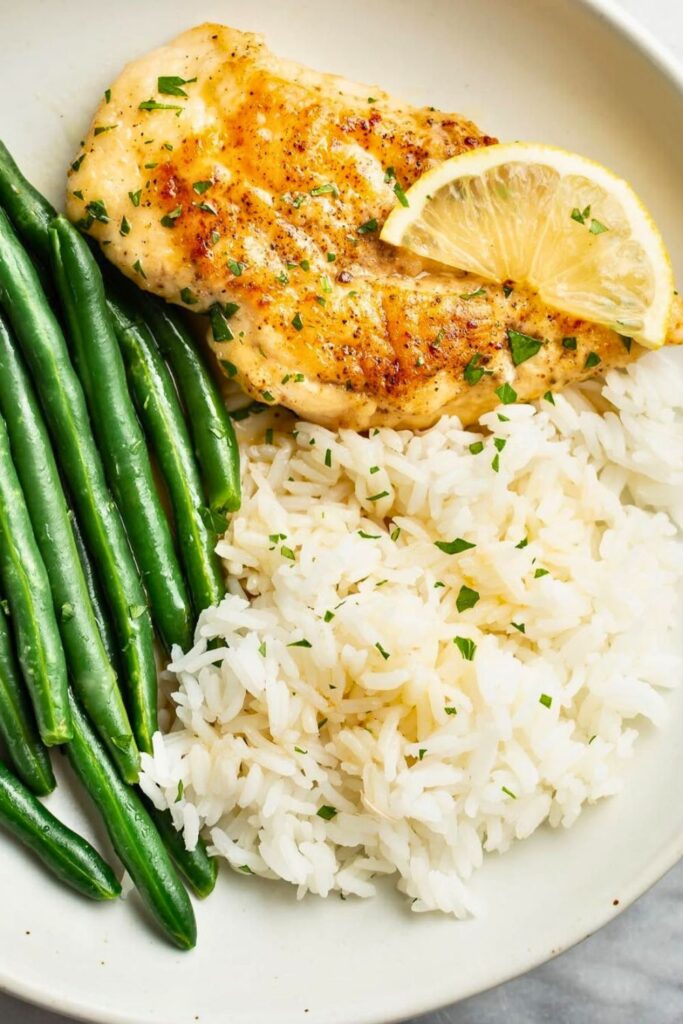
Simple recipes improve most when the small details are handled carefully.
Keep these practical tips nearby:
1. Make the cutlets even
Slice thick breasts horizontally or pound smaller ones to about 1/2 inch so no thin edge dries out while a thick center remains undercooked.
Keep the knife parallel to the board and work slowly for safer, more even cuts.
2. Keep the starch coating light
A thin layer of arrowroot, cornstarch, or flour supports browning and gives the sauce something to cling to.
Too much powder can turn gummy when the lemon-broth sauce enters the pan.
3. Press the seasoning onto both sides
Distribute the same measured mixture evenly and press gently so each cutlet has comparable flavor.
4. Zest before juicing
Remove the yellow zest while the lemon is still whole and firm, then squeeze the juice for the pan sauce.
5. Match the utensil to the pan
Use silicone, wood, or another manufacturer-approved utensil when deglazing nonstick or enameled cookware.
🍋 What Sauce Goes Well With Lemon Pepper Chicken?
The original garlic-butter pan sauce is intentionally simple and complements the lemon pepper without covering it.
For a later variation, one of these alternative sauces can change the finished dish.
1. Honey-lemon glaze
Combine:
- 2 tablespoons honey
- 1 tablespoon lemon juice
- 1 teaspoon Dijon mustard
Drizzle over fully cooked chicken, or warm together in the skillet for 1 to 2 minutes while ensuring the chicken remains at a safe serving temperature.
2. Creamy lemon-herb sauce
For a richer variation:
- Soften garlic in butter without browning.
- Add lemon juice and zest.
- Stir in heavy cream or coconut cream and simmer gently.
- Finish with chopped parsley or dill.
This produces a heavier, creamier sauce than the original.
3. Garlic-Parmesan sauce
Combine:
- Butter and garlic
- Finely grated Parmesan
- A small splash of milk or cream
Simmer gently until cohesive, then spoon over cooked chicken and add optional basil.
4. Basil pesto
A small spoonful of pesto adds herbal flavor that pairs naturally with lemon and black pepper.
5. Yogurt-dill sauce
For chilled, safely stored chicken or a salad plate, mix:
- Greek yogurt
- Fresh dill
- Lemon juice
- A small pinch of garlic
Keep the sauce refrigerated and do not leave the chicken at room temperature beyond safe limits.
🍋 What Does Soaking Chicken in Lemon Juice Do?
Lemon juice is often described as “cooking” or tenderizing meat, but those terms can be misleading.
Here is what the acid actually does.
1. Acid changes surface proteins but does not make raw chicken safe
Lemon acid alters proteins on the exterior and can affect texture, yet it does not replace heat or destroy all foodborne pathogens.
Long acid exposure may make the outside chalky or mushy while the center remains completely raw and unsafe.
This recipe does not require a lemon marinade; the measured juice belongs in the cooked pan sauce.
2. Lemon adds brightness
Zest on the finished chicken and juice in the sauce provide fresh citrus flavor without soaking the raw meat.
3. Dry surfaces and controlled heat encourage browning
Wet lemon juice can inhibit searing, so keep the raw cutlets dry and add the juice only after the chicken has browned.
4. Lemon changes aroma but is not a sanitation step
Citrus may mask some raw-meat odor, but it does not wash, disinfect, or make spoiled chicken usable.
🥄 Final Thoughts
The combination works because thin cutlets brown quickly, the light coating protects their surface, and the skillet fond becomes the foundation of the lemon-garlic sauce.
Pair the chicken with potatoes, rice, pasta, vegetables, or a crisp salad, and cook every piece to 165°F at its thickest point.
Once the lemon and sauce ingredients are prepared in advance, the same reliable sequence is easy to repeat.
Move leftovers to shallow containers within 2 hours—1 hour when temperatures exceed 90°F—refrigerate for 3 to 4 days, and reheat to 165°F.
Lemon Pepper Chicken with Garlic Butter Sauce
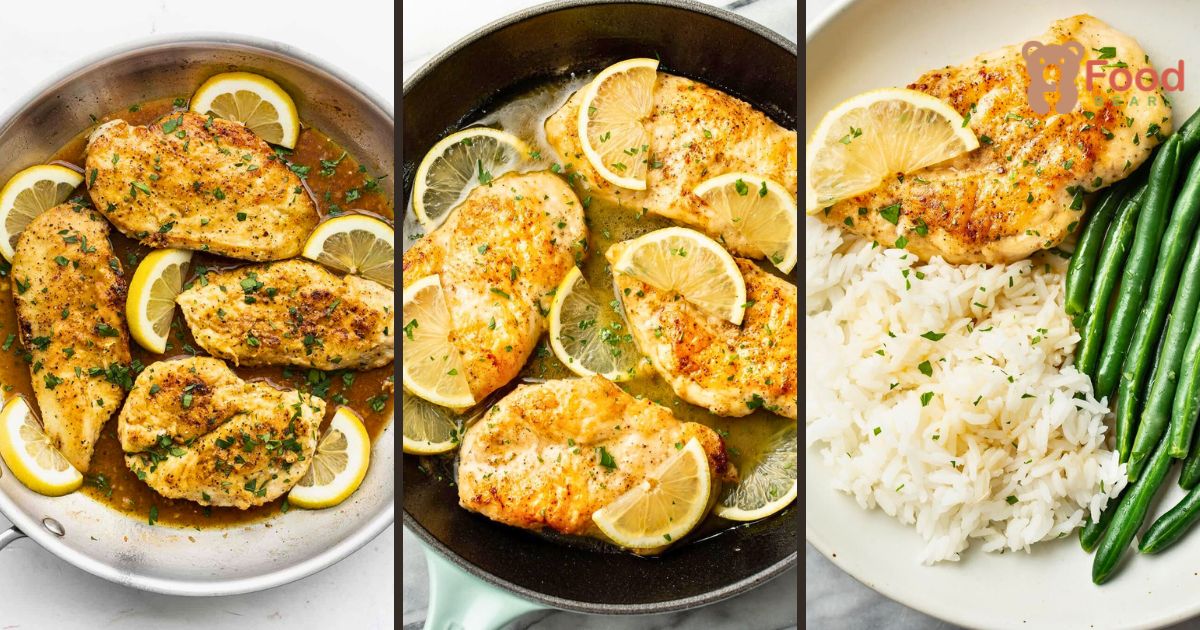
📌 You Might Also Like…
For more chicken meals and crisp seasonal sides, try these related recipes:
- 👉 20 Delicious Cucumber Salad Recipes You Must Try in 2025
A roundup of crisp cucumber salads gives you plenty of fresh sides for pan-seared chicken. - 👉 Quick & Easy BBQ Chicken Sliders for Crowds in 2025
Juicy barbecue chicken and melted cheese make these sliders useful for feeding a group. - 👉 Easy 20-Minute Avocado Chicken Salad Recipe For Summer
Creamy avocado chicken salad works for meal prep, sandwiches, or a light lunch. - 👉 Creamy Chicken Salad Recipe You’ll Crave Weekly
A creamy, crunchy chicken salad is an easy make-ahead filling for sandwiches and wraps.

Dana Brooks is a home-cooking writer at Feastbears, where she shares easy family recipes, cozy dinners, quick desserts, and beginner-friendly kitchen tips. Her goal is to make everyday cooking feel simple, warm, and enjoyable for busy home cooks.


