
Making peach jam without commercial pectin is easier to manage when you treat fruit preparation, gel testing, and jar processing as three separate jobs.
This method uses crushed peaches, sugar, and a measured amount of bottled lemon juice. Instead of trusting a short fixed boil, cook until the mixture passes a reliable gel test.
The original workflow remains in place, including the essential boiling-water process required for shelf-stable jars.
Why Make No-Pectin Peach Jam
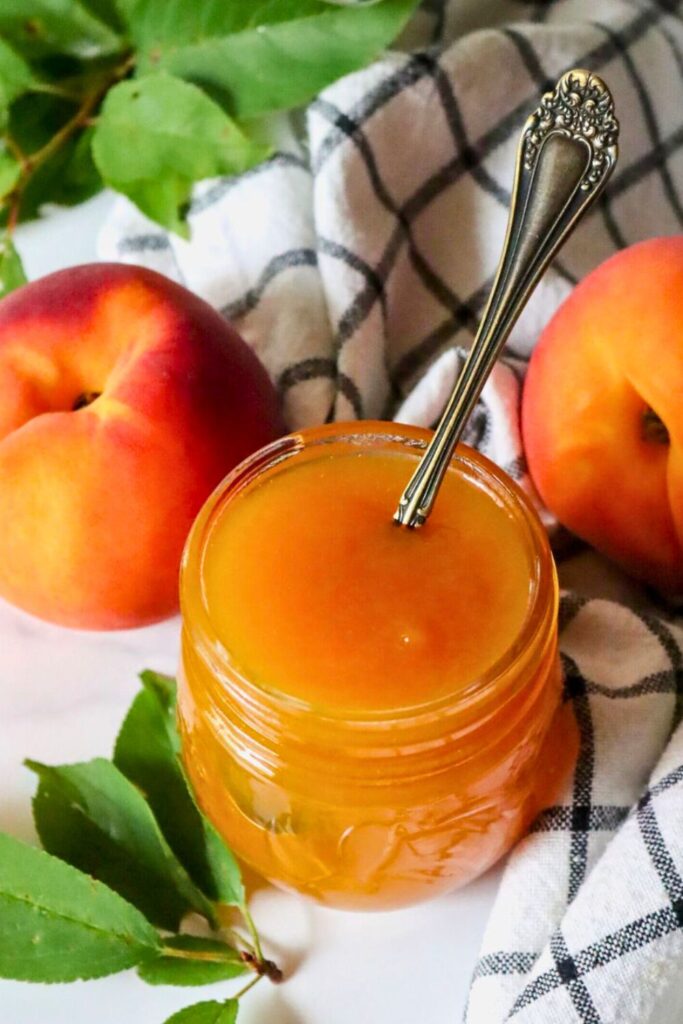
The appeal of no-pectin jam is its concentrated peach flavor and short ingredient list. It is still a high-sugar preserve, so serve it as a condiment rather than treating it as a fresh-fruit substitute.
🍑 Real Peach Flavor
Fresh peaches contribute flavor, color, and some naturally occurring nutrients, although heat and sugar change the nutritional profile of the finished preserve.
With this simple formula, you can expect the following qualities:
- Vitamin C: Boosts your immune system and skin health.
- Fiber: Supports digestion and helps keep you full.
- Potassium: Helps regulate blood pressure and balance fluids.
- No preservatives or additives: Unlike store-bought jams, you know exactly what’s going in—pure fruit and sugar, nothing fake.
Natural pectin in the fruit, together with acid, sugar, and sufficient cooking, creates the set without packaged pectin.
😋 Flavor and Texture
The finished jam should be:
- Pure peach essence with fresh, ripe fruit as the star
- A bright citrus punch thanks to real lemon (peel and all!)
- A balanced sweetness with raw cane sugar or white sugar, it’s not too sweet or too tart
- A juicy texture because we don’t puree it, you’ll get real chunks of peach in every bite
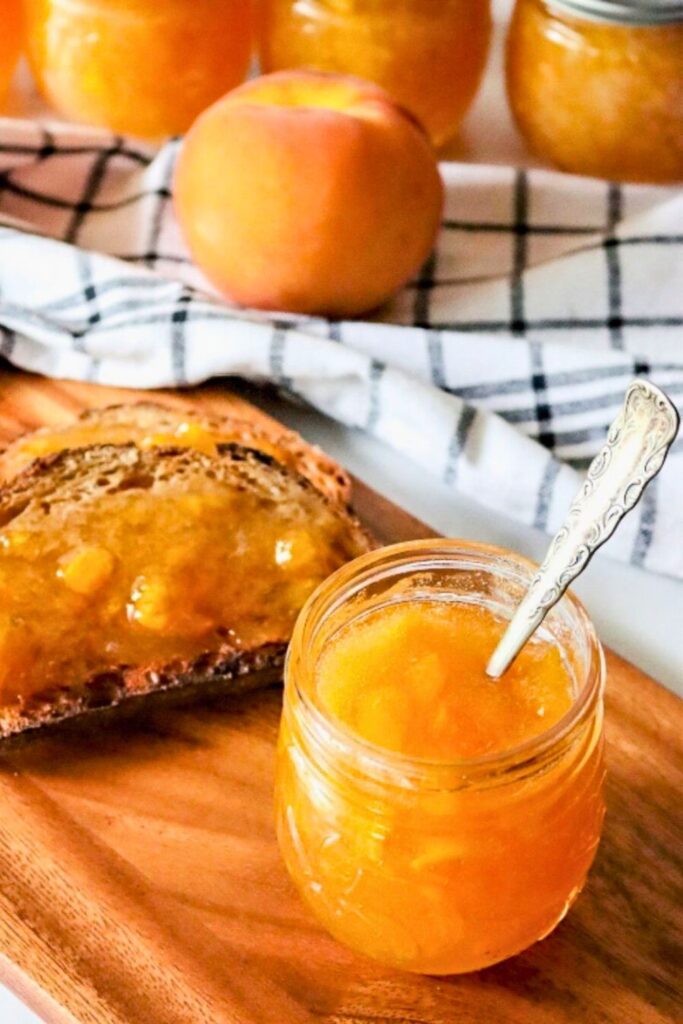
Spoon it over toast, biscuits, pancakes, yogurt, or a cheese board.
💪 Estimated Nutrition
Any nutrition figure shown is an estimate per tablespoon and will vary with the final yield, peach variety, and exact serving size.
| Nutrient | Estimated Amount |
|---|---|
| Calories | ~50–60 kcal |
| Sugars | ~12–14g |
| Vitamin C | ~2–3 mg |
| Fiber | ~0.5g |
Use the estimate only as general guidance; it is not a laboratory-tested analysis.
💡 Practical Reasons to Make It
- A healthier snack option is to skip the overly processed supermarket jams. This homemade version has fewer ingredients and no mystery chemicals.
- Money-saving – Got an excess of ripe peaches? Turn them into jars of jam instead of letting them spoil.
- Gift-worthy – Everyone loves a thoughtful, homemade gift. Tie a ribbon on a jar, and you’ve got something special.
- Family activity – It’s a great recipe to make with kids. Peeling, stirring, and canning together is a fun memory-maker.
Ingredients and Canning Equipment
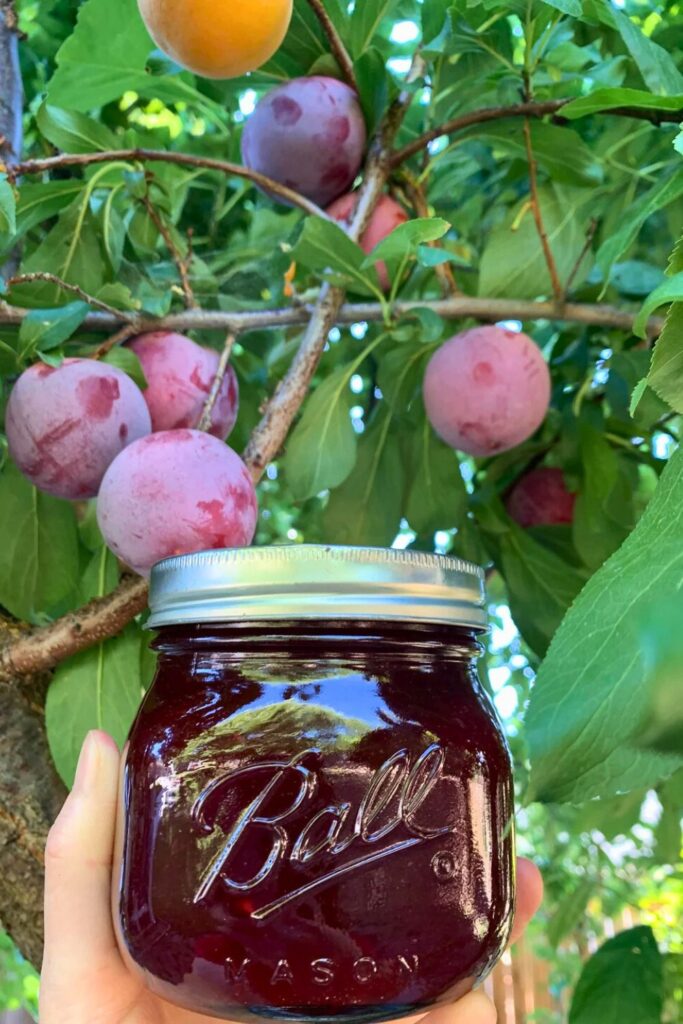
For pantry-stable jars, keep the tested peach, sugar, and bottled-lemon-juice proportions exactly as listed in the table.
| Ingredient | Quantity | Notes |
|---|---|---|
| Fresh peaches | Enough for 5 1/2 to 6 cups crushed fruit | Use fully ripe fruit; peel, pit, crush, then measure |
| Bottled lemon juice | 2 tablespoons | Use bottled juice for standardized acidity; do not add peel |
| Granulated sugar | 4 to 5 cups | Use within this tested range; do not reduce further for canning |
| Mason jars (8 oz) | 6 to 7 half-pint jars | Also called jelly jars |
| Canning lids | 6 to 7 | Use new lids that fit the jars |
| Metal rings | 6 to 7 | Use clean rings tightened fingertip-tight |
| Large nonreactive saucepan | 1 | For cooking the fruit and sugar |
| Canning funnel and jar lifter | 1 | For safe, clean jar filling and handling |
| Ladle + stirring spoon | 1 each | For mixing and filling jars |
You also need a boiling-water canner, or a deep covered pot fitted with a rack, that can keep the upright jars beneath at least 1 inch of boiling water.
Step-by-Step Guide to Peach Jam
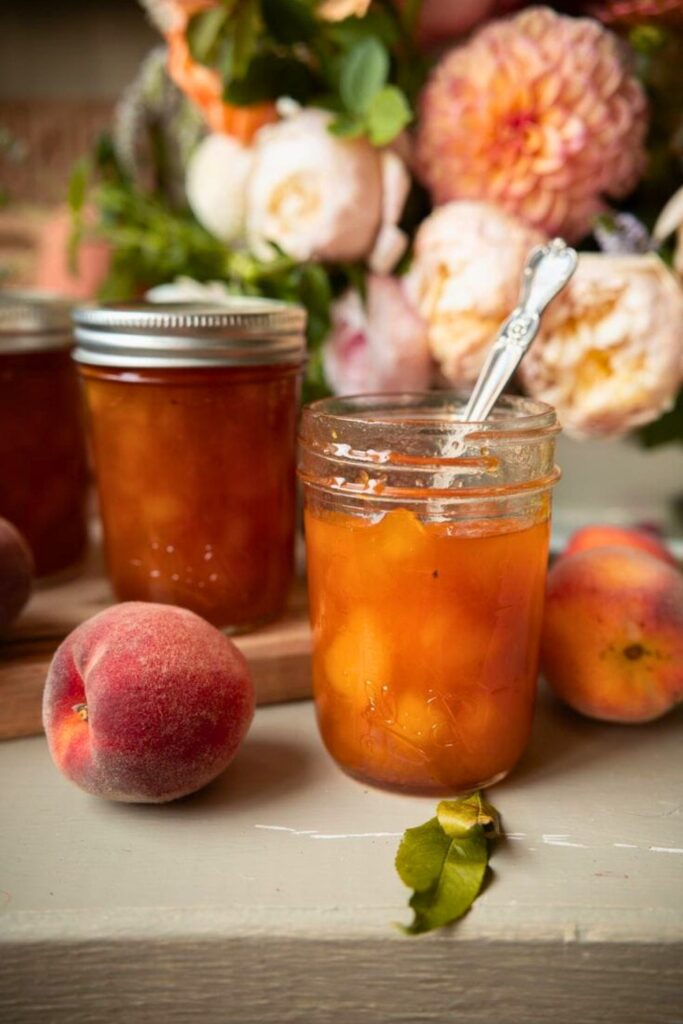
Set out and heat the equipment before cooking the jam. Once the gel point is reached, the hot mixture should move promptly into hot jars.
Do not change the tested ingredient ratio, required headspace, or processing time when the jars are intended for shelf storage.
🥄 Step 1: Prepare and Measure the Peaches
Select fully ripe, sound peaches and discard any fruit showing mold or spoilage.
- Wash the peaches under cool running water.
- Peel, halve, and remove every pit.
- Cut the fruit into small pieces and crush it with a potato masher, one layer at a time.
- Measure 5 1/2 to 6 cups crushed peaches into a large nonreactive saucepan.
🔥 Step 2: Prepare the Canner and Jars
- Inspect 6 to 7 half-pint Mason jars and discard any with chips or cracks.
- Wash the jars and keep them hot in simmering water on the canner rack. Do not heat canning jars in a dry oven.
- If using the 5-minute process for elevations up to 1,000 feet, sterilize empty jars by boiling them for 10 minutes first.
- Prepare new lids according to the lid manufacturer’s instructions.
🍋 Step 3: Add Bottled Lemon Juice and Sugar
- Add 2 tablespoons bottled lemon juice to the crushed peaches.
- Stir in 4 to 5 cups granulated sugar. Use this tested range and do not reduce it further for canning.
Bottled lemon juice is used because its acidity is standardized. Fresh lemon juice measured casually is not an equal substitute in a canning recipe.
🍲 Step 4: Boil the Jam
- Heat over medium-high, stirring rapidly and constantly, until the mixture reaches a full rolling boil.
- Continue boiling and stirring until the jam thickens and reaches the gel point.
- Protect your hands and keep children away; boiling jam can splatter and cause severe burns.
🥄 Step 5: Test the Gel
Confirm the gel with one of the following methods instead of stopping after an arbitrary number of minutes:
- Temperature test: At sea level, cook to 220°F. Subtract about 2°F for every 1,000 feet of elevation.
- Cold-plate test: Remove the pan from the heat, place a small amount on a cold plate, chill briefly, and check whether it gels.
💥 Step 6: Finish the Batch
- Remove the pan from the burner immediately after the gel test is reached.
- Skim surface foam if desired, then stir once to distribute the fruit.
- Fill the hot jars at once; the jam will continue thickening as it cools.
How to Safely Can Peach Jam
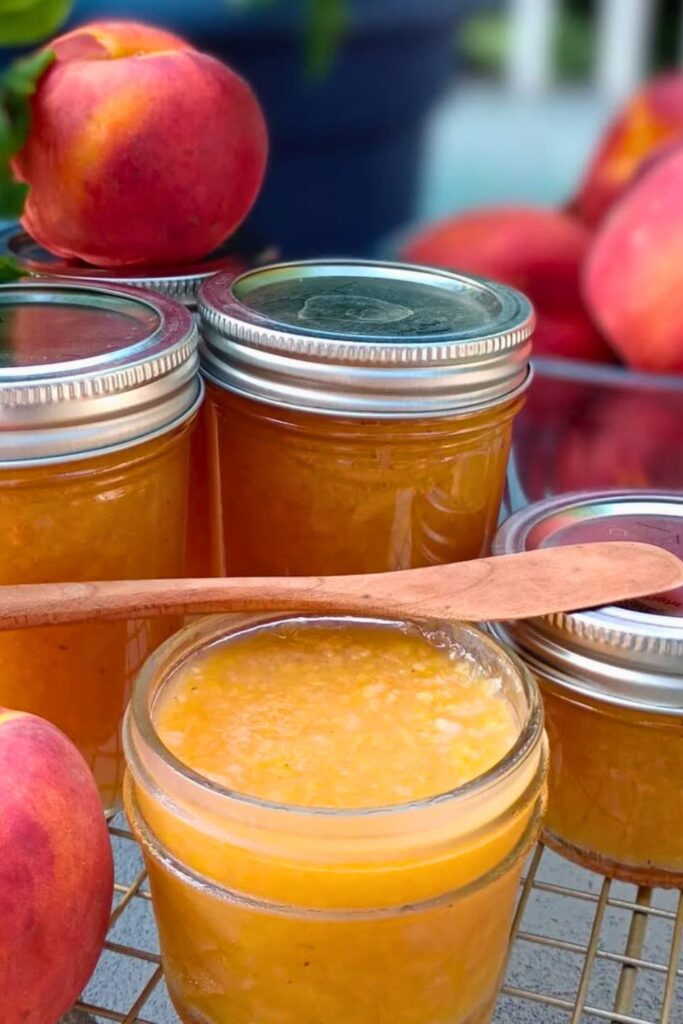
Safety source: Follow the tested no-pectin peach jam formula and elevation table from the National Center for Home Food Preservation. Do not use inversion or open-kettle canning for shelf storage.
Step 1: Fill the Hot Jars
- Ladle hot jam through a canning funnel into hot jars, leaving 1/4 inch headspace.
- Remove trapped air with a nonmetallic bubble remover and recheck the headspace.
- Wipe every jar rim with a clean, damp paper towel.
Step 2: Apply Lids and Rings
- Center a prepared new lid on each jar.
- Apply the ring fingertip-tight; do not force it down.
Step 3: Process in Boiling Water
- Place jars upright on the rack and lower them into actively boiling water. Keep at least 1 inch of water over the lids.
- Cover the canner and start timing after the water returns to a full boil.
- Process half-pints or pints for 5 minutes at 0 to 1,000 feet, 10 minutes at 1,001 to 6,000 feet, or 15 minutes above 6,000 feet.
- If boiling stops, bring the water back to a full boil and restart the complete processing time.
Step 4: Remove and Cool
- Turn off the heat, remove the canner lid, and wait 5 minutes.
- Lift the jars upright with a jar lifter and place them on a towel with space between them.
- Do not tilt, tighten rings, press lids, or turn jars upside down.
- Cool undisturbed for 12 to 24 hours before checking the seals.
What to Expect After Cooling
After processing, lift each jar upright and leave it undisturbed for 12 to 24 hours. Check both the seal and the consistency only after the jars are fully cool.
1. Test Each Seal
Remove the screw bands, then press the center of each lid. A properly sealed lid curves inward and stays firm when pressed.
If a lid flexes, refrigerate that jar and use it soon, or reprocess within 24 hours with a new lid and the complete processing time.
2. Evaluate the Set
A successful batch spreads easily but does not run like syrup when spooned.
- The fruit is evenly distributed from top to bottom in the jar.
- It’s not runny—it holds its shape on a spoon but spreads easily on toast.
- The spread appears glossy, golden, and visibly thickened.
Jam that remains loose may not have reached its gel point; a stiff or rubbery texture usually indicates excessive cooking.
🍑 Use a thermometer or a chilled-plate test because pan width, batch size, and starting temperature all affect how quickly the jam sets.
Tips for Perfect Peach Jam
These practical checks improve the fruit texture, gel, and safety of the finished jars.
🍑 1. Start With Ripe, Sound Peaches
Ripe peaches provide the strongest aroma and sweetness. Discard spoiled fruit and trim only small, clean bruised spots before crushing.
🍋 2. Use the Required Bottled Lemon Juice
Standardized bottled lemon juice provides the acid needed for the tested formula and also supports the fruit’s natural pectin as it gels.
Do not add peel or replace the measured bottled juice with an untested amount of fresh lemon in jars meant for room-temperature storage.
🫙 3. Keep Clean Jars Hot
Hold clean jars in hot water to reduce the chance of thermal shock. Prepare lids according to their manufacturer’s current instructions.
🕒 4. Cook Until the Jam Gels
- Combine the crushed peaches, bottled lemon juice, and sugar, then bring the mixture to a full rolling boil while stirring constantly.
- Continue boiling until the temperature or chilled-plate test shows that the jam has reached the gel point.
- Stop at the gel point; undercooking gives a loose set and overcooking can make it stiff.
Time the canner process separately, using the required adjustment for your elevation.
🍽 5. Leave the Correct Headspace
Leave ¼ inch at the top of every jar. This space allows expansion during processing and helps a vacuum seal form as the upright jar cools.
Creative Peach Jam Variations

Once you are comfortable with the classic batch, flavor variations can make useful refrigerator or freezer spreads. Changes to a tested canning formula, however, may alter acidity or consistency.
Treat each idea below as a refrigerated or frozen variation unless a research-tested canning recipe specifically includes that addition.
🍦 Refrigerator Vanilla Peach Jam
Add 1 teaspoon pure vanilla extract after removing the jam from the heat, just before filling clean containers.
Vanilla rounds out the peach flavor and works especially well with scones, waffles, yogurt, or simple layer cakes.
🍂 Refrigerator Spiced Peach Jam
Add ½ teaspoon cinnamon and ¼ teaspoon nutmeg or ground cloves with the peaches and lemon juice before cooking.
Warm spices give the spread an autumn character that pairs well with toast, oatmeal, or soft cheese.
🌶 Refrigerator Ginger Peach Jam
Add 1 tablespoon finely grated fresh ginger with the peaches and lemon juice before the first boil.
Fresh ginger adds a bright, peppery edge that balances the sugar and suits toast, tea breads, or savory glazes.
Final Thoughts
No-pectin peach jam asks for accurate measuring, close gel testing, and proper boiling-water processing, but those steps preserve peak peach flavor beyond summer.
A correctly processed batch should be fragrant, spreadable, and safely sealed for labeled pantry storage.
Once you understand the gel point and canner timing, the same careful routine becomes much easier to repeat.
No-Pectin Peach Jam
More Peach Recipes to Try Next
For more ways to use peaches, continue with these related recipes:
🥄 20-Min Summer Peach Crumble Recipe
A warm peach dessert finished with a buttery crumble layer.
🌶 Best 10-Min Homemade Peach Salsa for BBQs
A sweet-spicy peach salsa for chips, tacos, or grilled dishes.
🧁 5-Star Best Peach Muffins Recipe For Moms
Tender peach muffins for breakfast, snacks, or brunch.

Dana Brooks is a home-cooking writer at Feastbears, where she shares easy family recipes, cozy dinners, quick desserts, and beginner-friendly kitchen tips. Her goal is to make everyday cooking feel simple, warm, and enjoyable for busy home cooks.


